Drainage for Extensions: What You Need to Know
Yes, you almost certainly need new drainage for an extension if it includes a kitchen, bathroom, utility room, or WC — and you will definitely need surface-water drainage for the new roof area. New foul drainage (waste from sinks, toilets, and appliances) connects to your existing foul drain or directly to the sewer. Surface-water drainage (rainwater from the extension roof) must go to a soakaway, watercourse, or surface-water sewer — not the foul sewer. Both require Building Control approval, and the drainage plan is typically one of the first things Building Control reviews during the application process.
Drainage is often the overlooked element of extension planning. Homeowners focus on the rooms, the kitchen layout, the roof design — and then discover that the drain route determines where the extension can practically go. Planning the drainage early avoids expensive redesigns and delays.
What Drainage Does an Extension Need?
Foul Drainage
Any fixture that produces waste water needs a foul drain connection:
| Fixture | Waste Size | Connection |
|---|---|---|
| WC (toilet) | 110 mm soil | Via soil stack or direct to drain |
| Bath / shower | 40 mm waste | Via waste pipe to gully or soil stack |
| Basin | 32 mm waste | Via waste pipe to gully or soil stack |
| Kitchen sink | 40 mm waste | Via waste pipe to gully |
| Dishwasher | 40 mm waste | Via kitchen sink waste or separate gully |
| Washing machine | 40 mm waste | Via standpipe to gully |
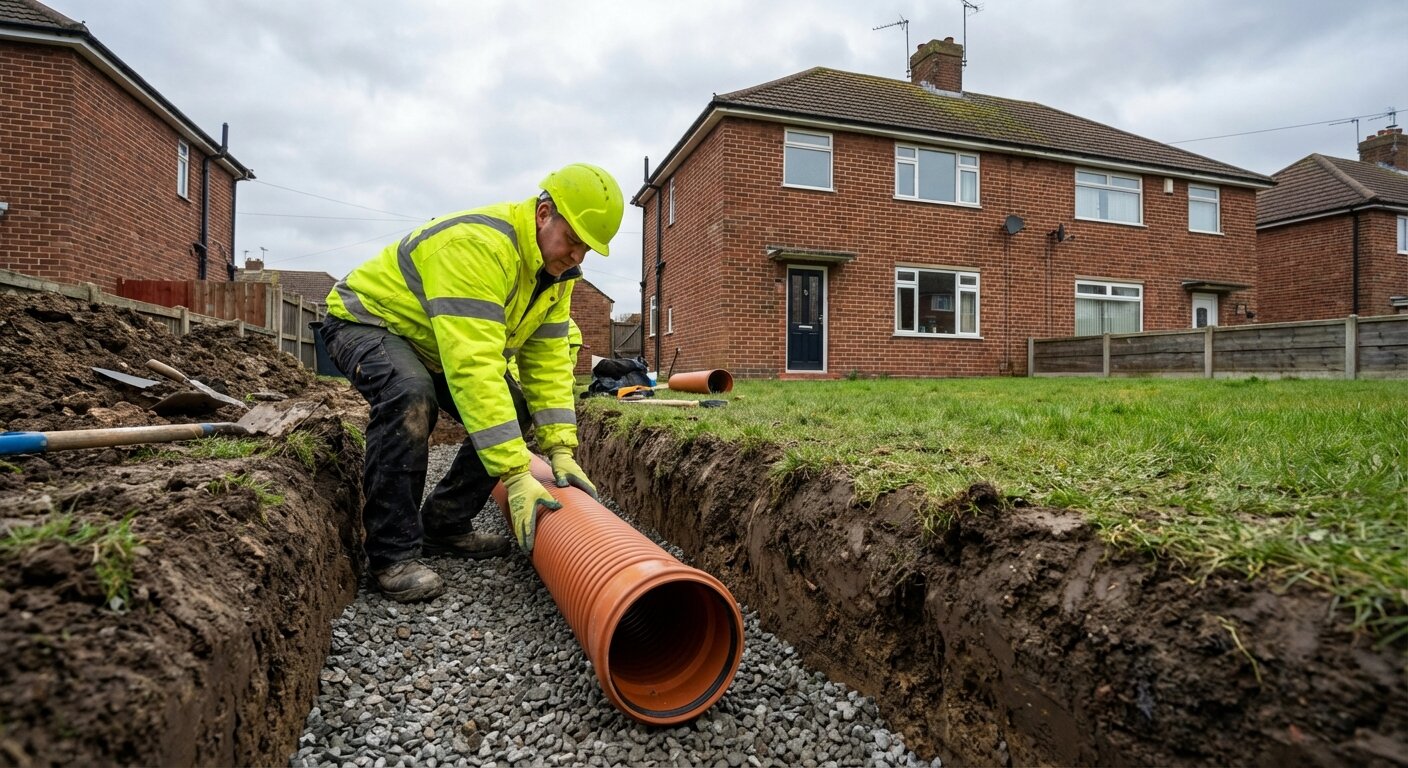
The foul drainage from the extension connects to your existing foul drain — typically via a new inspection chamber at the junction. The pipe is 110 mm PVC-U at a minimum gradient of 1:40.
Waste pipe choice: Above-ground waste connections from basins, baths, and sinks use either push-fit or solvent weld fittings. For a comparison of both systems, see our guide on push-fit vs solvent weld waste pipe.
Surface-Water Drainage
The extension roof area generates rainwater that must be disposed of separately from foul waste:
- Gutters and downpipes collect rainwater from the extension roof
- An underground 110 mm surface-water drain carries it to a soakaway, watercourse, or surface-water sewer
- The disposal method follows the hierarchy in Approved Document H: soakaway first, sewer last
For soakaway design guidance, see our detailed guide on soakaway design and installation.
What If the Extension Has No Wet Rooms?
If the extension is purely a living room, conservatory, or bedroom with no plumbing fixtures, you do not need new foul drainage. However, you still need surface-water drainage for the roof — Building Control will require a disposal strategy.
Connecting to the Existing Drainage
Option 1: Connect to an Existing Inspection Chamber
If there is an inspection chamber near the extension, the new drain connects here via a new branch entry:
- Remove the inspection chamber cover
- Break out a knock-out entry (or core-drill a new entry)
- Connect the new pipe with an appropriate adaptor and seal
- Ensure the invert levels are correct — the new branch must enter above the existing channel floor level
- Backfill and reinstate
This is the simplest and cheapest method. It provides immediate access for maintenance and keeps the new drain within an existing inspection point.
Option 2: Install a New Inspection Chamber
If no existing chamber is conveniently located, install a new inspection chamber at the junction of the new and existing drains. This provides access for future maintenance and satisfies Building Regulations.
Option 3: Saddle Connection
Where the existing drain is accessible mid-run and no chamber is needed (Building Control may disagree), a saddle connection can branch into the existing pipe. However, most Building Control officers prefer an inspection chamber at every junction — and for good reason. A junction without access is a future blockage waiting to happen with no way to clear it without excavation.
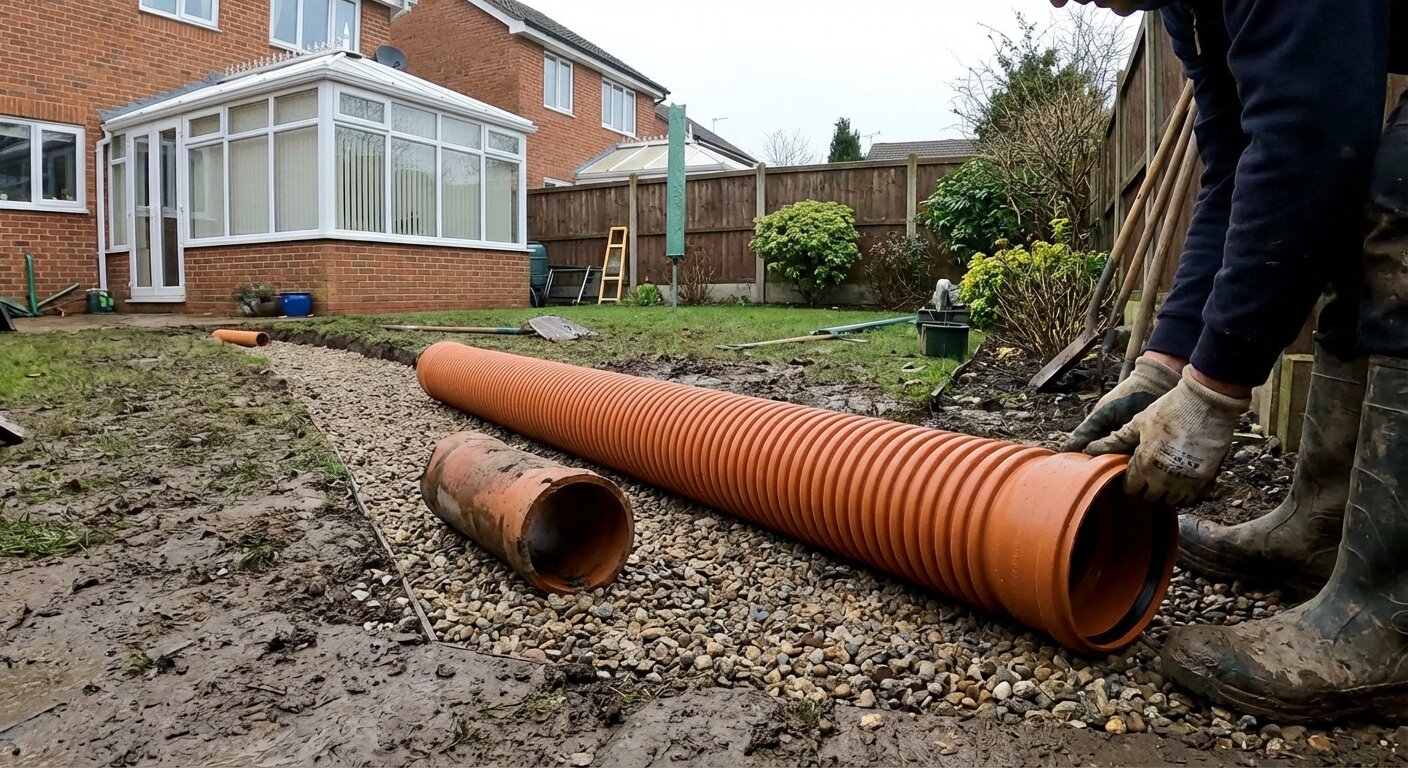
Connecting to Different Materials
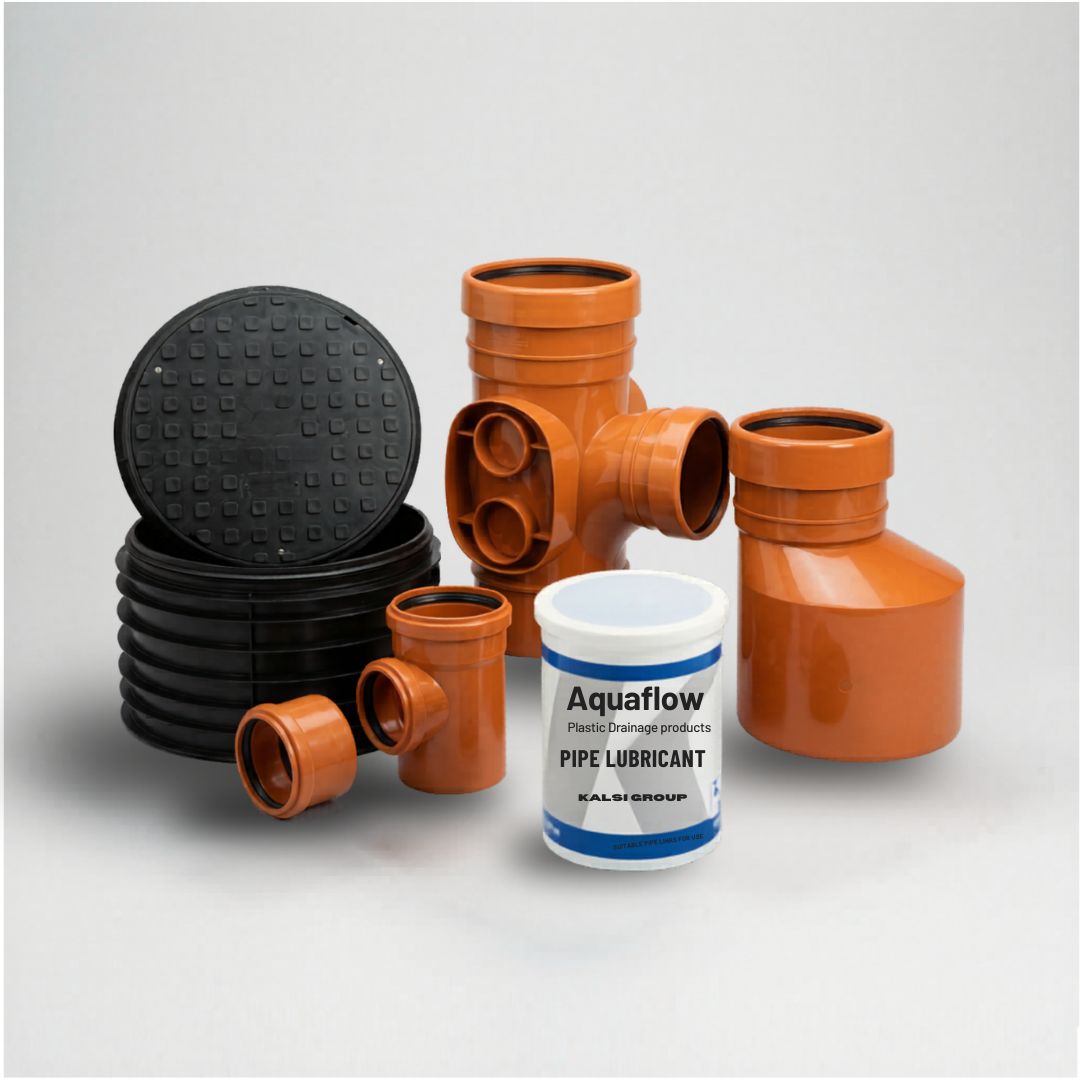
Older properties may have clay, pitch fibre, or cast iron drains. New PVC-U pipe connects to these using flexible adaptor couplings. Our underground drainage accessories range includes adaptors for all common legacy pipe materials.
Building Regulations for Extension Drainage
What Building Control Checks
| Requirement | Detail |
|---|---|
| Pipe size | 110 mm minimum for foul drains |
| Gradient | 1:40 minimum for 110 mm foul |
| Bedding | Granular surround to BS EN 1610 |
| Inspection chambers | At every junction, bend over 45°, and gradient change |
| Surface-water disposal | Hierarchy: soakaway → watercourse → SW sewer → combined sewer |
| Foul/surface separation | New drainage must keep foul and surface water separate |
| Sewer connection | Section 106 agreement if connecting to public sewer |
| Air test or water test | Required before backfilling |
For guidance on correct pipe bedding practices, see our guide on underground pipe bedding and backfill.
Building Over or Near Existing Drains
If your extension is built over or near (within 3 m of) an existing public sewer, you need a Build Over Agreement from the water company. This may impose specific foundation and construction requirements to protect the sewer. The application typically requires:
- A drainage survey showing the sewer location and depth
- Foundation design drawings demonstrating the sewer is protected
- Payment of the water company’s application fee (typically £200–500)
- An inspection by the water company during construction
The Build Over Agreement process can add 4–8 weeks to the programme, so apply early.
Typical Costs
| Item | Cost Range |
|---|---|
| New 110 mm foul drain (10 m run + fittings) | £300–600 |
| New inspection chamber (450 mm) | £80–200 |
| Surface-water soakaway (crate type) | £200–500 |
| Surface-water drain (10 m run) | £200–400 |
| Groundwork labour (excavation, installation) | £500–1,500 |
| Building Control fees (drainage element) | Included in extension application |
| Section 106 agreement (if needed) | £200–500 (water company charge) |
| Build Over Agreement (if needed) | £200–500 |
| Total drainage cost for typical extension | £1,200–3,000 |
This is typically 5–10% of the total extension cost — a modest proportion but an essential one.
Common Mistakes with Extension Drainage
1. Connecting Surface Water to the Foul Drain
This is the most common error — and one of the most serious. Surface water (rainwater from the roof) must be kept separate from foul water (waste from toilets, sinks, and appliances). Connecting rainwater to the foul sewer overloads it during storms and is a Building Regulations failure. Building Control will not sign off the work until the separation is correct.
2. Insufficient Gradient
A 110 mm foul drain needs a minimum fall of 1:40 (25 mm per metre). If the drain is too flat, solids settle and cause recurring blockages. If you discover during excavation that the gradient cannot be achieved — because the connection point is higher than expected, for example — you may need to relocate the connection or add additional inspection chambers.
3. Forgetting to Test Before Backfilling
Building Regulations require an air or water test on new drainage before the trenches are backfilled. If you backfill first and then discover a leak, the entire trench must be re-excavated. Always test, always document.
4. Ignoring the Rainwater System
Some builders focus entirely on foul drainage and leave the rainwater to “run off the roof.” Every extension roof needs guttering sized for the roof area, with a proper disposal route. Use the rainwater calculator to specify the right gutter and downpipe sizes.
Planning Tips
1. Start with the Drain Route
Before finalising the extension layout, confirm where the drains will run and where they connect to the existing system. A drain route that requires digging through a patio, path, or driveway adds significant cost.
2. Check for Existing Services
Gas, water, electric, and telecoms services may cross the proposed drain route. A service search (available from utility companies) identifies these before you start digging. Hitting a gas main during drainage excavation is expensive, dangerous, and avoidable.
3. Coordinate with the Builder
The drainage excavation is usually done during the foundation stage. If the builder and groundworker are not coordinated, the extension floor slab may be poured before the drain is in — creating an expensive problem.
4. Consider Future-Proofing
If you plan to add more rooms later, consider installing capped-off branch connections now while the trench is open. A blanking plug on a spare branch costs a few pounds. Coming back to add a branch later costs hundreds in excavation.
5. Don’t Forget the Rainwater
Surface-water drainage from the extension roof is a Building Control requirement. Budget for guttering and a soakaway or drain connection. The rainwater system choice matters too — use our rainwater calculator to size the guttering for the new roof area.
6. Consider a CCTV Survey First
If you are connecting to existing drains of unknown condition, a CCTV drain survey before work starts reveals potential problems — root intrusion, collapse, or misconnections — that could affect your connection strategy.
7. Keep Foul and Surface Water Separate
Building Regulations require new drainage to separate foul and surface water. Even if the existing property has combined drains, the new extension drainage must be separate. This is a non-negotiable requirement that Building Control will enforce.
Frequently Asked Questions
Do I need new drainage for an extension?
Yes, if the extension includes any plumbing fixtures (WC, sink, basin, shower, bath). You also need surface-water drainage for the new roof area, even if the extension has no plumbing. Both require Building Control approval.
Can I connect an extension drain to my existing drainage?
Yes. The new foul drain connects to the existing foul drainage, typically via a new inspection chamber at the junction. Surface water connects to a soakaway or the existing surface-water system. Building Control must approve the connection method and location.
How much does extension drainage cost?
Typically £1,200–3,000 for a standard rear extension, covering the foul drain, surface-water drain, inspection chambers, soakaway, and groundwork labour. This is usually 5–10% of the total extension cost.
Does my extension need a soakaway?
If the ground passes a percolation test, yes — a soakaway is the preferred method of rainwater disposal under Approved Document H. If the ground is heavy clay (fails percolation test), alternative disposal methods (surface-water sewer, watercourse) must be used.
When should drainage be installed during the extension build?
Drainage is typically installed during the foundation stage, before the floor slab is poured. The trench, pipe, and connections should be inspected by Building Control before backfilling. Coordinate the drainage installation with the main build programme to avoid delays.
What is a Build Over Agreement?
If your extension foundations are within 3 m of a public sewer, the water company requires a Build Over Agreement before construction begins. This ensures the sewer is protected during and after construction. The application costs £200–500 and can take 4–8 weeks to process.