Underground Pipe Bedding & Backfill: Doing It Right
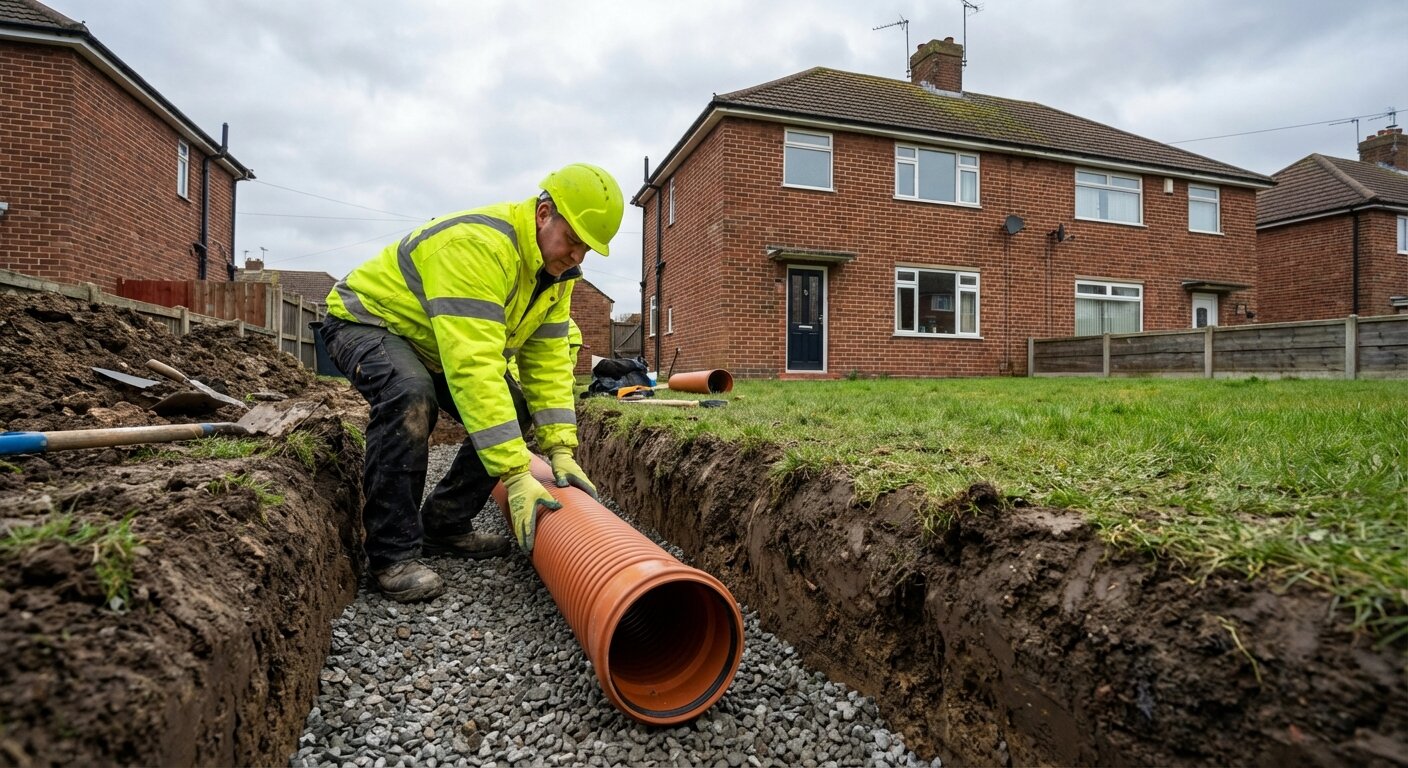
To bed underground drainage pipe correctly, lay a minimum 100 mm granular bed of pea gravel or 10 mm clean aggregate on the compacted trench bottom, place the pipe on the bed, haunch with the same material to at least half the pipe diameter, and then provide a granular surround to 150 mm above the pipe crown. This is Class B bedding under BS EN 1610 — the standard for most domestic and light commercial installations. Proper bedding distributes the load evenly along the pipe, prevents point loading from stones or hard spots, and protects the pipe from damage during backfilling. Skipping or skimping on bedding is the number-one cause of cracked pipes and failed drainage installations.
Bedding and backfill are the invisible components of a drainage installation. Once the trench is filled in, nobody can see whether the work was done properly. But the pipe knows — and a pipe sitting on an uneven surface, compressed by poorly compacted fill, or bearing on a single sharp stone will crack, deform, or displace at the joint. The repair involves digging everything up again, which can cost many times more than doing the bedding properly in the first place.
Bedding Classes (BS EN 1610)
| Class | Description | Material | Use |
|---|---|---|---|
| Class S | Concrete surround | 100 mm concrete bed + concrete haunch or full surround | Under roads, heavy vehicle loads, very shallow cover |
| Class B | Selected granular | 100 mm granular bed + granular haunch + granular surround to 150 mm above crown | Standard domestic — most installations |
| Class N | Natural material | Trench bottom shaped to support the pipe barrel | Only where trench bottom is uniform fine material with no stones |
| Class F | Trench fill | Suitable backfill material placed to support the pipe | Specific engineered applications |
Class B is the default for domestic work. It provides excellent support, is easy to achieve on-site, and meets Building Regulations requirements (Approved Document H references BS EN 1610 for drainage installation standards).
Step-by-Step Bedding Process
1. Prepare the Trench Bottom
- Remove any large stones, rocks, tree roots, or debris
- Level the trench bottom to the correct gradient (typically 1:40 for 110 mm foul drains, 1:80 minimum for surface water)
- If the trench bottom is soft clay or waterlogged, dig an additional 50–100 mm deeper and fill with compacted gravel to create a firm foundation
- Check the gradient with a spirit level on a straight-edge board — even small undulations create low spots that trap sediment
2. Lay the Granular Bed
- Spread 100 mm (minimum) of pea gravel (10 mm clean stone) evenly across the trench bottom
- Level with a rake or straight edge
- Do not compact the bed aggressively — light tamping is sufficient
- The bed should be smooth and continuous along the entire pipe run
3. Place the Pipe
- Lay the pipe on the granular bed, starting from the lowest point (working uphill)
- Ensure the pipe sits evenly — no rocking, no gaps beneath the barrel
- At socket joints, scoop out a small depression in the bedding to accommodate the wider socket. The pipe barrel (not the socket) must bear on the bed.
- Connect joints by pushing the spigot end into the socket until it meets the internal stop — the ring seal compresses to create a watertight connection
4. Haunch the Pipe
- Shovel granular material around the sides of the pipe to at least half its height (the haunch zone)
- Gently tamp by hand — do not use a mechanical compactor at this stage
- The haunch locks the pipe in position and prevents lateral movement
- Work the material under the pipe’s haunches (the lower curves) by hand — this is the most critical contact zone
5. Surround to 150 mm Above Crown
- Continue adding granular material to 150 mm above the top of the pipe (the crown)
- Tamp lightly by hand
- This layer provides protection from the main backfill above and distributes any surface loads evenly
6. Main Backfill
Above the granular surround:
- Backfill with the excavated material (screened to remove large stones over 40 mm)
- Compact in 150–200 mm layers using a plate compactor or hand tamper
- Do not compact directly over the pipe until there is at least 300 mm of fill above the crown
- Continue backfilling to ground level
Granular Bedding Materials
| Material | Particle Size | Suitability |
|---|---|---|
| Pea gravel | 6–10 mm | Excellent — the standard choice |
| 10 mm clean aggregate | 10 mm | Excellent |
| 20 mm clean aggregate | 20 mm | Acceptable — slightly coarser |
| Sharp sand | 0–4 mm | Good for bed; may migrate into joints |
| DOT Type 1 sub-base | 0–40 mm mixed | NOT suitable — contains fines and large particles |
| Concrete | N/A | Class S only — under roads/heavy loads |
Do not use: topsoil, clay, recycled aggregate with mixed sizes, construction rubble, or any material containing organic matter. These compact unevenly, retain water, and do not provide uniform support.
How Much Material Do You Need?
For a rough estimate of bedding material quantities:
| Pipe Size | Trench Width | Bedding Volume per Metre (bed + surround) |
|---|---|---|
| 110 mm | 450 mm | ~0.08 m³/m |
| 160 mm | 500 mm | ~0.10 m³/m |
A typical 10 m domestic drain run in 110 mm pipe needs approximately 0.8 m³ of pea gravel — roughly 1.2 tonnes. Order slightly more than calculated to account for wastage and irregularities in the trench.
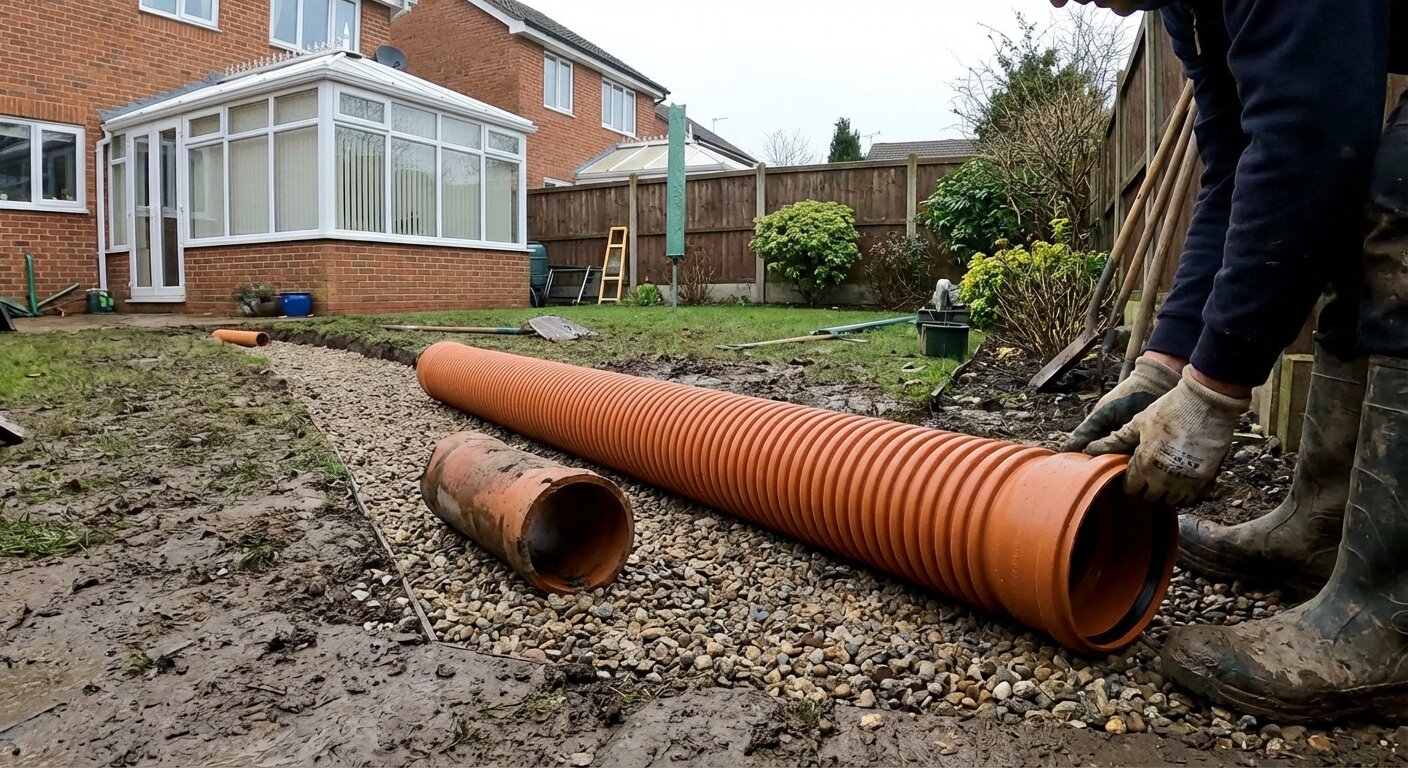
Socket Accommodation
PVC-U drainage pipe has a wider socket (bell) at one end. If the socket sits on the same bed as the barrel, the barrel lifts slightly at that point, creating a dip between sockets. Over a long run, this creates a series of low points that trap water and debris, leading to recurring blockages.
Solution: At each socket, scoop a shallow depression (50 mm deep, 200 mm long) in the bedding material. The socket sits in the depression, allowing the barrel to rest flat on the bed throughout. This is a small detail that makes a significant difference to the long-term performance of the drain.
Cover Depth
The depth of fill above the pipe crown is critical — too shallow and surface loads can crush the pipe; too deep and ground pressure is excessive (though PVC-U handles significant depth).
| Pipe Stiffness | Minimum Cover (garden/grass) | Minimum Cover (driveway) | Minimum Cover (road) |
|---|---|---|---|
| SN4 (standard) | 600 mm | 600 mm | 1,200 mm |
| SN8 (heavy duty) | 300 mm | 300 mm | 900 mm |
For most domestic work, SN4 pipe with 600 mm cover is standard. If cover is limited (e.g., drain under a shallow patio), use SN8 pipe. Kalsi Plastics’ underground drainage range includes both SN4 and SN8 pipe classes for the 110mm system and 160mm system.
What If Cover Is Insufficient?
Where the required minimum cover cannot be achieved (common when crossing existing paths, patios, or shallow areas):
- Upgrade to SN8 pipe — handles shallower cover
- Use concrete surround (Class S bedding) — provides additional protection
- Install a concrete slab over the pipe — distributes point loads from above
- Re-route the pipe — if possible, find a deeper route
Common Mistakes
1. No Bedding at All
Laying pipe directly on the trench bottom — whether clay, chalk, or gravel — creates point loads where stones or hard spots press against the pipe. Under backfill pressure, these point loads crack the pipe.
2. Wrong Material
Using topsoil, clay lumps, or construction waste as bedding. These compact unevenly and do not provide uniform support. They also retain water around the pipe, which in freezing conditions can cause additional damage.
3. Compacting Too Close to the Pipe
Running a plate compactor directly over a pipe with less than 300 mm of cover crushes or deforms it. Build up the fill in layers and only compact mechanically above the 300 mm mark.
4. No Socket Depression
Failing to accommodate the wider sockets creates undulating pipe — low points between sockets that trap water and debris, leading to blockages and standing water.
5. Rushing the Backfill
Dumping a full trench of material on top of the pipe in one go and compacting it all at once. This puts enormous lateral and vertical pressure on the pipe. Always backfill in layers (150–200 mm) with progressive compaction.
6. Using the Wrong Gradient
Even with perfect bedding, a pipe laid at the wrong gradient will not drain properly. Too flat and water moves too slowly (sediment drops out). Too steep and the liquid runs ahead of the solids (leaving debris behind). The sweet spot for 110 mm foul drainage is 1:40 — a 25 mm fall per metre.
Testing Before Backfilling
Building Regulations require drainage to be tested before backfilling:
- Air test: The pipe run is sealed at both ends and pressurised with air. A pressure drop beyond the acceptable limit indicates a leak.
- Water test: The pipe run is filled with water and the level monitored. A drop indicates a leak.
Testing is done after bedding and before the main backfill. If the test fails, you can still access and fix the joint or pipe section. After backfilling, the only option is to dig it all up again.
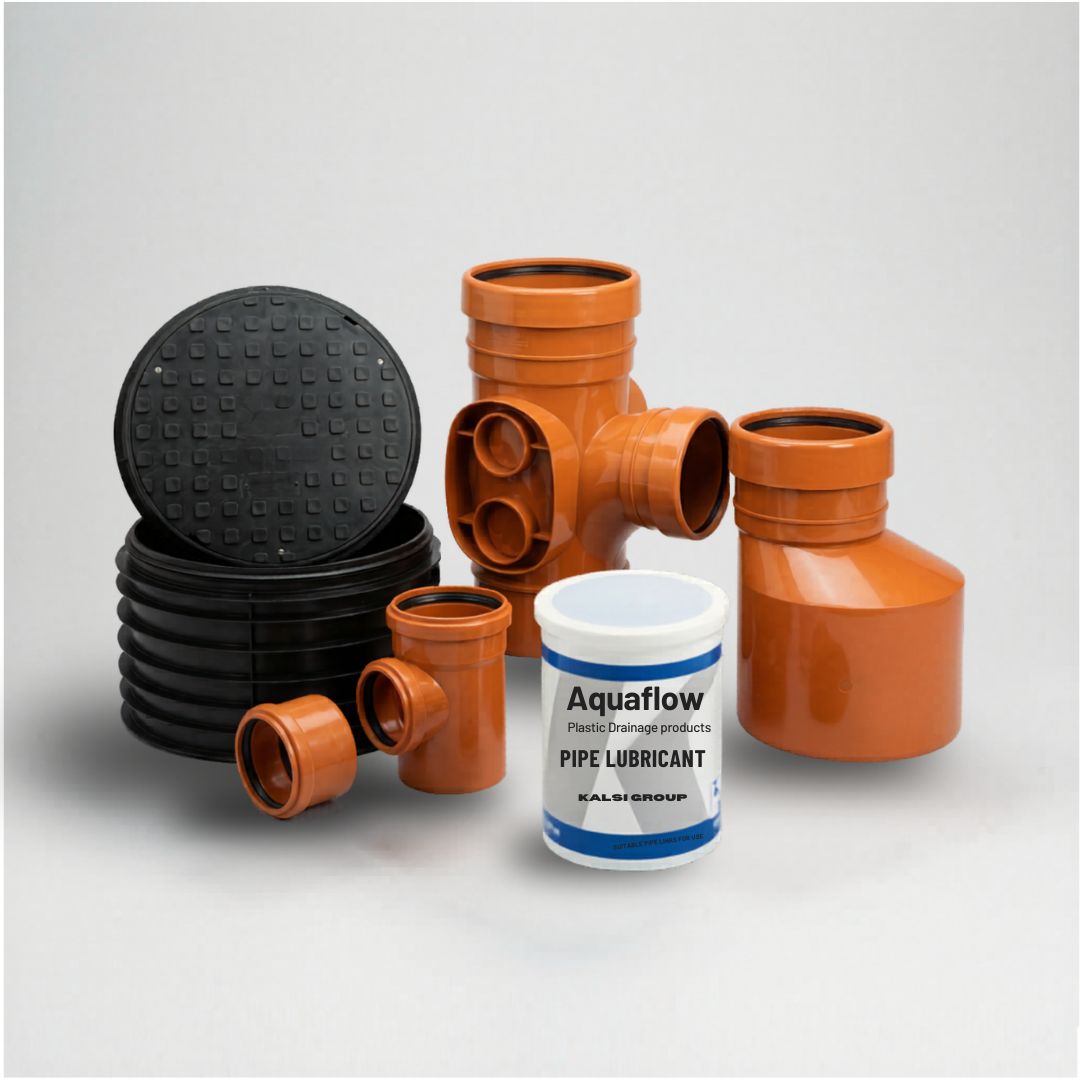
For more detailed guidance on drainage system components, see our drainage accessories guide.
Frequently Asked Questions
How do you bed underground drainage pipe?
Lay a 100 mm granular bed (pea gravel or 10 mm aggregate) on the trench bottom, place the pipe, haunch with the same material to half the pipe height, and provide granular surround to 150 mm above the pipe crown. This is Class B bedding under BS EN 1610, the standard for most domestic installations.
What material should I use for pipe bedding?
Pea gravel (6–10 mm) or 10 mm clean aggregate is the standard. Avoid topsoil, clay, DOT Type 1, construction waste, or any material with mixed particle sizes. The bedding must be uniform, free-draining, and provide even support along the full pipe length.
How deep should the bedding be?
A minimum of 100 mm beneath the pipe. The total granular surround (bed + haunch + cover) extends from 100 mm below the pipe to 150 mm above the pipe crown.
Can I use sand for pipe bedding?
Sharp sand (builder’s sand) can be used for the bed layer but is not ideal for the surround because fine particles can migrate into the ring-seal joints over time. Pea gravel is preferred for the complete bed and surround.
What happens if pipe bedding is wrong?
Incorrect bedding leads to uneven pipe support, point loading from hard spots, pipe deformation or cracking, and joint displacement. Symptoms include recurring blockages, slow drainage, and eventually pipe collapse. Repair requires excavating the entire affected section and relaying the pipe on proper bedding — far more expensive than doing it right the first time.
Do I need to test the drain before backfilling?
Yes. Building Regulations require an air test or water test before backfilling to confirm the pipe run is watertight. Building Control may request to witness the test. Always test before covering the pipe — finding a leak after backfilling means excavation.