How to Install an Inspection Chamber (Manhole)
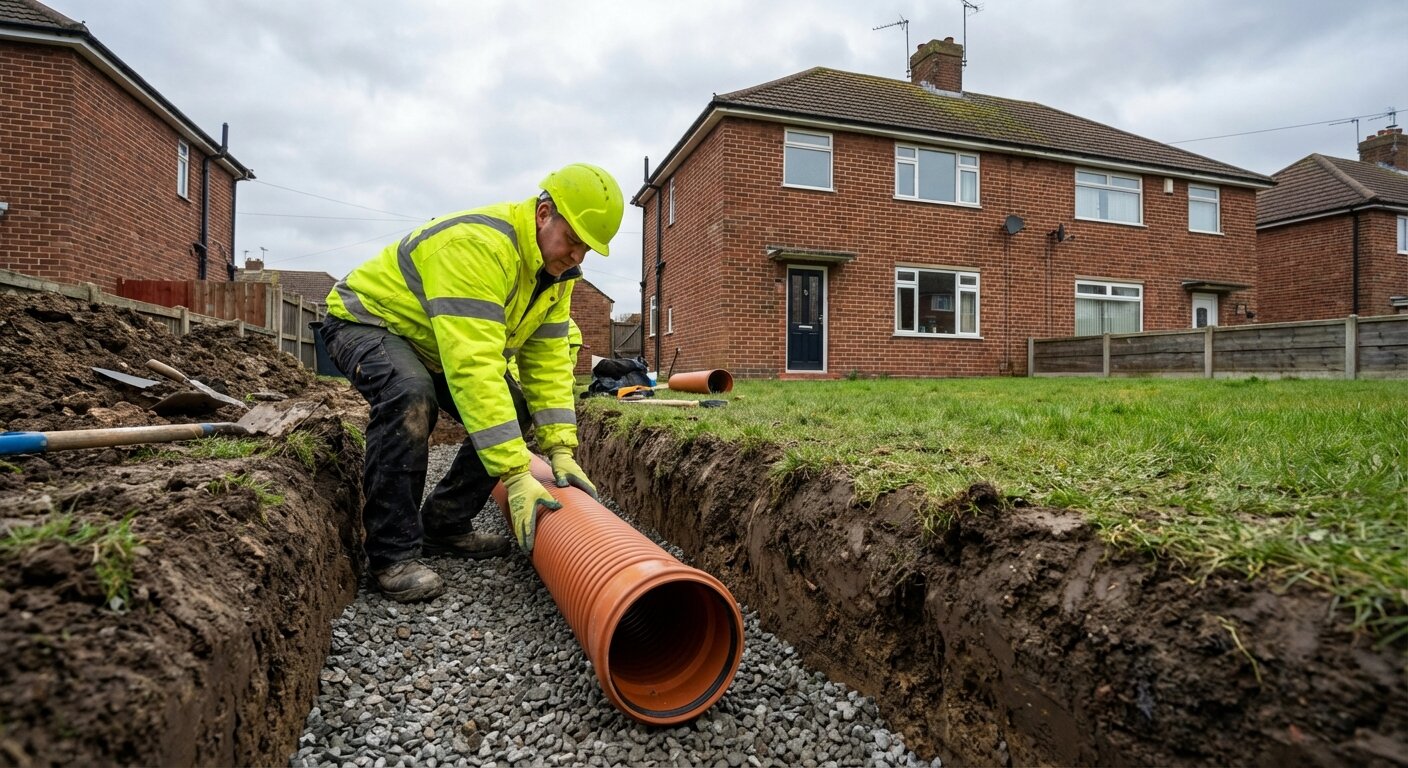
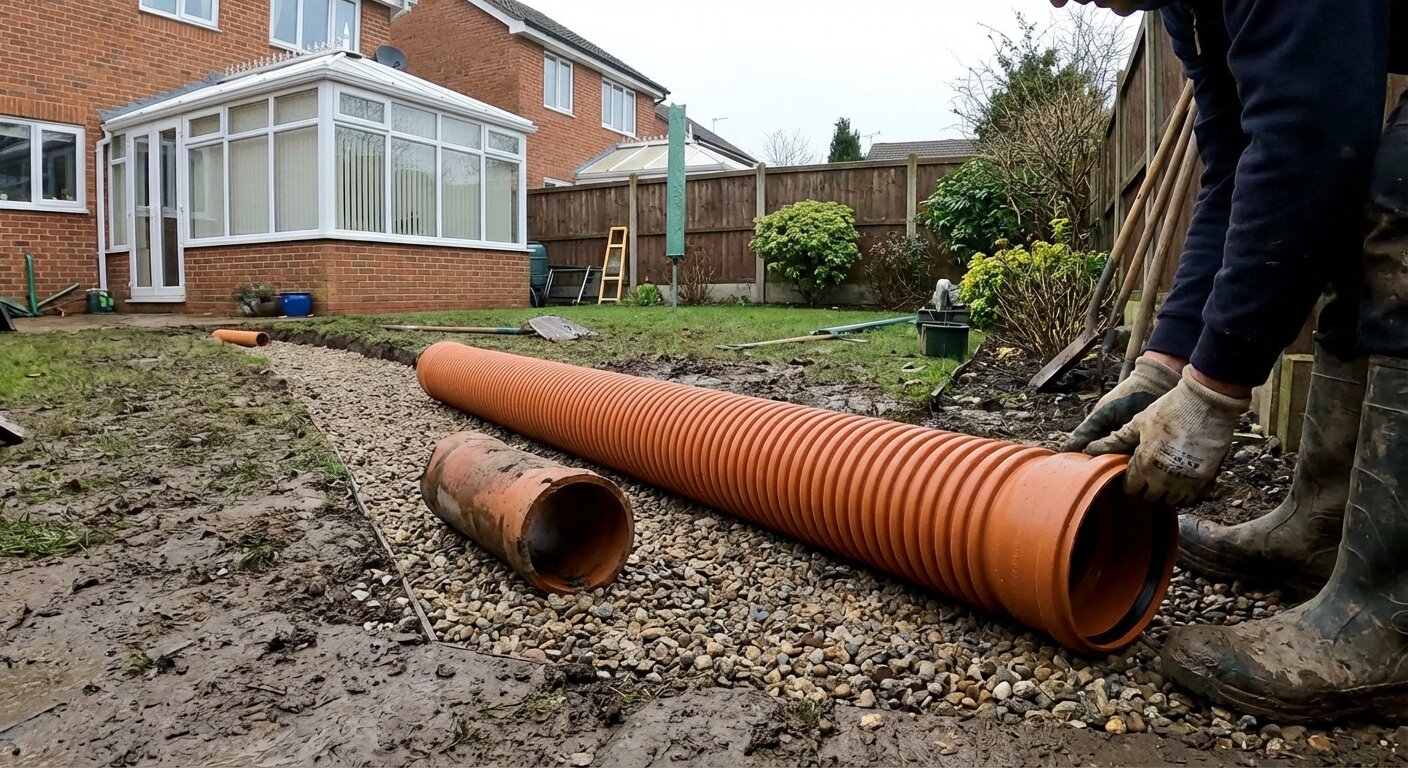
To install a drainage inspection chamber, excavate a pit at the change of direction or junction, set the chamber base at the correct invert level on a concrete or compacted-gravel bed, connect the incoming and outgoing pipes through the pre-formed knock-outs, build up the shaft with riser sections to ground level, and fit a cover and frame rated for the expected surface loading. The chamber provides rodding access to the drain — essential for clearing blockages and required by Building Regulations at every change of direction, junction, and at intervals along straight runs.
Inspection chambers are the access points into your underground drainage system. Without them, a blocked drain means guesswork, expensive CCTV surveys, or digging up the pipe to find the problem. With them, a drain rod or jetting hose can reach every section of the system quickly and cheaply.
When You Need an Inspection Chamber
Building Regulations (Approved Document H) require drainage access at:
| Situation | Access Required |
|---|---|
| Head of each drain run (nearest building) | Rodding eye or inspection chamber |
| Change of direction (bend >45°) | Inspection chamber |
| Junction (branch connecting) | Inspection chamber |
| Change of gradient | Inspection chamber |
| Every 12 m on drains up to 150 mm bore | Rodding point or inspection chamber |
| Every 22 m on drains 150 mm+ | Inspection chamber or manhole |
| Every 45 m on straight runs | Inspection chamber or manhole |
For a typical domestic extension drainage run, you will need at least one inspection chamber — usually at the junction where the new drain meets the existing system.
Types of Inspection Chamber
| Type | Depth | Diameter | Use |
|---|---|---|---|
| Mini access chamber | Up to 600 mm | 150–225 mm | Shallow drains, straight runs, rodding access only |
| Standard inspection chamber | Up to 1,000 mm | 315–450 mm | Most domestic junctions and bends |
| Large inspection chamber | Up to 1,200 mm | 450–600 mm | Deep drains, multiple connections |
| Manhole (brick/concrete) | Over 1,200 mm | 600 mm+ | Very deep drains, public sewers, complex junctions |
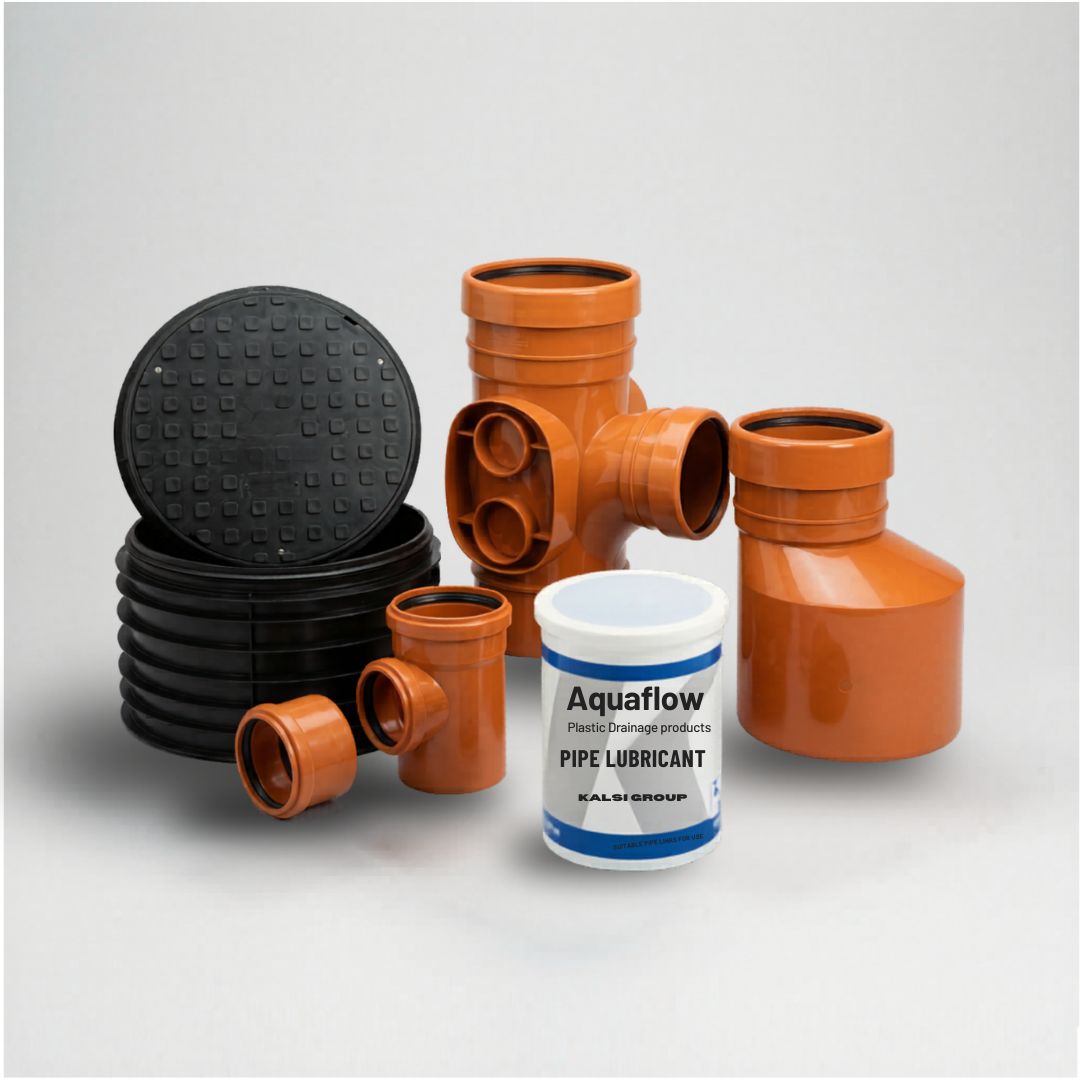
For most domestic work, a 315 mm or 450 mm plastic inspection chamber with a moulded base, risers, and a sealing ring is the standard choice. Kalsi’s inspection chamber range covers these sizes.
Step-by-Step Installation
Step 1: Excavate the Pit
Dig a pit at the inspection chamber location. Size:
- Width and length: chamber diameter + 300 mm clearance all round
- Depth: invert level of the lowest pipe + chamber base thickness + 100 mm bedding
Step 2: Prepare the Base
Lay a 100 mm compacted bed of pea gravel or lean-mix concrete at the bottom of the pit. Level it carefully — the chamber base must be flat and at the correct invert level.
Step 3: Set the Chamber Base
Place the moulded chamber base on the prepared bed. The base has pre-formed channels matching the pipe layout (straight through, 90° bend, T-junction, etc.).
Getting the invert level right: The channel in the base must align exactly with the invert of the incoming and outgoing pipes. If the level is wrong, water will not flow correctly — either pooling in the chamber or flowing back up the pipe.
Step 4: Connect the Pipes
Chamber bases have knock-out entries — pre-formed thin sections that you cut or push out to accept the pipe.
- Remove the appropriate knock-outs for your pipe connections
- Push the pipe through the opening into the chamber
- Seal with the rubber sealing ring provided (or use a pipe adaptor)
- Ensure the pipe sits at the correct invert level in the channel
- The pipe should project 30–50 mm into the chamber
Step 5: Build Up the Shaft
Stack riser sections on top of the base to reach ground level:
- Place the first riser ring on the base (they usually have a rubber seal)
- Add additional risers as needed for depth
- Cut the top riser to the correct height so the cover sits flush with the finished ground level
- Use a reducer if needed to transition from a large chamber to a smaller cover size
Step 6: Fit the Cover and Frame
| Surface Type | Cover Duty Rating |
|---|---|
| Garden, grass, planted area | Light duty (2.5 tonnes / Class A15) |
| Footpath, patio | Medium duty (5 tonnes / Class B125) |
| Driveway (domestic cars) | Heavy duty (12.5 tonnes / Class C250) |
| Road, car park | Very heavy duty (40+ tonnes / Class D400) |
Bed the frame in mortar on top of the riser shaft. Ensure the cover is level with the surrounding surface and the lid opens freely.
Step 7: Backfill
Fill around the chamber with pea gravel or selected fill. Compact in layers to avoid settlement. Do not compact directly against the chamber walls — the granular fill provides support without point loading.
Chamber Base Types
| Configuration | Use | Description |
|---|---|---|
| Straight through | Straight pipe runs with access | Channel runs straight through the base |
| 45° bend | Change of direction | Channel turns 45° through the base |
| 90° bend | Right-angle change of direction | Channel turns 90° |
| T-junction | Branch connection | Three channels meeting at a junction |
| Y-junction | Angled branch connection | Three channels at 45° angles |
| Universal base | Custom configurations | Multiple knock-outs; installer forms the channels |
Key Dimensions
| Chamber Size | Typical Use | Minimum Internal Diameter |
|---|---|---|
| 315 mm | Single-pipe access, domestic shallow | 315 mm |
| 450 mm | Standard domestic — junctions, bends | 450 mm |
| 600 mm | Multiple connections, deeper drains | 600 mm |
For drains deeper than 1.2 m, a brick or concrete manhole is typically required rather than a plastic inspection chamber, because the ground pressure at depth can deform plastic chambers.
Common Mistakes
1. Wrong Invert Level
If the chamber channel is higher than the incoming pipe, water pools before entering the chamber and debris accumulates. Always check the invert level with a laser level or spirit level before fixing anything.
2. Undersized Cover Rating
A light-duty cover in a driveway will crack under vehicle weight. Always specify the cover rating based on the expected loading — not just what is available or cheapest.
3. Cover Not Level with Ground
A cover sitting proud of the ground is a trip hazard. One sitting below ground collects water and debris. Set it precisely flush with the surrounding surface.
4. No Sealant on Risers
While the rubber seals between risers provide the primary seal, applying a bead of mastic sealant ensures groundwater does not infiltrate the chamber. Infiltration increases the load on the sewer system and may not be acceptable to the water company.
5. Forgetting the Benching
On larger chambers, the area around the channels should be benched (sloped) from the chamber wall down to the channel. This ensures any water that enters the chamber drains into the channel rather than pooling on the base.
Frequently Asked Questions
How to install a drainage inspection chamber?
Excavate a pit to the correct depth, lay a level bed of gravel or concrete, set the chamber base at the correct invert level, connect incoming and outgoing pipes through the knock-out entries, stack risers to ground level, and fit a cover rated for the surface loading. Have Building Control inspect before backfilling.
How deep can a plastic inspection chamber be?
Standard plastic inspection chambers are designed for depths up to 1,000–1,200 mm from the invert to the cover level. Below 1,200 mm, a brick or concrete manhole is typically specified due to ground pressure. Some heavy-duty plastic chambers can go deeper — check the manufacturer’s data sheet.
What size inspection chamber do I need?
For a standard domestic junction or bend with 110 mm pipe, a 450 mm diameter chamber is the most common choice. For shallow access on straight runs, a 315 mm mini chamber may suffice. For multiple pipe connections or complex junctions, consider a 600 mm chamber.
Do I need Building Control to inspect my drainage?
Yes. New drainage work, alterations, and connections to existing drains require Building Control notification. They will inspect the excavated trench, pipe layout, and inspection chambers before you backfill. This is a legal requirement and the completion certificate is needed for property sales.
Can I move an existing inspection chamber?
Yes, but it requires Building Control approval. The new chamber must provide equivalent access to the drainage system and meet current Building Regulations standards. The work involves excavating the existing chamber, modifying the pipe connections, and installing the new chamber at the revised location.