Window Trims & Finishing: Getting a Clean Roofline Look
To finish roofline around windows, use PVC-U trims and cover strips that bridge the gaps between fascia boards, soffit panels, and window frames. The key finishing profiles include J-trims (for soffit edges), F-sections (for fascia-to-soffit junctions), corner pieces, joint trims, and window-surround trims. These small but essential components turn a good roofline installation into a professional-looking one by covering raw edges, expansion gaps, and the inevitable joints between boards. Without proper trims, a PVC roofline looks unfinished and is vulnerable to water ingress at every exposed edge.
The devil is in the details. A roofline can use the best fascia, soffit, and guttering available, but if the finishing trims are missing, badly fitted, or the wrong type, the overall result looks poor. Trims are the last 10% of the job but account for 50% of the visual impact.
Essential Roofline Trims
Fascia Joint Trim
Covers the joint between two lengths of fascia board. Slides over the butt joint, accommodating the 3 mm expansion gap.
F-Section (Starter Trim)
An F-shaped profile that creates the junction between the fascia and the soffit. The top of the F holds the soffit board edge, while the back fixes to the fascia or rafter end.
J-Trim (Edge Trim)
A J-shaped profile used to finish the edge of a soffit board where it meets the wall. The soffit slides into the J-channel, creating a clean edge without visible fixings.
H-Section (Joining Trim)
Connects two soffit boards edge-to-edge on wide soffits where a single board does not span the full width.
Internal Corner Trim
For corners where the roofline turns inward — typically where a house meets a rear extension.
External Corner Trim
For corners where the roofline turns outward — bay windows, porches, front projections.
Bargeboard/Fascia Junction Piece
Covers the junction where the angled bargeboard meets the horizontal fascia board at the eaves. This is a tricky angle that looks untidy without a purpose-made cover.
Window Surround Trims
Cover the gap between the window frame and the surrounding wall or cladding. Available in various depths to accommodate different reveal sizes.
Trim-by-Trim Installation Guide
Fascia Joint Trims
- Fit the two fascia boards with a 3 mm expansion gap between them
- Slide the joint trim over the gap — it should grip both boards
- The trim accommodates thermal expansion while maintaining a neat appearance
- No adhesive needed — it stays in place by friction
F-Section for Soffit-to-Fascia
- Fix the F-section to the rear face of the fascia board (or the underside of the rafter overhang) using small pins
- The open channel of the F faces the wall
- Slide the soffit board into the F-channel
- The other edge of the soffit fixes to a J-trim or batten on the wall side
J-Trim on the Wall Side
- Fix the J-trim horizontally along the wall at the correct height for the soffit
- Use masonry fixings (wall plugs + screws) for brick/block walls
- Slide the soffit board into the J-channel
- The J-trim provides a clean edge and hides the cut end of the soffit
Finishing Around Dormer Windows
Dormer windows create complex junctions between the roofline, the window frame, and the dormer cheeks. Key finishing details:
- Dormer cheek cladding — PVC cladding panels cover the vertical sides of the dormer
- Top trim — covers the junction between the dormer roof and the main roof
- Window surround — trims around the window frame itself
- Soffit under the dormer overhang — soffit board with F and J trims
Each junction needs the correct trim profile. Work from the back (wall side) forward, ensuring each layer overlaps the one behind to shed water correctly.
Finishing Around Bay Windows
Bay windows present three external corners and two or three internal corners at the roofline level. A professional finish requires:
- 135° angle pieces on the gutter (for 45° bay splays)
- External corner trims on the fascia at each bay corner
- Soffit panels cut to the correct angle and joined with H-sections
- A continuous drip line — the fascia face should project slightly beyond the soffit to shed water outward
Pre-formed 135° corner pieces save significant time compared to hand-cutting mitres.
Colour Matching
All trim profiles should match the board colour exactly. Kalsi Plastics’ roofline accessories are manufactured from the same PVC-U compound as the fascia and soffit boards, ensuring colour consistency across the installation.
| Board Colour | Available Trim Colours |
|---|---|
| White | White |
| Anthracite grey | Anthracite grey |
| Black | Black |
| Rosewood | Rosewood |
| Light oak | Light oak |
Using trims from a different manufacturer risks a visible colour mismatch — “white” varies between brands, and the difference is noticeable where a trim sits directly against a board.
Common Finishing Mistakes
1. No Expansion Gaps
PVC-U boards expand in heat. If boards are butted tight together without an expansion gap (covered by a trim), they buckle in summer. Always leave 3 mm and cover with a joint trim.
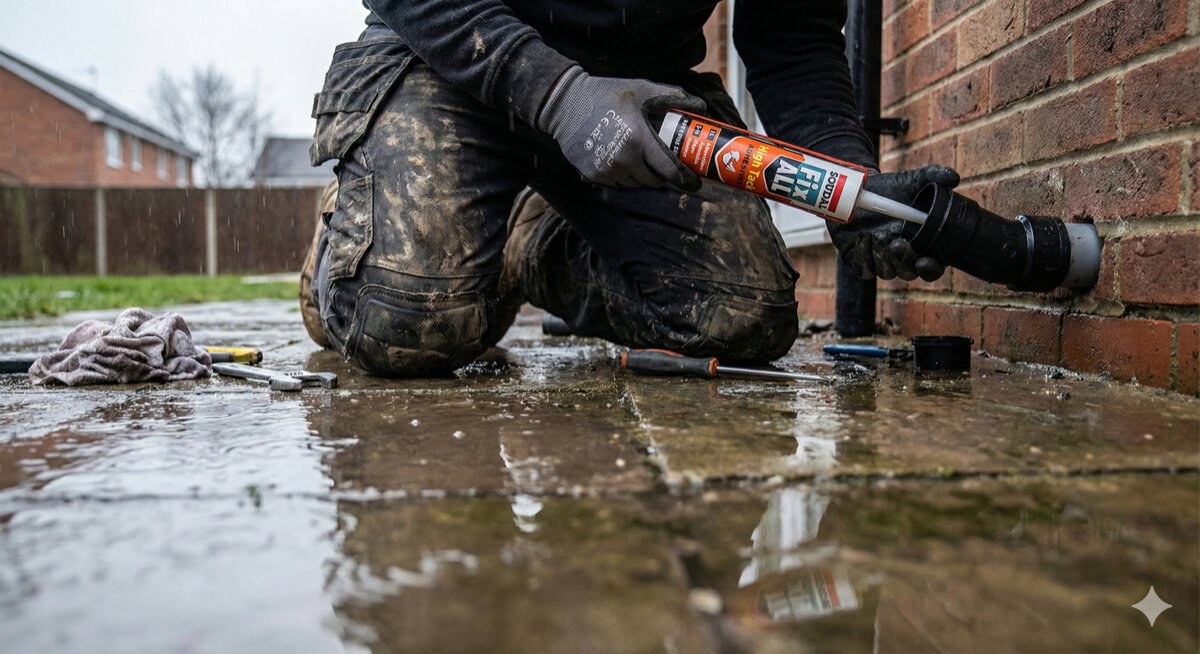
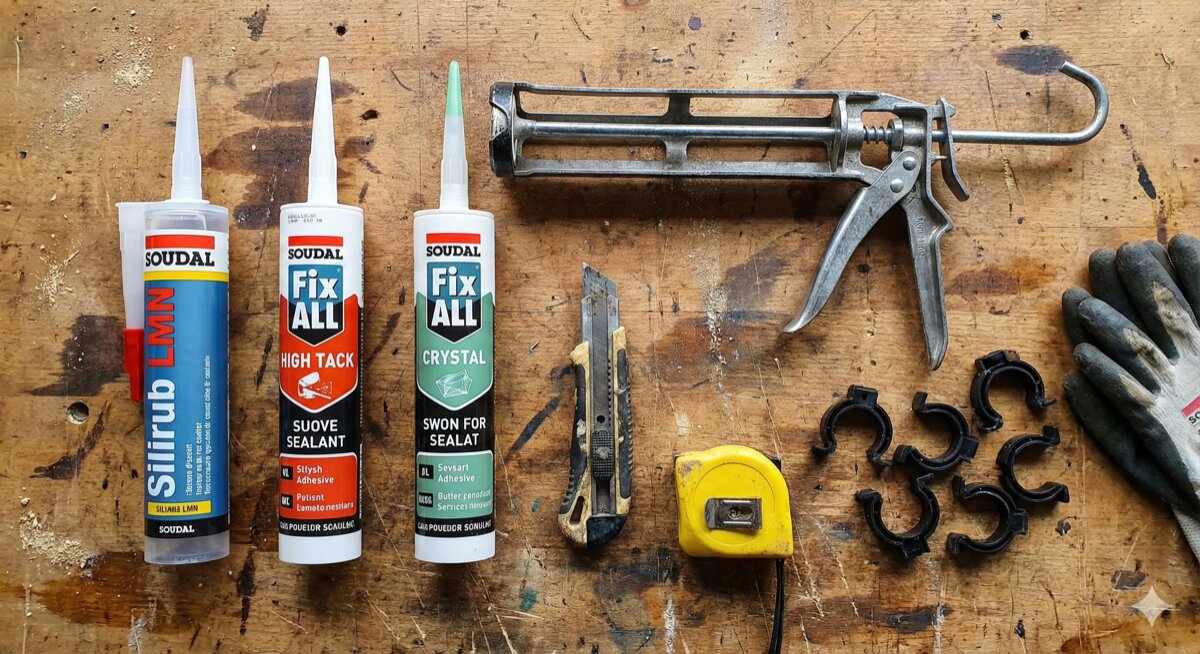
2. Silicone Instead of Trims
Some installers fill gaps with silicone sealant instead of using proper trims. Silicone degrades, attracts dirt, yellows, and cracks over time. Trims are cleaner, more durable, and easier to maintain.
3. Wrong Trim Profile
Using an F-section where a J-trim is needed (or vice versa) leaves visible gaps or bulges. Check which trim is specified for each junction.
4. Missing Wall-Side Finish
The soffit edge against the wall is often neglected, left with a raw-cut PVC edge visible from below. A J-trim on the wall side gives a professional finish for minimal extra cost.
5. Poor Mitres at Corners
Cutting mitres in PVC requires a sharp, fine-toothed blade and a mitre box or saw. Rough cuts leave visible gaps. For external corners, pre-formed corner pieces are available and give a consistently clean result.
Tools for Trim Work
| Tool | Use |
|---|---|
| Mitre box and fine-toothed saw | Cutting trims to length and angle |
| Tin snips | Trimming thin PVC profiles |
| Tape measure and pencil | Measuring |
| Pin gun (pneumatic or manual) | Fixing trims without visible screw heads |
| Silicone sealant (exterior clear) | Sealing the back of trims at critical junctions |
| Spirit level | Ensuring horizontal trims are level |
The Complete Trim Shopping List
For a typical semi-detached house with one gable end:
| Trim | Approximate Quantity |
|---|---|
| Fascia joint trims | 6–10 |
| F-section (2.5m lengths) | 8–12 lengths |
| J-trim (2.5m lengths) | 8–12 lengths |
| H-section (for wide soffit joins) | 2–4 lengths |
| External corner pieces | 2–4 |
| Internal corner pieces | 1–2 |
| Bargeboard/fascia junction | 2 (one per gable side) |
| Window surround trims | Varies — measure each window |
Frequently Asked Questions
How to finish roofline around windows?
Use PVC-U window surround trims to bridge the gap between the window frame and the surrounding fascia, soffit, or cladding. The trim covers the raw edges and seals against weather. For dormer and bay windows, use the appropriate angle pieces and corner trims to create clean junctions at every change of direction.
What trims do I need for fascia and soffit?
At minimum: fascia joint trims (at every board joint), F-section (where soffit meets fascia), J-trim (where soffit meets the wall), and corner pieces at any direction changes. Your merchant or supplier can provide a cutting list based on your measurements.
Can I use trims from a different brand?
It is not recommended. PVC-U colours vary between manufacturers — what looks like “white” from one supplier may be visibly different next to “white” from another. For the best colour match, use trims from the same range as your fascia and soffit boards.
Do trims come in the same colours as fascia boards?
Yes. Reputable manufacturers produce trims in the same colour range as their fascia and soffit boards, manufactured from the same material for perfect colour matching. Kalsi’s roofline accessories cover all standard colours.
How do I cut trims neatly?
Use a mitre box with a fine-toothed hacksaw for straight and angled cuts. For thin trims, tin snips give a clean result. Always measure twice and cut once — trims are visible at close range, so accuracy matters.