How to Replace Fascia Boards Without Scaffolding
Yes, you can replace fascia boards yourself without scaffolding, provided the property is a bungalow or standard two-storey house and you have the right access equipment. A scaffold tower or combination ladder with a suitable platform provides safe, stable access to the roofline for most domestic properties. The work itself — removing old timber fascia and fitting new PVC-U boards — requires basic carpentry skills, common tools, and a methodical approach. However, if your property is three storeys or more, has a complex roofline, or if you are not confident working at height, hiring scaffolding and a professional installer is the safer and more practical option.
Replacing fascia boards is one of the most common roofline maintenance jobs in the UK. Timber fascias rot, warp, crack, and need repainting every few years. PVC-U replacements solve all of those problems permanently. The main barrier for most DIYers is not the skill level but the height access — and that is solvable without the expense of full scaffolding.
Access Options: What You Can Use Instead of Scaffolding
| Equipment | Best For | Cost | Safety |
|---|---|---|---|
| Scaffold tower (mobile) | Bungalows, single-storey extensions, garages | £80–200/week hire | Excellent — wide platform, guardrails |
| Combination ladder + platform | Two-storey houses, section-by-section work | £150–300 to buy | Good — follow HSE ladder guidance |
| Roof ladder | Working along the eaves from roof level | £80–150 to buy | Good — distributes weight on tiles |
| Scaffold tower + ladder boards | Two-storey properties needing extended reach | £120–250/week hire | Very good |
Scaffold Tower (Recommended)
The safest alternative to full scaffolding. A mobile aluminium scaffold tower gives you a stable working platform at the correct height with guardrails and a wide base. Most domestic fascia replacement can be done from a scaffold tower.
Advantages:
- Stable platform for working with both hands
- Can be moved along the elevation
- Available from tool-hire companies (£80–200/week)
- Self-assemble in 30–60 minutes
Limitations:
- Requires flat, firm ground
- Maximum practical height: ~6 m (two-storey eaves)
- Cannot easily access sections above conservatories, bay windows, or roofs
Ladder System
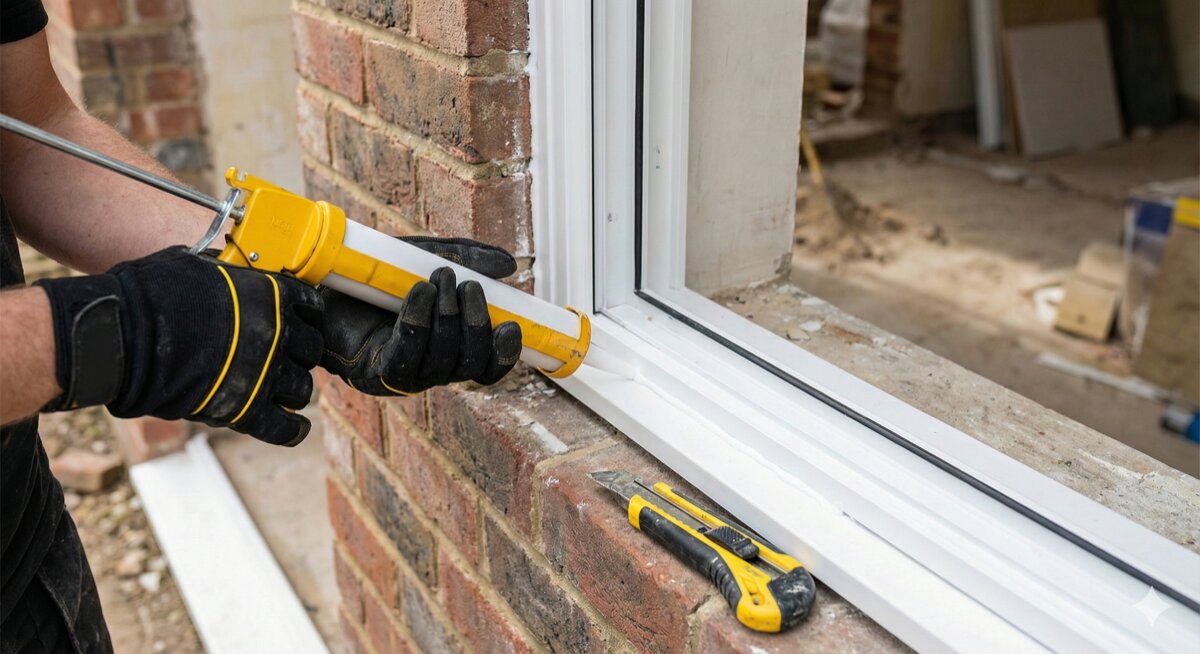
For experienced DIYers, a combination ladder (extending to 6–8 m) with a proper standoff bracket keeps you at the right height without leaning against the gutter.
Critical safety rules:
- Use a ladder standoff — never lean the ladder against the gutter or fascia
- Maintain the 1:4 rule — base 1 m out for every 4 m of height
- Have someone foot the ladder at all times
- Do not overreach — move the ladder instead
- Never work from a ladder in windy conditions
When NOT to DIY
Be honest about your limits. Hire a professional with scaffolding if:
- The property is three storeys or more
- The fascia runs above a conservatory, extension, or garage roof that complicates access
- The roofline has complex geometry (multiple levels, dormers, valleys)
- The timber fascia is structurally integrated with the roof structure (e.g., on older properties where the fascia carries the gutter and part of the tile batten)
- You are not comfortable working at height
- The rafters behind the fascia are rotten and need structural repair
Tools and Materials
Tools
| Tool | Purpose |
|---|---|
| Scaffold tower or ladder + standoff | Safe access |
| Claw hammer and pry bar | Removing old fascia |
| Circular saw or hand saw | Cutting PVC-U fascia to length |
| Cordless drill/driver | Fixing new boards |
| Spirit level (1200 mm) | Checking alignment |
| Tape measure | Measuring |
| Pencil | Marking |
| Tin snips | Trimming PVC trims |
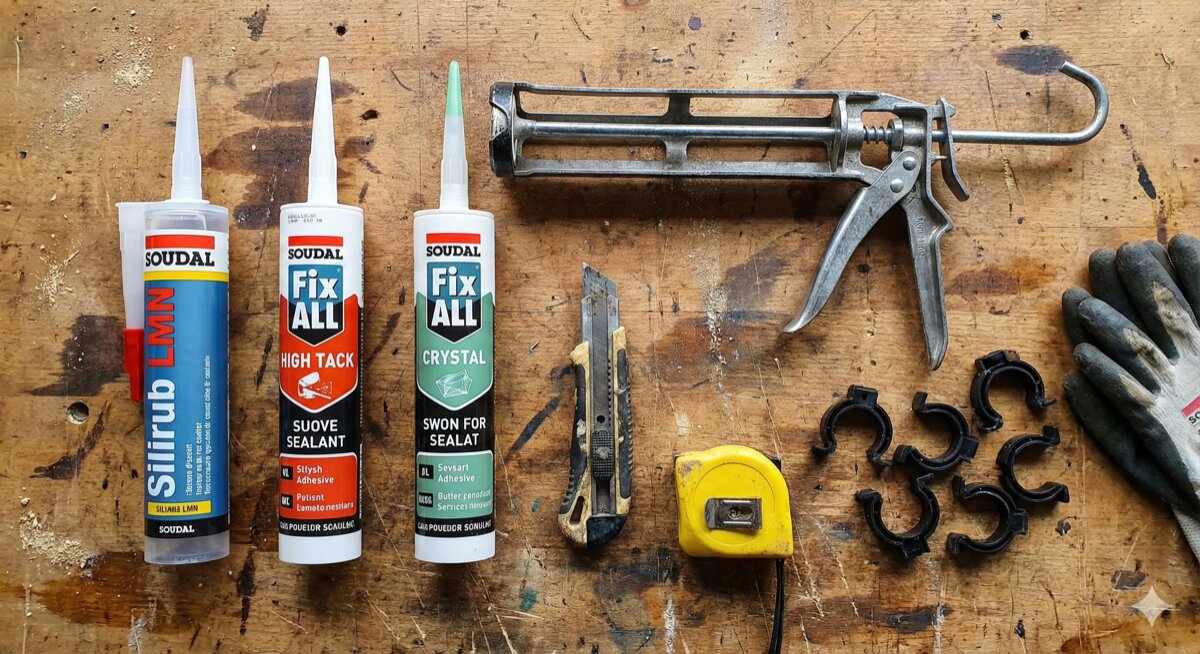
| Silicone sealant gun | Sealing joints |
Materials
| Item | Notes |
|---|---|
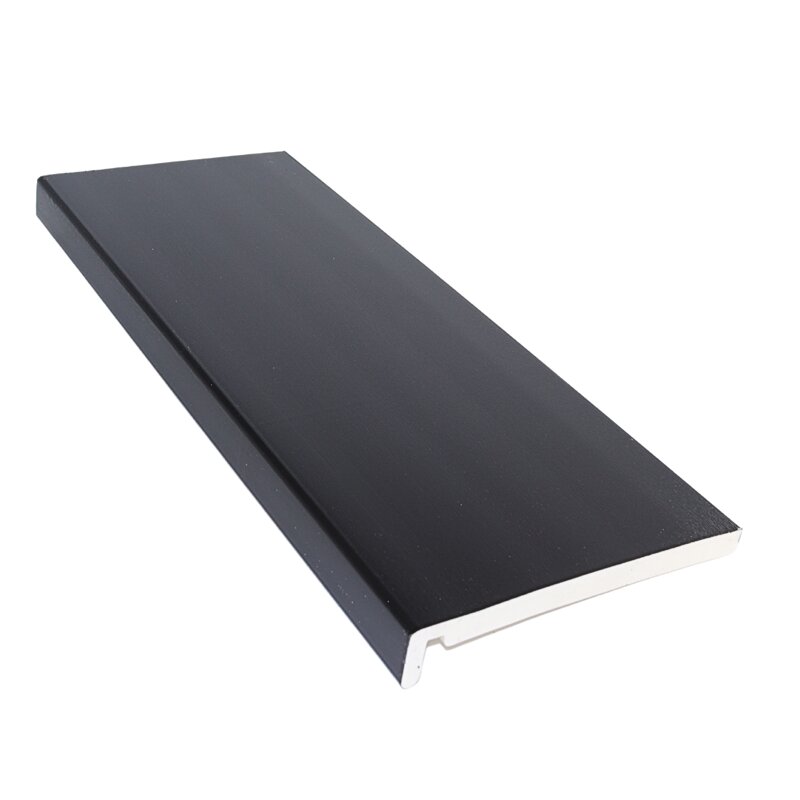
| PVC-U fascia boards | Available in 150, 175, 200, 225 mm depths. Match existing depth or upgrade |
| Fascia joint trim | Covers the joint between two board lengths |
| Fascia corner pieces | Internal and external corners |
| Stainless steel pins (25–40 mm) | Fixing fascia to rafter ends |
| Stainless steel screws (40–50 mm) | For structural fixing through to rafters |
| Ventilation strip (if needed) | 10 mm or 25 mm continuous vent along the top edge |
| Soffit board (if replacing at the same time) | Fits between fascia and wall |
Kalsi’s roofline range covers all standard fascia depths, colours, and profiles including flat board, bullnose, and ogee.
Step-by-Step: Replacing Timber Fascia with PVC-U
Step 1: Remove the Guttering
The gutter must come off before the fascia. Starting at one end:
- Remove the downpipe and set aside
- Unclip gutter sections from brackets
- Remove fascia brackets (screwed to the old fascia board)
- Stack guttering safely — you may be refitting it or replacing it
Step 2: Remove the Old Timber Fascia
- Prise the old board away from the rafter ends using a pry bar and claw hammer
- Work carefully to avoid damaging the roof tiles above
- Remove all old nails, screws, and fixings from the rafter ends
- Bag and dispose of the old timber
Step 3: Inspect the Rafter Ends
This is the critical step. With the old fascia removed, you can see the condition of the rafter feet (the ends of the roof timbers):
| Condition | Action |
|---|---|
| Sound timber, no rot | Proceed — fix new fascia directly to rafter ends |
| Surface rot (soft outer layer, firm core) | Cut back to sound wood; pack with treated timber if needed |
| Deep rot (rafter end is soft through) | Replace the rafter end — scab a new section alongside the remaining sound timber |
| Missing or broken rafter | Structural repair required — may need a carpenter or structural engineer |
Do not fit new fascia boards to rotten rafters. The fascia carries the weight of the gutter and rainwater — it needs a solid fixing foundation.
Step 4: Check Alignment
Use a string line along the rafter ends to check they are in a straight line:
- Fix a nail at the first and last rafter
- Run a taut string between them at the fascia fixing height
- Check each intermediate rafter — any that project or recede more than 3 mm should be packed or trimmed
PVC fascia boards are rigid and will show any unevenness in the rafter line. Spend time getting this right now.
Step 5: Fit Ventilation (If Required)
Building Regulations require ventilation to the roof void to prevent condensation. If the property has soffit ventilation (vented soffit boards), you may not need additional ventilation at the fascia. If there are no soffit vents, fit a continuous ventilation strip along the top edge of the fascia or use an over-fascia vent.
Approved Document F (Ventilation) and Approved Document C (Resistance to Moisture) specify the minimum ventilation requirements. The general rule for a cold roof is 10 mm continuous ventilation at the eaves on both sides of the roof.
Step 6: Cut and Fit PVC Fascia Boards
- Measure each section between rafter ends, corners, and other features
- Cut to length with a fine-toothed saw (circular or hand). PVC-U cuts cleanly but produces dust — wear a dust mask
- Offer up the board and check the fit
- Fix with stainless steel pins (25–40 mm) driven through the face of the board into the rafter ends. Two fixings per rafter (one near the top, one near the bottom of the board)
- Leave a 3 mm expansion gap at each joint between board lengths. Cover with a fascia joint trim piece
Step 7: Fit Joint Trims and Corners
Slide joint trims over the gap between board lengths. They click or slide into position and accommodate thermal expansion. Fit corner pieces at internal and external angles.
Step 8: Refit Guttering
With the new fascia in place:
- Fix new gutter brackets (screwing through the PVC fascia into the rafter ends behind)
- Set the correct fall (3 mm per metre towards the downpipe)
- Clip gutter lengths into brackets
- Refit downpipes
- Test with water
Common Mistakes to Avoid
1. Fixing Only to the PVC Fascia
PVC-U fascia boards flex. Gutter brackets must be screwed through the fascia into the solid timber rafter ends behind. Screwing into the PVC alone will pull out under the weight of a full gutter.
2. No Expansion Gaps
PVC-U expands and contracts with temperature. If boards are butted tightly together, they buckle in summer heat. Leave 3 mm gaps at each joint and use the manufacturer’s joint trims.
3. Forgetting Ventilation
Sealing the eaves with new fascia and soffit without providing ventilation traps moisture in the roof void, leading to condensation, damp, and timber decay. Always check ventilation requirements.
4. Ignoring Rotten Rafters
Fitting new fascia to rotten rafter ends is cosmetic — it looks great until the gutter falls off in the first storm. Always repair or replace damaged rafters first.
5. Wrong Board Depth
Measure the existing fascia depth before ordering. If the old board is 200 mm and you order 175 mm, there will be a visible gap above or below. Match the depth, or go larger to cover more of the rafter end.
Cost: DIY vs Professional
| Item | DIY | Professional (inc. scaffolding) |
|---|---|---|
| PVC fascia boards (24 m) | £120–250 | £120–250 |
| Fittings, trims, fixings | £40–80 | £40–80 |
| Scaffold tower hire (1 week) | £100–200 | Included in scaffolding |
| Scaffolding | — | £400–800 |
| Labour | Your time (1–2 days) | £600–1,200 |
| Total | £260–530 | £1,160–2,330 |
DIY saves roughly £900–1,800 on a typical three-bed semi. The trade-off is your time and the physical demand of working at height for extended periods.
Frequently Asked Questions
Can I replace fascia boards myself?
Yes, if your property is a bungalow or standard two-storey house and you are comfortable working at height. Use a scaffold tower or ladder with standoff for safe access. The work requires basic skills — removing old boards, inspecting rafter ends, cutting and fixing PVC-U boards. For three-storey properties or complex rooflines, hire a professional.
How long does it take to replace fascia boards?
A competent DIYer can complete one elevation of a typical semi-detached house in 4–6 hours. A full house (front, back, and sides) takes 2–3 days including guttering removal and refitting. A professional two-person team can complete a full house in 1–2 days.
Do I need to remove the guttering to replace fascia?
Yes. The guttering sits on brackets fixed to the fascia board. To remove the fascia, the gutter must come off first. This is a good opportunity to upgrade the guttering at the same time — fitting new PVC fascia and new guttering in one project is the most cost-effective approach.
What size fascia board do I need?
Measure the depth of your existing fascia from top to bottom. Common sizes are 150 mm, 175 mm, 200 mm, and 225 mm. Order the same size or the next size up if you want more coverage of the rafter ends. Kalsi’s fascia range covers all standard sizes.
Can I fit PVC fascia over existing timber?
This is called “capping” — fitting a thin PVC cover board over the existing timber fascia without removing it. Capping is quicker and cheaper but only appropriate if the timber underneath is structurally sound. If the timber is rotten, capping hides the problem and the rafter fixings will eventually fail. Full replacement is always the better long-term solution.