Solvent Weld Cement Guide: How to Get a Perfect Joint
To solvent weld PVC pipe, clean both surfaces, apply solvent cement to the pipe end and inside the fitting socket, push the pipe fully into the socket with a quarter-turn, and hold for 30 seconds. The solvent chemically softens the PVC surfaces, and as it evaporates, the two surfaces fuse into a single piece of plastic — creating a permanent, leakproof joint that is actually stronger than the pipe itself. The key to a perfect joint is preparation: clean surfaces, correct-size pipe and fitting, and working quickly before the solvent begins to cure.
Solvent welding is not gluing — it is a chemical fusion. Unlike adhesive (which sits between two surfaces), solvent cement dissolves the top layer of PVC on both the pipe and fitting. When you push them together, the dissolved layers merge. As the solvent evaporates, the PVC resolidifies as one continuous material. This is why a properly made solvent weld joint is permanent and cannot be pulled apart.
What You Need
| Item | Purpose |
|---|---|
| PVC pipe (correct size) | The pipe being joined |
| PVC fitting (matching system) | Socket, bend, tee, etc. |
| PVC solvent cement | The welding agent — must match the material (PVC-U or ABS) |
| PVC cleaner/primer (recommended) | Degreases and preps the surface |
| Fine-toothed hacksaw | Cutting pipe to length |
| File or deburring tool | Smoothing cut edges |
| Pencil | Marking insertion depth |
| Clean cloth | Wiping surfaces |
| Safety equipment | Gloves, eye protection, ventilation |
A Note on Solvent Cement Types
Not all cement is the same. The tin should state what material it is compatible with. The three main types are:
- PVC-U cement — for white or grey rigid PVC waste and soil pipe
- ABS cement — for black ABS pipe (a completely different formulation)
- Universal cement — designed to bond PVC-U to PVC-U, ABS to ABS, and in some cases PVC-U to ABS (check the manufacturer’s data)
Using the wrong type results in no bond at all. The joint will look assembled but will pull apart under minimal force or leak under water pressure.
Step-by-Step Process
1. Cut the Pipe
Cut squarely using a fine-toothed hacksaw or pipe cutter. A mitre box ensures a straight cut. An angled cut reduces the effective sealing area and can cause a weak joint.
2. Deburr and Chamfer
Remove any swarf (rough edges) from the cut end with a file. Create a slight chamfer (angled edge) on the outside of the pipe end — this helps the pipe slide into the socket without pushing the O-ring aside (even though solvent weld fittings do not use O-rings, the chamfer helps prevent the cement from being wiped off as the pipe enters).
3. Dry Fit
Push the pipe into the fitting without cement to check:
- The pipe reaches the correct depth
- The alignment is correct
- Mark the insertion depth on the pipe with a pencil
This step catches sizing errors before cement is involved. If the pipe fits loosely in the socket (too much play), the fitting or pipe may be out of tolerance — try a different fitting before proceeding.
4. Clean Both Surfaces
Wipe the pipe end and the inside of the fitting socket with PVC cleaner or a clean cloth dampened with methylated spirit. This removes dust, grease, and moisture that would weaken the joint.
For critical joints (soil stacks, pressurised systems), use a dedicated PVC primer. Primer softens the surface slightly before the cement is applied, creating a deeper chemical bond.
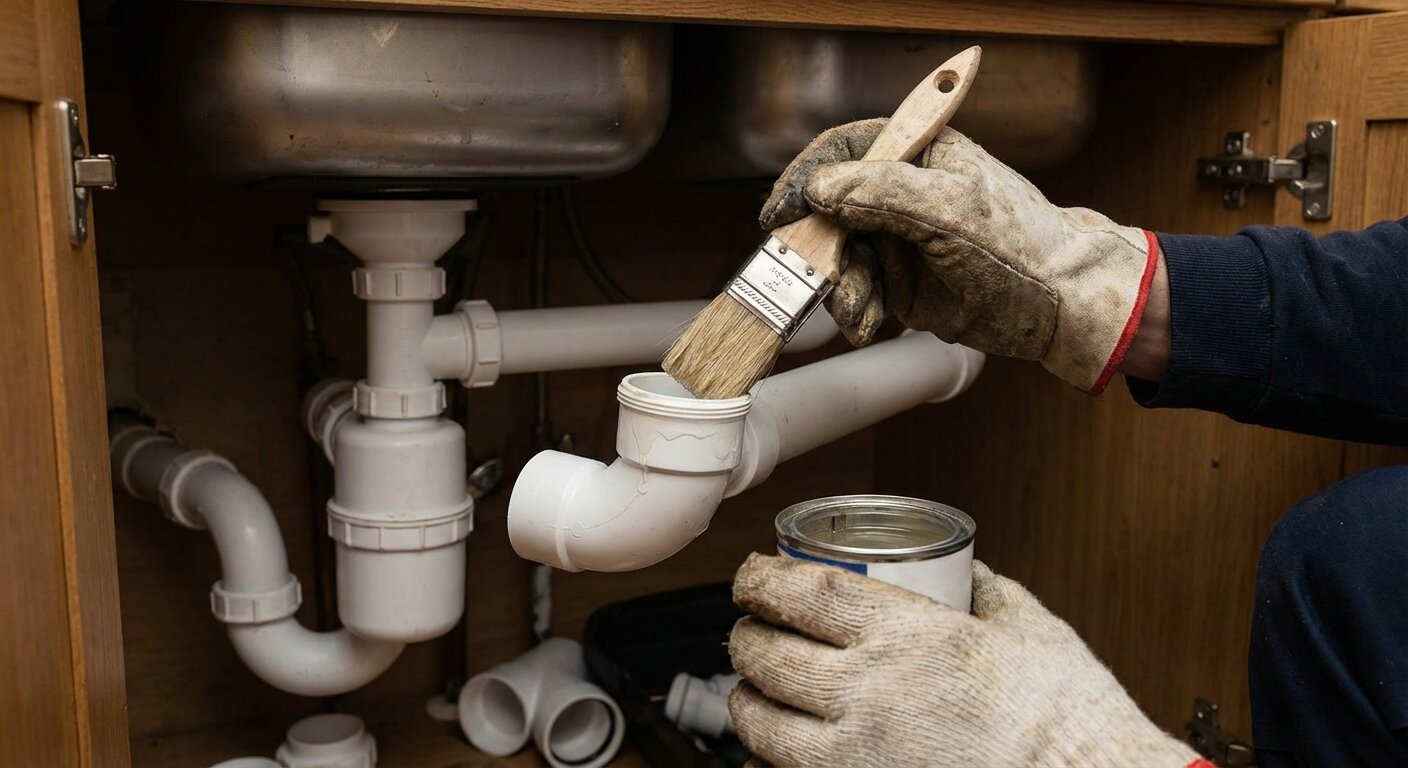
5. Apply Solvent Cement
On the pipe end:
- Apply a thin, even coat around the full circumference
- Cover the area from the end to just past the insertion mark
- Use the applicator brush supplied with the cement
Inside the fitting socket:
- Apply a thin coat around the full internal surface
- Do not flood — excess cement creates ridges inside the joint that restrict flow and catch debris
Work quickly — the solvent begins to cure immediately on contact with air. In warm weather, you may have as little as 15–20 seconds before the cement becomes too tacky.
6. Assemble the Joint
Push the pipe into the socket with a firm, steady push and a quarter-turn (90° twist). The twist spreads the cement evenly and ensures full contact.
Push to the insertion mark — do not force past it.
7. Hold for 30 Seconds
Hold the joint firm. The solvent makes the surfaces slippery, and the pipe will push back out if released too soon. After 30 seconds, the initial bond is strong enough to hold.
8. Wipe Off Excess
A small bead of cement may squeeze out at the joint face. Wipe it off with a clean cloth while it is still wet. This gives a neat finish and prevents lumps that could obstruct flow.
9. Cure
| Stage | Time |
|---|---|
| Initial set (joint holds) | 30–60 seconds |
| Handling strength | 5–15 minutes |
| Pressurisation / water test | 4–24 hours (depends on temperature and pipe size) |
| Full cure | 24 hours at 20°C |
Do not test with water until the manufacturer’s recommended cure time has elapsed. Testing too early can blow the joint before the cement has fully fused.
Temperature Matters
Solvent cement cures by evaporation. Temperature affects both application and cure:
| Temperature | Effect |
|---|---|
| Below 5°C | Very slow cure — cement may not set properly. Avoid if possible |
| 5–15°C | Slow cure — allow double the normal cure time |
| 15–25°C | Ideal conditions — standard cure times |
| Above 25°C | Fast cure — cement dries quickly; work faster |
| Above 35°C | Very fast cure — cement may skin over before assembly; keep lid on between uses |
In cold weather, store the cement indoors overnight and work in short bursts, assembling joints immediately after applying cement. If working outside in winter, consider warming the cement tin in a bucket of warm water (not hot) to maintain workable viscosity.
Solvent Weld vs Push-Fit: When to Use Each
Both systems create reliable, watertight joints. The choice depends on the application:
| Factor | Solvent Weld | Push-Fit |
|---|---|---|
| Joint type | Permanent chemical bond | Removable ring-seal joint |
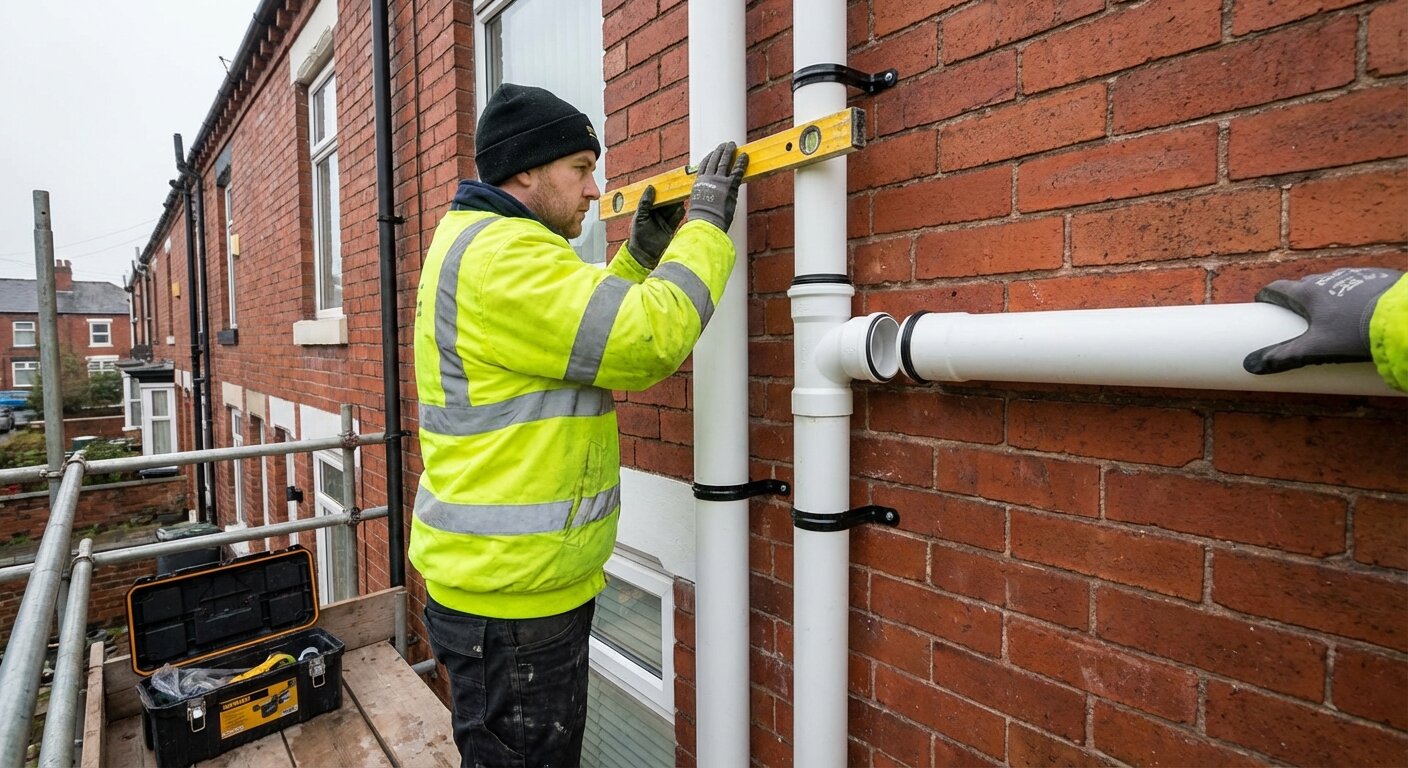
| Best for | External, permanent, concealed runs | Internal, accessible, reconfigurable runs |
| Disassembly | Not possible (cut and replace) | Pull apart or twist off |
| Joint strength | Exceeds pipe strength | Adequate for domestic waste |
| Installation speed | Slower (cure time required) | Faster (instant assembly) |
| Temperature sensitivity | Yes (cement cure affected) | No (rubber seal, temperature-independent) |
| Appearance | Slimmer fittings, neater joints | Slightly bulkier fittings |
Many installations use both: solvent weld for the main runs and external sections, push-fit for under-fixture connections that may need future access.
Common Mistakes
| Mistake | What Goes Wrong |
|---|---|
| Dirty surfaces | Cement cannot fuse through grease, dust, or moisture |
| Too little cement | Incomplete bond — joint leaks under pressure |
| Too much cement | Excess inside the joint creates ridges that catch debris |
| Angled cut | Reduced contact area; uneven cement distribution |
| No quarter-turn | Cement is not spread evenly — dry spots cause leak paths |
| Releasing too early | Pipe pushes back out before initial bond sets |
| Testing too soon | Water pressure blows the partially cured joint |
| Wrong cement for material | PVC-U cement on ABS (or vice versa) does not bond — they need different solvents |
| Old or thickened cement | Cement that has become thick or lumpy from repeated opening has lost solvent — discard and use fresh |
PVC-U vs ABS: Use the Right Cement
| Material | Colour (typically) | Cement Required |
|---|---|---|
| PVC-U | White, grey | PVC-U solvent cement |
| ABS | Black | ABS solvent cement |
| PVC-U to ABS transition | Mixed | Universal cement (or use an adaptor fitting) |
Using the wrong cement is the most serious mistake — it simply does not bond. Check the pipe material marking before opening the tin. All pipe manufactured to BS EN 1329-1 (PVC-U) or BS EN 1455-1 (ABS) will have the material type printed or embossed on the pipe wall.
Health and Safety
Solvent cement contains volatile organic compounds (VOCs). Take sensible precautions:
- Ventilation — work in well-ventilated areas. In enclosed spaces (lofts, ducts), ensure airflow or take breaks.
- Gloves — the solvent degreases skin and can cause irritation on prolonged contact
- Eye protection — splashes can cause temporary eye irritation
- Fire — solvent cement is flammable. No naked flames, cigarettes, or heat sources near open tins.
- Storage — keep tins sealed when not in use to prevent evaporation and fire risk. Store away from heat sources.
Frequently Asked Questions
How do I solvent weld PVC pipe?
Clean both surfaces, apply solvent cement to the pipe end and inside the fitting socket, push together firmly with a quarter-turn, and hold for 30 seconds. Allow the manufacturer’s recommended cure time before testing with water (typically 4–24 hours). Use PVC-U cement for PVC-U pipe and ABS cement for ABS pipe.
How long does solvent weld take to cure?
Initial bond: 30–60 seconds. Handling strength: 5–15 minutes. Full cure for water testing: 4–24 hours depending on temperature and pipe size. At 20°C, 24 hours is the safe standard for full cure.
Can I undo a solvent weld joint?
No. Solvent welding permanently fuses the PVC into one piece. The only way to separate the joint is to cut the pipe. If you make a mistake, cut out the section and start again with new pipe and fittings.
Is solvent weld stronger than push-fit?
The bond itself is stronger — a solvent weld joint exceeds the pipe’s own tensile strength. However, both solvent weld and push-fit provide reliable, watertight connections for domestic waste and soil systems. The practical difference is not about strength but about permanence (solvent weld) versus disassembly (push-fit).
Can I solvent weld in cold weather?
It is possible but not ideal. Below 5°C, the cement cures very slowly and may not achieve full bond strength. If you must work in cold conditions, store the cement indoors overnight, work quickly, and allow at least double the normal cure time before testing.
Related Kalsi Products
- Waste Push-Fit System — ring-seal waste pipe and fittings
- 160mm Solvent Weld System — large-bore soil pipe with solvent weld joints
- Soil & Waste Range — complete system overview
- Installation Guides — detailed fitting instructions for all systems
- Technical Downloads — datasheets and specifications