How to Install PVC Wall Panels: No Grout, No Mess
To install PVC wall panels, prepare the wall surface (clean, dry, and reasonably flat), measure and cut panels to size, apply panel adhesive in vertical beads to the back of each panel, press into position, interlock the tongue-and-groove or click-fit joints, and finish with trims and silicone sealant at edges and corners. The entire process for a standard bathroom takes 4–8 hours with basic DIY tools — no tiling skills, no grouting, no drying time, and the room is ready to use immediately after installation.
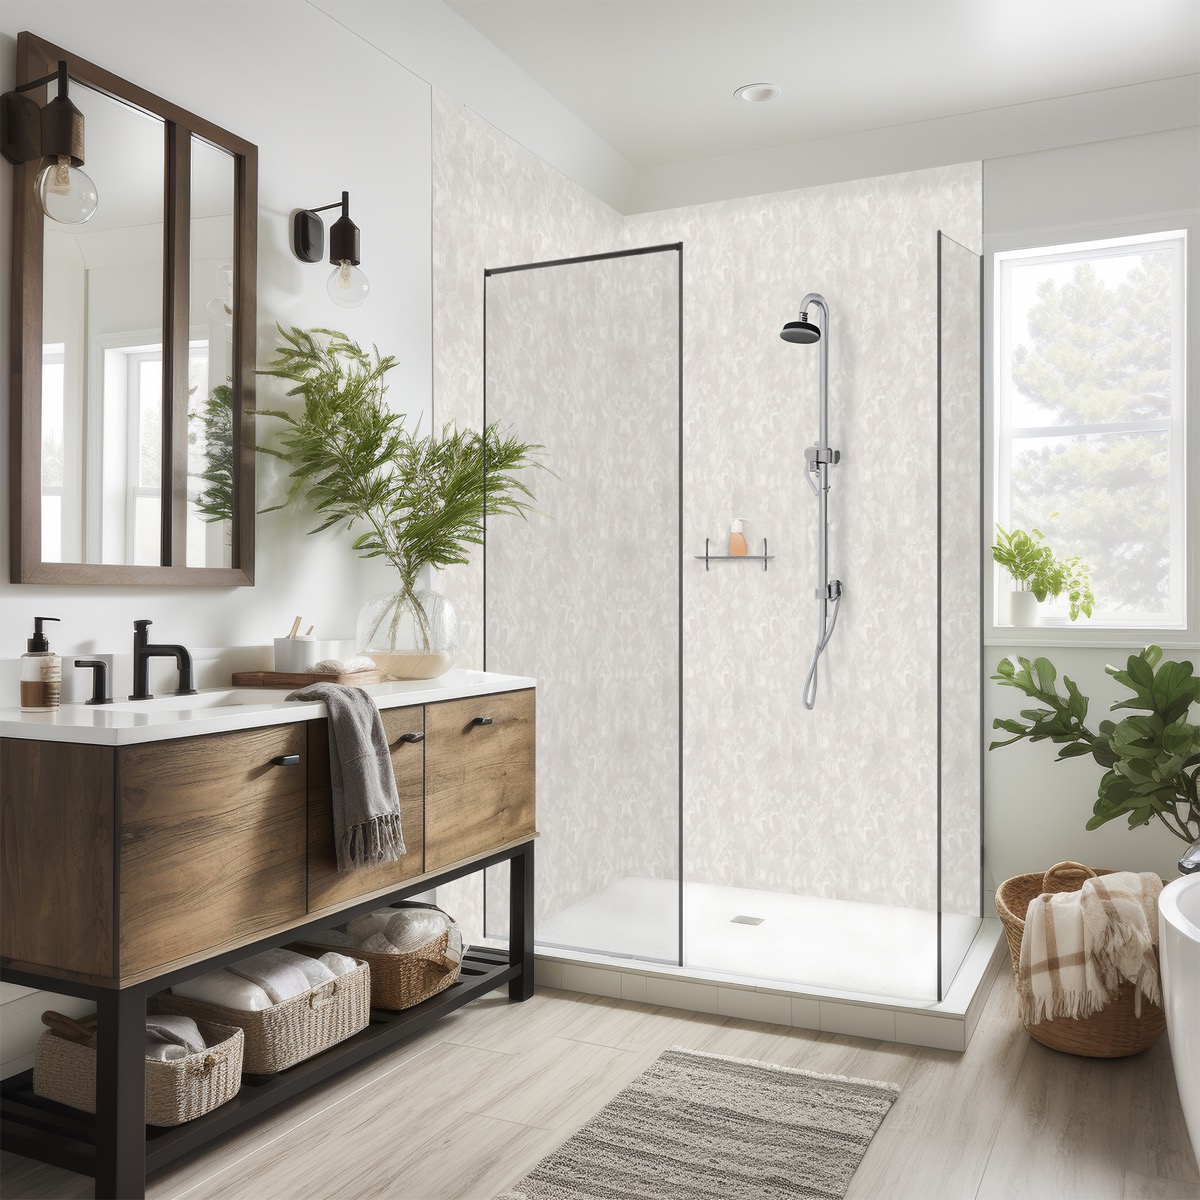
PVC wall panelling has become one of the most popular bathroom renovation methods in the UK precisely because of its simplicity. Where tiling requires a skilled tradesperson, specialist tools, adhesive drying time, grouting, and sealing, wall panels go up in a fraction of the time with tools most homeowners already own. The result is a fully waterproof, low-maintenance wall finish that looks clean and modern.
What You Need
Tools
| Tool | Purpose |
|---|---|
| Tape measure | Measuring walls and panels |
| Spirit level | Ensuring panels are plumb |
| Pencil | Marking cut lines |
| Fine-toothed handsaw or jigsaw | Cutting panels to length |
| Mitre saw (optional) | Clean cuts on trims |
| Caulking gun | Applying adhesive and sealant |
| Drill/driver | Fixing battens (if using batten method) |
| Stanley knife | Scoring and trimming |
| Clean cloths | Wiping excess adhesive and sealant |
Materials
| Material | Purpose |
|---|---|
| PVC wall panels | Wall covering (calculate m² needed + 10% waste) |
| Panel adhesive | Bonding panels to wall |
| Internal corner trims | Neatening internal corners |
| External corner trims | Finishing external corners and edges |
| Start/end trims | Edge profiles for panel runs |
| Coving or ceiling trim | Junction between panels and ceiling |
| Silicone sealant (mould-resistant) | Sealing around baths, showers, and edges |
| Timber battens (25 × 50 mm) | If using the batten fixing method |
| Screws and wall plugs | Fixing battens to masonry |
Step 1: Prepare the Surface
Over Bare Plasterboard or Plaster
The surface must be clean, dry, and free from dust, loose paint, or wallpaper. Remove any flaking material and fill large holes or cracks. The surface does not need to be perfectly smooth — minor imperfections are hidden behind the panel.
Over Existing Tiles
One of the biggest advantages of wall panels: they can go directly over existing tiles. Check that all tiles are firmly fixed — tap each tile and listen for a hollow sound (indicating loose adhesive). Remove and re-fix any loose tiles, or fill the gap with adhesive. Wipe the tile surface clean of soap residue and grease.
Over Timber or Battens
If the wall is uneven (common in older properties), fix horizontal timber battens at 400–600 mm centres. This creates a flat, level surface for the panels and provides a void for any pipework or cabling behind the panels.
Step 2: Plan the Layout
Measure the Walls
Measure each wall height and width. Calculate the number of panels needed:
- Standard panels are typically 250 mm or 333 mm wide and 2,400–2,700 mm long
- Divide the wall width by the panel width to get the number of panels per wall
- Add 10% for waste and cutting
Plan Internal and External Corners
Install internal corner trims first — these create a channel that the panels slide into. External corners (around window reveals, boxing) use external corner trims.
Decide on Orientation
Panels are usually installed vertically (floor to ceiling), but horizontal installation is possible for a different visual effect. Vertical is standard and simpler.
Step 3: Install Trims First
Before fitting any panels, install the trims that will receive the panel edges:
- Internal corner trims — fix into every internal corner with adhesive or screws
- Start trims — fix at the starting edge of the first panel on each wall
- Ceiling coving or edge trim — fix at the top of the wall where panels meet the ceiling
- Base trim (if used) — fix along the bottom edge
Trims create channels that the panel edges slide into, giving a neat, finished appearance and hiding the raw-cut edges.
Step 4: Cut Panels to Size
Measuring
Measure the floor-to-ceiling height at the position of each panel (heights can vary, especially in older properties). Cut each panel 2–3 mm shorter than the measurement to allow for slight expansion and easy fitting into trims.
Cutting Methods
- Fine-toothed handsaw: Cut with the decorative face up to prevent chipping
- Jigsaw: Use a fine-toothed blade. Cut with the decorative face down (the jigsaw cuts upward, so the clean edge is on the bottom)
- Circular saw: Fine-toothed blade, decorative face down
- Stanley knife: For thin panels, score along a straight edge and snap
Cutting Around Fixtures
For pipes, taps, and shower fixings:
- Measure the centre position of the pipe or fitting on the panel
- Drill a hole slightly larger than the pipe diameter
- Cut a slot from the nearest panel edge to the hole (so the panel can be fitted around the pipe without removing it)
- Cover the cut with a pipe collar or trim for a neat finish
Step 5: Fix Panels to Wall
Method 1: Adhesive (Most Common)
- Apply panel adhesive in vertical beads to the back of the panel — three to five beads for a standard-width panel, spaced evenly
- Press the panel firmly onto the wall, ensuring it sits into the corner trim or start trim
- Use a clean cloth to press along the panel face, ensuring good contact
- Slide the next panel’s tongue into the groove of the first panel and repeat
Method 2: Battens and Staples/Screws
- Fix horizontal timber battens to the wall at 400–600 mm centres
- Position the first panel against the batten and fix through the tongue edge with stainless steel staples or small screws
- The next panel’s groove slides over the tongue (hiding the fixings)
- Repeat across the wall
The batten method is preferred for uneven walls, wet rooms (allows air circulation behind panels), and commercial installations where panels may need replacing individually.
Method 3: Combined (Adhesive + Mechanical)
For maximum security (e.g., around showers, in commercial settings), use adhesive on the panel back and staples or screws through the tongue. This provides both adhesion and mechanical fixing.
Step 6: Finish and Seal
Silicone Sealant
Apply a bead of mould-resistant silicone sealant:
- Where panels meet the bath or shower tray
- Along the bottom edge of panels at floor level
- Around any pipe or fitting penetrations
- At any joint where water could potentially enter
Use a sealant smoothing tool or wet finger to create a neat, concave bead. Remove masking tape (if used) before the sealant skins over.
Final Inspection
Check every panel is firmly fixed, all joints are tight, all trims are secure, and sealant is applied at every water-risk junction. The bathroom is ready to use as soon as the sealant has cured (typically 24 hours for full cure, but surface-dry in 1–2 hours).
Common Mistakes to Avoid
| Mistake | Consequence |
|---|---|
| Not checking wall is flat | Panels do not sit flush; visible gaps at joints |
| Cutting panels too long | Cannot fit into trims; panels bow or buckle |
| Skipping trims | Raw panel edges visible; water can enter behind panels |
| Using general-purpose adhesive | May not bond to PVC; panels fall off |
| Forgetting silicone at bath/shower junction | Water enters behind panels |
| Cutting with decorative face wrong way up | Chipping on the visible surface |
| No expansion gap | Panels buckle in warm conditions (leave 2–3 mm) |
Frequently Asked Questions
How to install PVC wall panels?
Prepare the surface (clean, dry, flat), install trims at corners and edges, cut panels to size, apply panel adhesive in vertical beads to the back, press onto the wall interlocking tongue-and-groove joints, and seal edges with mould-resistant silicone. A standard bathroom takes 4–8 hours.
Can I install wall panels over existing tiles?
Yes — as long as the tiles are firmly fixed and the surface is reasonably flat. Clean the tile surface, apply adhesive directly to the panel backs, and press onto the tiles. No tile removal, no dust, no skip.
Do I need to waterproof behind wall panels?
PVC panels are themselves waterproof. In standard bathrooms, the panels provide the waterproof layer. In wet rooms (rooms without a shower tray where the entire floor is the shower), a tanking membrane behind the panels is recommended as a secondary barrier. See our guide on wall panelling for wet rooms.
How do I cut around pipes and fixtures?
Measure the pipe position on the panel, drill a hole slightly larger than the pipe, and cut a slot from the nearest panel edge to the hole. Fit the panel around the pipe and cover with a pipe collar for a neat finish.
Can one person install wall panels?
Yes. Unlike tiles (which require holding heavy tiles in position while adhesive sets), PVC panels are lightweight and hold in position once pressed onto adhesive. A second pair of hands helps with cutting and holding long panels, but solo installation is entirely feasible.
Related Kalsi Products
- Wall Panelling Range — smooth, embossed, and decorative panels
- Smooth Panels — clean, modern finishes
- Colour Range — full colour selection
- Wall Panelling Calculator — calculate quantities and budget
- Installation Guides — detailed fitting guides with diagrams