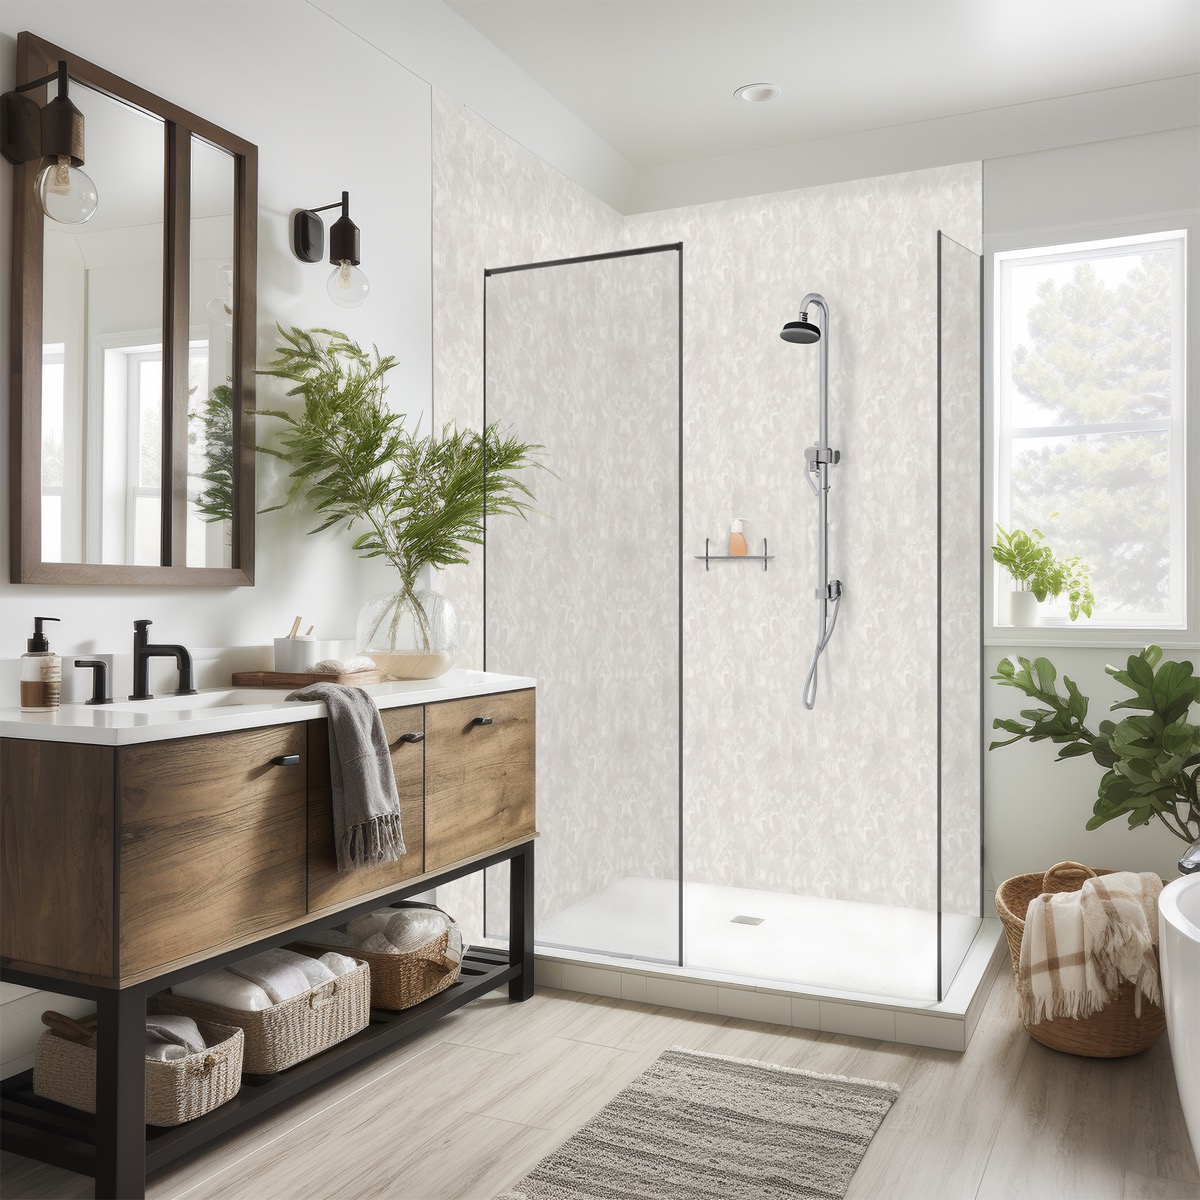
How to Cut and Trim PVC Wall Panels
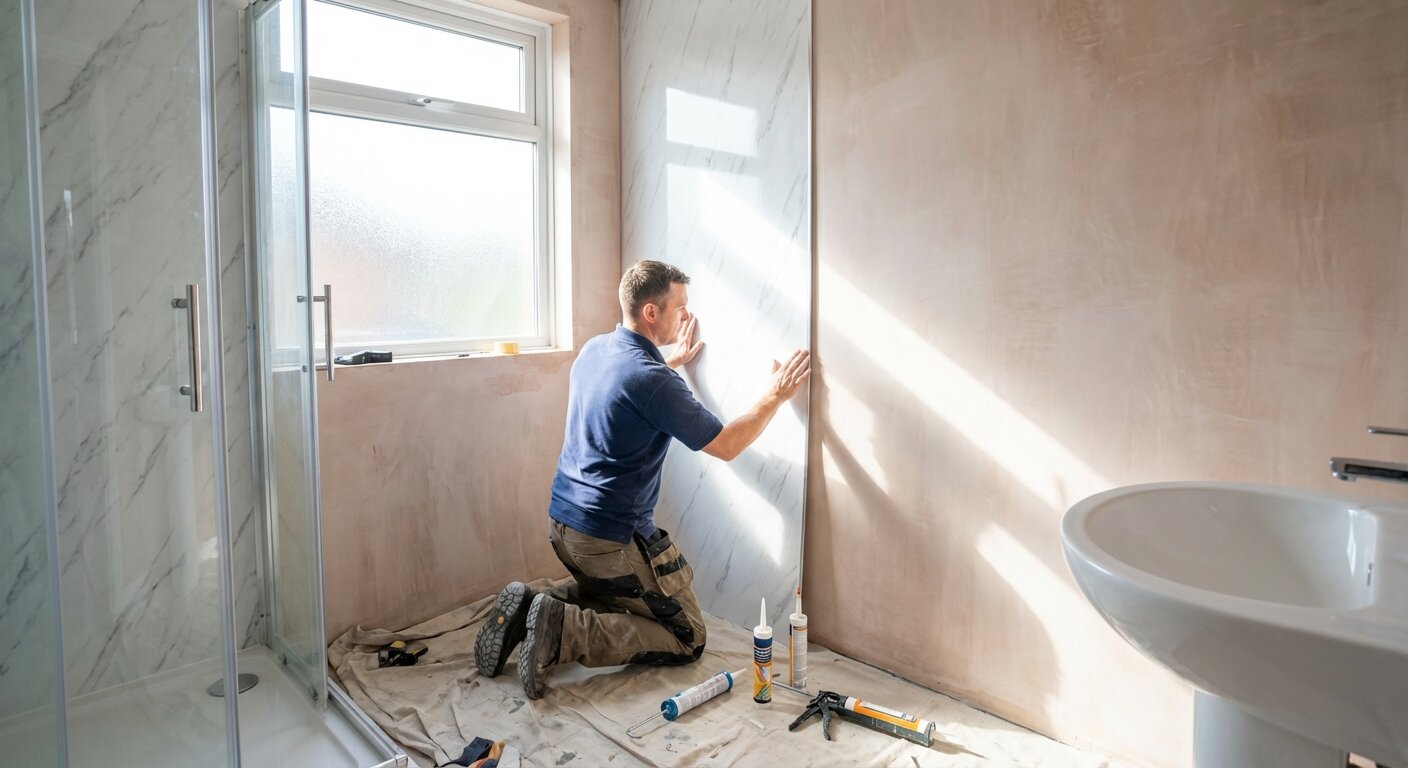
To cut PVC wall panels, use a fine-toothed handsaw, jigsaw, or circular saw — the same tools you would use for timber. For straight cuts, mark your line with a pencil and straight edge, then cut with the decorative face up (handsaw) or decorative face down (jigsaw/circular saw) to prevent chipping on the visible surface. For holes around pipes and fixtures, use a hole saw or drill with a spade bit. PVC cuts easily and cleanly with no specialist tools required — the key to professional results is accurate measuring and choosing the right cutting technique for each type of cut.
Cutting is the part of wall panel installation that most people worry about — but it is actually one of the simplest aspects. PVC-U is softer than timber and much easier to cut than ceramic tiles. You do not need a wet tile cutter, diamond blade, or any specialist equipment. A standard handsaw and a tape measure are sufficient for most jobs.
Tools for Cutting Wall Panels
| Tool | Best For | Notes |
|---|---|---|
| Fine-toothed handsaw | Straight length cuts | 10–14 teeth per inch (TPI). The go-to tool for most cuts |
| Jigsaw | Curved cuts, internal cutouts | Use a fine-toothed blade (T-shank, 10+ TPI) |
| Circular saw / mitre saw | Batch cutting multiple panels to same length | Fine-toothed blade (60+ teeth). Fast and consistent |
| Stanley knife | Scoring thin panels, trimming edges | Score and snap — works on panels up to 5 mm thick |
| Hole saw | Pipe holes, circular cutouts | Use the correct diameter for the pipe/fitting |
| Drill with spade bit | Small holes for screws and fixings | Standard drill bits work fine on PVC |
| Multi-tool (oscillating) | Cutouts in fitted panels, tight spaces | Useful for trimming panels already on the wall |
| Tin snips | Cutting trim profiles | Quick and clean for PVC trims |
The One Tool You Must Have
If you only have one cutting tool, make it a fine-toothed handsaw (10–14 TPI). It handles straight cuts, angled cuts, and notches. It is cheap, portable, and gives clean results on PVC with minimal effort.
Cutting Techniques
Straight Length Cuts (Cutting to Height)
This is the most common cut — shortening a panel to fit floor-to-ceiling.
- Measure the floor-to-ceiling height at the panel position (measure at both edges — heights can vary in older properties)
- Transfer the measurement to the panel, marking both edges
- Draw a straight line across the panel with a pencil and straight edge
- Cut along the line:
- Handsaw: Decorative face UP. Support the panel on a workbench or across two trestles. Cut with smooth, even strokes — do not force the saw
- Jigsaw: Decorative face DOWN (the blade cuts upward, so the clean edge is on the underside). Clamp the panel to prevent vibration
- Circular saw: Decorative face DOWN. Use a fine-toothed blade and set the cutting depth to just more than the panel thickness
Tip: Cut panels 2–3 mm shorter than the measured height. This allows for slight expansion and makes fitting into trims easier. The gap is hidden by the ceiling coving and base trim.
Width Cuts (Ripping the Last Panel)
The last panel on each wall usually needs cutting to width:
- Measure the remaining gap between the last full panel and the corner
- Measure at top, middle, and bottom (walls are rarely perfectly plumb)
- Transfer measurements to the panel and draw the cut line
- Cut with a jigsaw (easiest for following a slightly irregular line) or handsaw with a straight-edge guide
Important: Cut from the tongue side, not the groove side. The groove edge (which interlocks with the previous panel) must remain intact. The cut edge sits in the corner trim and is hidden.
Cutting Around Pipes
Pipes are the most common obstacle. Here is the reliable method:
- Measure the pipe centre position relative to the panel edges (distance from the bottom and from the side)
- Transfer these measurements to the back of the panel
- Drill a hole using a hole saw 10–15 mm larger than the pipe diameter (this allows for slight positioning errors and thermal movement)
- Cut a slot from the nearest panel edge to the hole — this allows the panel to be fitted around the pipe without disconnecting the pipe
- Fit the panel, sliding it around the pipe via the slot
- Cover the hole with a pipe collar (plastic ring) that clips around the pipe for a neat finish
For pipes near the panel edge, you may be able to cut a semicircular notch from the edge instead of drilling a full hole.
Cutting Around Window Reveals
Window reveals require L-shaped cuts:
- Measure the reveal depth and height
- Mark the L-shape on the panel
- Make two cuts: one straight cut (handsaw or jigsaw) and one perpendicular cut
- For the internal corner of the L, drill a small relief hole at the intersection before cutting — this prevents the panel from cracking at the corner
Cutting for Sockets and Switches
Electrical sockets and light switches need rectangular cutouts:
- Measure the socket position and dimensions
- Mark the rectangle on the back of the panel
- Drill a starter hole in each corner (10 mm drill bit)
- Cut between the holes with a jigsaw
- The socket face plate covers the cut edges, so minor imperfections are hidden
Safety note: Isolate the electrical circuit before cutting near sockets. If the panel will sit behind the socket (common in batten-fixed installations), extend the socket box with a box extender to bring it flush with the new panel surface.
Cutting Trim Profiles
PVC trim profiles (internal corners, external corners, start trims, ceiling coving) are cut with:
- Tin snips — quick, clean cuts for straight sections
- Fine-toothed handsaw — for precise mitre cuts at 45° corners
- Mitre box — holds the trim at the correct angle for a perfect 45° mitre
Preventing Chipping and Damage
PVC panels chip on the side where the saw teeth exit the material. This means:
| Tool | Decorative Face Direction |
|---|---|
| Handsaw | Face UP (teeth cut downward) |
| Jigsaw | Face DOWN (teeth cut upward) |
| Circular saw | Face DOWN (teeth cut upward at the front) |
| Stanley knife | Score the decorative face first, then snap |
Additional tips:
- Use a fine-toothed blade — coarse blades tear the PVC rather than cutting cleanly
- Apply masking tape along the cut line if you are concerned about chipping — it supports the surface layer during the cut
- Do not force the cut — let the saw do the work. Forcing creates heat (which melts PVC) and rough edges
- Support the panel close to the cut line — unsupported sections vibrate, causing chipping and an uneven cut
Finishing Cut Edges
Raw-cut PVC edges are surprisingly clean if you use the right blade. However, any rough spots can be tidied with:
- Fine sandpaper (120–180 grit) — light sanding along the edge removes any burrs
- File — a flat file takes off any high spots quickly
- Stanley knife — a gentle scrape along the edge removes small imperfections
In most installations, cut edges are hidden inside trim profiles. The only visible cut edges are typically around fixtures and pipes, which are covered by collars, faceplates, or sealant.
Measuring Tips
Accurate measuring eliminates wasted panels and poor-fitting cuts:
- Measure twice, cut once — the old saying exists for a reason
- Measure at three points — top, middle, and bottom for height cuts; left, middle, and right for width cuts. Walls and ceilings are rarely perfectly level or plumb
- Leave a 2–3 mm gap — panels expand slightly in warm conditions; a small gap prevents buckling
- Use a template for complex shapes — cut a cardboard template first and test-fit before cutting the panel
- Number your panels — if cutting multiple panels, number them and their corresponding wall positions to avoid confusion during fitting
Frequently Asked Questions
How do you cut wall panelling?
Use a fine-toothed handsaw (decorative face up), jigsaw (decorative face down), or circular saw (decorative face down). Mark your cut line with a pencil and straight edge, support the panel near the cut, and let the saw do the work without forcing. PVC cuts easily with standard tools.
Can I cut wall panels with a Stanley knife?
Yes, for panels up to about 5 mm thick. Score the decorative face firmly along a straight edge, then bend the panel along the scored line — it will snap cleanly. For thicker panels or curved cuts, use a handsaw or jigsaw.
What blade should I use for a jigsaw?
A fine-toothed T-shank blade with 10 or more teeth per inch. Blades marketed for laminate or plastic are ideal. Coarse wood-cutting blades tear the PVC surface and leave a rough, chipped edge.
How do I cut around a pipe?
Measure the pipe centre position, drill a hole 10–15 mm larger than the pipe using a hole saw, cut a slot from the nearest panel edge to the hole, fit the panel around the pipe, and cover with a pipe collar for a neat finish.
How do I avoid chipping?
Cut with the decorative face in the correct orientation for your tool (face up for handsaw, face down for jigsaw/circular saw). Use a fine-toothed blade, support the panel close to the cut line, and do not force the cut. Masking tape along the cut line provides additional chipping protection.
Related Kalsi Products
- Wall Panelling Range — panels in all colours and finishes
- Smooth Panels — easiest to cut and fit
- Installation Guides — detailed fitting instructions with cutting tips
- Wall Panelling Calculator — calculate how many panels you need
- Technical Downloads — panel specifications and dimensions