Bathroom Waste Layout: Planning Pipe Runs
To plan bathroom waste pipes, position the WC as close to the soil stack as possible (ideally within 1.5 m), run 32 mm pipe from the basin and 40 mm from the bath/shower to the stack or a shared waste run, maintain a gradient of 18–90 mm per metre (1:12 to 1:50), and ensure every fixture has a trapped connection. The layout should minimise the total pipe length, avoid unnecessary bends, and comply with Building Regulations (Approved Document H) maximum branch lengths — 1.7 m for 32 mm and 3 m for 40 mm pipe.
A well-planned waste layout makes the difference between a bathroom that drains instantly and silently, and one that gurgles, drains slowly, and occasionally smells of drains. The layout also determines how much disruption is needed during installation — pipe runs in floor voids, wall chases, and below-floor channels all have implications for cost and construction time.
The Golden Rule: Keep It Simple
The best waste layout is the shortest, straightest run from each fixture to the soil stack. Every bend, every extra metre of pipe, and every junction adds flow resistance and increases the risk of blockages and trap siphonage.
Priority Order
- WC first — position closest to the stack (produces the most waste and the largest pipe)
- Bath/shower — next closest (high-volume discharge)
- Basin — most flexible (low flow, small pipe)
This priority reflects both the pipe sizes involved and the practical consequences of poor drainage. A WC that drains poorly creates an obvious, immediate problem. A basin that drains a few seconds slower is far less noticeable.
Layout Options
Option 1: All Fixtures Direct to Stack
Each fixture has its own branch pipe running directly to the soil stack. This is the simplest and most reliable layout.
Best when: The stack is on the same wall as the bathroom, or within 2 m.
Option 2: Shared Waste Run
Basin and bath/shower connect to a shared 50 mm waste pipe that runs to the stack. The WC connects independently via 110 mm.
Best when: The stack is on a different wall and individual branches would be too long.
Option 3: Combined Stack System (Single Stack)
All fixtures connect to a single 110 mm soil stack via boss connections. This is the standard modern approach for internal stacks.
Best when: Using an internal stack in a new build or extension.
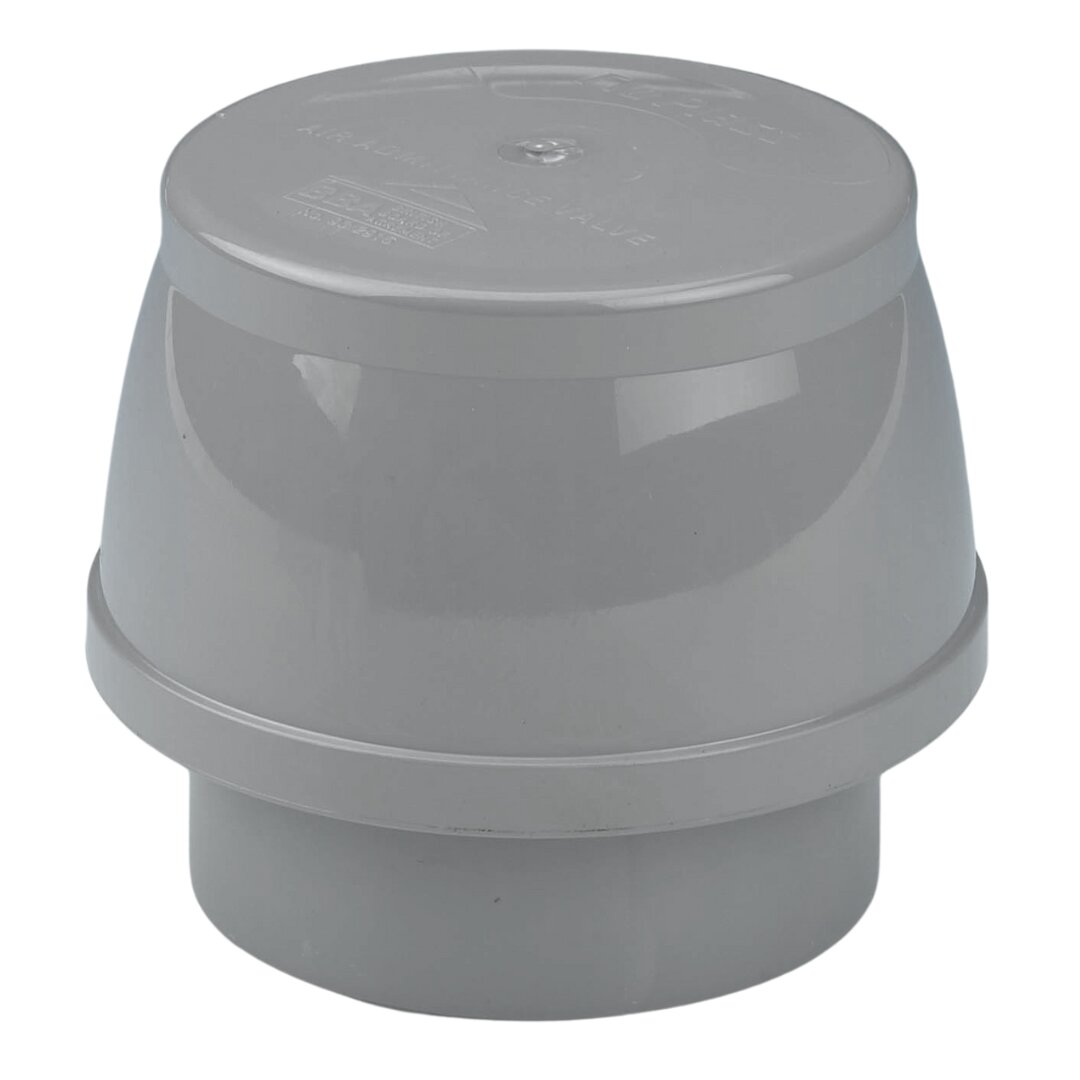
Option 4: Stub Stack (Short Stack)
A short stack (not extending above the roofline) serving a single WC and one or two waste fixtures, fitted with an air admittance valve at the top.
Best when: Adding a downstairs WC or en-suite remote from the main stack, where the stub stack connects directly into the underground drain.
Branch Pipe Rules (Approved Document H)
| Fixture | Pipe Size | Max Length to Stack | Gradient |
|---|---|---|---|
| WC | 110 mm | 6 m | 1:50 minimum (20 mm/m) |
| Bath | 40 mm | 3 m | 1:12 to 1:50 (20–87 mm/m) |
| Shower | 40 mm | 3 m | 1:12 to 1:50 |
| Basin | 32 mm | 1.7 m | 1:12 to 1:50 |
| Combined waste (multiple fixtures) | 50 mm | 4 m | 1:12 to 1:50 |
If branch lengths exceed these maximums, you need to:
- Use a larger pipe size
- Add an air admittance valve to prevent siphonage
- Provide a separate waste connection (second stack or external waste pipe)
Trap Selection
| Fixture | Trap Type | Notes |
|---|---|---|
| Basin | Bottle trap or P-trap (32 mm) | Bottle trap if exposed; P-trap if concealed |
| Bath | Bath trap (40 mm, low profile) | Must fit in the limited space under the bath |
| Shower | Shower trap (40 mm, shallow) | Height varies by tray — measure before ordering |
| WC | Integral (built into WC pan) | No separate trap needed |
Choosing the Right Trap Depth
All traps must maintain a minimum 75 mm water seal (Building Regulations requirement). Shower traps are the trickiest — the overall trap height (including the body below the tray surface) must fit within the available space. Low-level shower trays may require a 50 mm trap body, which still provides a 75 mm water seal through a compact, elongated design.
Planning a Ground-Floor Bathroom
Ground-floor waste has two main route options:
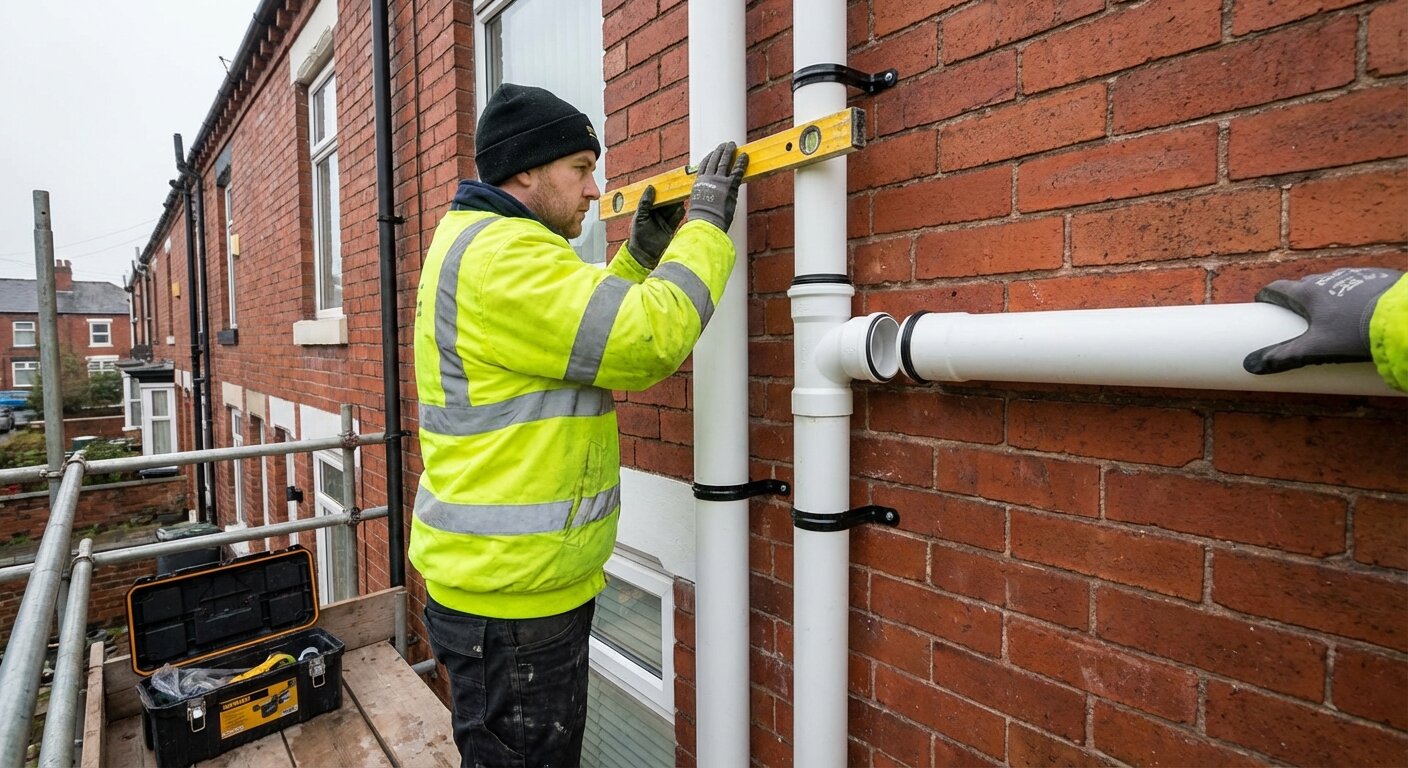
Through the External Wall
Waste pipes pass through the wall and connect to an external soil stack or gully. This is the simplest approach on ground floors.
- Basin and bath/shower waste → external gully or stack connection
- WC → 110 mm pipe through wall to external stack or direct to underground drain
- External pipes should be supported with brackets at 500–800 mm intervals
Below the Floor
Waste pipes run in the floor void (suspended floor) or in a channel beneath the concrete slab.
- On suspended timber floors: pipes run between joists (may need notching — follow Building Regs limits for joist drilling/notching)
- On concrete slabs: pipes must be planned before the slab is poured, or a raised section of floor (platform) created to accommodate the pipe runs
- Under-slab pipes should be laid on a bed of pea gravel and surrounded by fill material to prevent damage from settlement
Planning a First-Floor (or Upstairs) Bathroom
Upstairs waste runs to the soil stack are typically:
Through the Floor and Wall
The most common arrangement:
- Waste drops vertically from the fixture trap through the floor
- Runs horizontally in the void between the ceiling and the floor above (or below)
- Exits through the external wall and connects to the stack
Direct to Internal Stack
For internal stacks:
- Waste connects directly to the stack via boss connections
- Short branches are ideal — minimise horizontal runs
- Ensure the stack vent (AAV or open vent) is above the overflow level of the highest fixture
Joist Constraints
Waste pipes running through floor voids often need to pass through or over joists. Building Regulations limit how joists can be modified:
- Notches: Only in the first quarter of the joist span from a support, maximum depth = 0.125 × joist depth
- Holes: Only in the middle third of the span, at mid-depth, maximum diameter = 0.25 × joist depth
- A 40 mm waste pipe can pass through a 50 mm hole in a standard 200 mm joist without issue
- A 110 mm soil pipe cannot be drilled through most domestic joists — it must run below or between them
Worked Example: En-Suite Bathroom
A typical en-suite with WC, basin, and walk-in shower, connected to an external soil stack 1.5 m away on the same wall:
| Fixture | Pipe Size | Route | Length |
|---|---|---|---|
| WC | 110 mm | Direct through wall to stack | 1.0 m |
| Basin | 32 mm | Through wall below window to stack | 1.2 m |
| Shower | 40 mm | Through floor, across void, out wall to stack | 1.8 m |
All within maximum branch lengths. No AAV needed. Simple, clean layout.
Worked Example: Loft Conversion Bathroom
A loft bathroom with WC, basin, and shower, 4 m from the nearest existing stack:
| Fixture | Pipe Size | Route | Length |
|---|---|---|---|
| WC | 110 mm | New internal mini-stack with AAV, down to ground-floor drain | 0.8 m to stack |
| Basin | 32 mm | Into mini-stack via boss | 1.0 m |
| Shower | 40 mm | Into mini-stack via boss | 1.5 m |
The mini-stack terminates with a 110 mm AAV in the loft space. The main house stack retains its open vent above the roofline. This avoids running long waste branches across the loft floor.
Common Mistakes
1. WC Too Far from Stack
A WC more than 6 m from the stack requires either a macerator pump (which has maintenance implications) or a dedicated new stack. Plan the WC position first.
2. Insufficient Fall
A flat waste pipe drains slowly and traps debris. Maintain the minimum gradient of 18 mm per metre (1:50). Use a spirit level during installation.
3. Too Many Bends
Each bend creates flow resistance. Use swept bends (long-radius) rather than sharp 90° bends where possible. Two 45° bends with a straight section are better than one 90°.
4. Undersized Shared Waste
Connecting a basin (32 mm) and bath (40 mm) to a shared 40 mm run works only if the total run is short. For combined runs over 2 m, use 50 mm pipe.
5. Forgetting the Shower Trap Height
Low-profile shower trays need shallow traps (50–60 mm). If the floor void cannot accommodate the trap and the fall to the stack, the shower needs to be raised on a platform or the trap needs to be below the floor level.
6. Not Considering Future Access
Concealed waste runs should still have access points for maintenance. Rodding eyes at key junctions and removable panels at boss connections save significant effort if a blockage occurs years later.
Frequently Asked Questions
How to plan bathroom waste pipes?
Position the WC closest to the soil stack. Run 32 mm pipe from the basin and 40 mm from the bath/shower. Keep branch lengths within Building Regulations maximums (1.7 m for 32 mm, 3 m for 40 mm). Maintain a gradient of 18–90 mm per metre. Every fixture needs a trapped connection.
Can I connect a basin and bath to the same waste pipe?
Yes, using a shared 50 mm waste run. The basin (32 mm) and bath (40 mm) connect via tee fittings into the 50 mm pipe, which runs to the stack. Keep the combined run within 4 m.
How far can a toilet be from the soil stack?
Up to 6 metres on a 110 mm branch at a gradient of at least 1:50. Longer distances require a macerator pump or a dedicated new soil stack. Keep the WC as close to the stack as practical.
Do I need Building Control for new bathroom waste pipes?
If the bathroom is part of a building project requiring Building Regulations approval (extension, conversion), the waste layout is inspected as part of that application. Moving or adding fixtures within an existing property may also require notification — check with your local Building Control office.
Can waste pipes run under a concrete floor?
Yes, but they must be planned before the slab is poured. Once the slab is in place, cutting channels for waste pipes is expensive and disruptive. On existing concrete floors, a raised section (platform) is often the practical solution for a new bathroom.
Related Kalsi Products
- Waste Push-Fit System — 32 mm, 40 mm and 50 mm waste pipe and fittings
- MultiFlex Waste System — flexible waste pipe for tight routing
- Soil & Waste Range — soil stacks, boss connectors and branch fittings
- Installation Guides — step-by-step installation instructions
- Drainage Calculator — calculate pipe sizes and quantities