Water Mains Connection: What Homeowners Need to Know
How Do I Connect to the Water Mains?
To connect to the water mains in the UK, you need to apply to your local water company for a new connection. The water company installs the communication pipe from the water main to your property boundary (including a boundary stop tap), while you are responsible for the supply pipe from the boundary to your building’s internal stop tap. You will need an approved contractor to install your supply pipe using WRAS-approved MDPE pipe and fittings, and the installation must comply with the Water Supply (Water Fittings) Regulations 1999 and Building Regulations Approved Document G.
The process involves planning, application, installation, and testing — and understanding who is responsible for what can save you significant time, cost, and frustration. This guide walks through the entire process from initial enquiry to flowing water.
Understanding the Water Supply Infrastructure
Before diving into the connection process, it helps to understand the terminology and how the different sections of water supply pipework are defined:
Communication Pipe
The pipe from the water main to the boundary of your property (usually marked by a boundary stop tap in a small chamber or valve box). This pipe is owned and maintained by the water company. They install it, they own it, and they are responsible for repairing it if it develops a fault.
Supply Pipe
The pipe from the boundary stop tap to your internal stop tap (typically located under the kitchen sink or in a utility room). This pipe is your responsibility as the property owner. You pay for its installation, you own it, and you are responsible for maintaining and repairing it.
Service Pipe
A general term covering both the communication pipe and the supply pipe — i.e., the complete pipe run from the water main to your internal stop tap.
Internal Plumbing
Everything beyond the internal stop tap — hot and cold distribution pipework, taps, appliances, and fixtures. This is entirely the homeowner’s responsibility and is governed by the Water Fittings Regulations and building control.
The Connection Process: Step by Step
Step 1: Apply to Your Water Company
Contact your regional water company to apply for a new water connection. In England and Wales, this is the company that supplies water in your area (e.g., Severn Trent, Thames Water, United Utilities, etc.). In Scotland, all connections are handled through Scottish Water.
You will need to provide:
- Your name and contact details
- The full postal address or plot reference for the property
- The nature of the development (new build, conversion, replacement supply, etc.)
- A site plan showing the property boundary and proposed pipe route
- The anticipated water demand (number of bedrooms, bathrooms, and any special requirements)
Most water companies offer online application forms. Processing times vary but typically range from 4 to 12 weeks depending on the complexity of the connection and whether any road excavation is required.
Step 2: Receive Your Connection Offer
The water company will assess your application and provide a formal connection offer (sometimes called a quotation). This will include:
- The proposed route of the communication pipe from the main to your boundary
- The diameter of the communication pipe (typically 25mm for a single dwelling)
- The location of the boundary stop tap
- The connection charge
- Any infrastructure charges that may apply (for new developments)
- A timeline for completing the work
Step 3: Accept the Offer and Pay
Review the connection offer carefully. Once you accept and pay the connection charge, the water company will schedule the installation of the communication pipe and boundary stop tap. They will also coordinate any road closures or traffic management required for the main tap and connection.
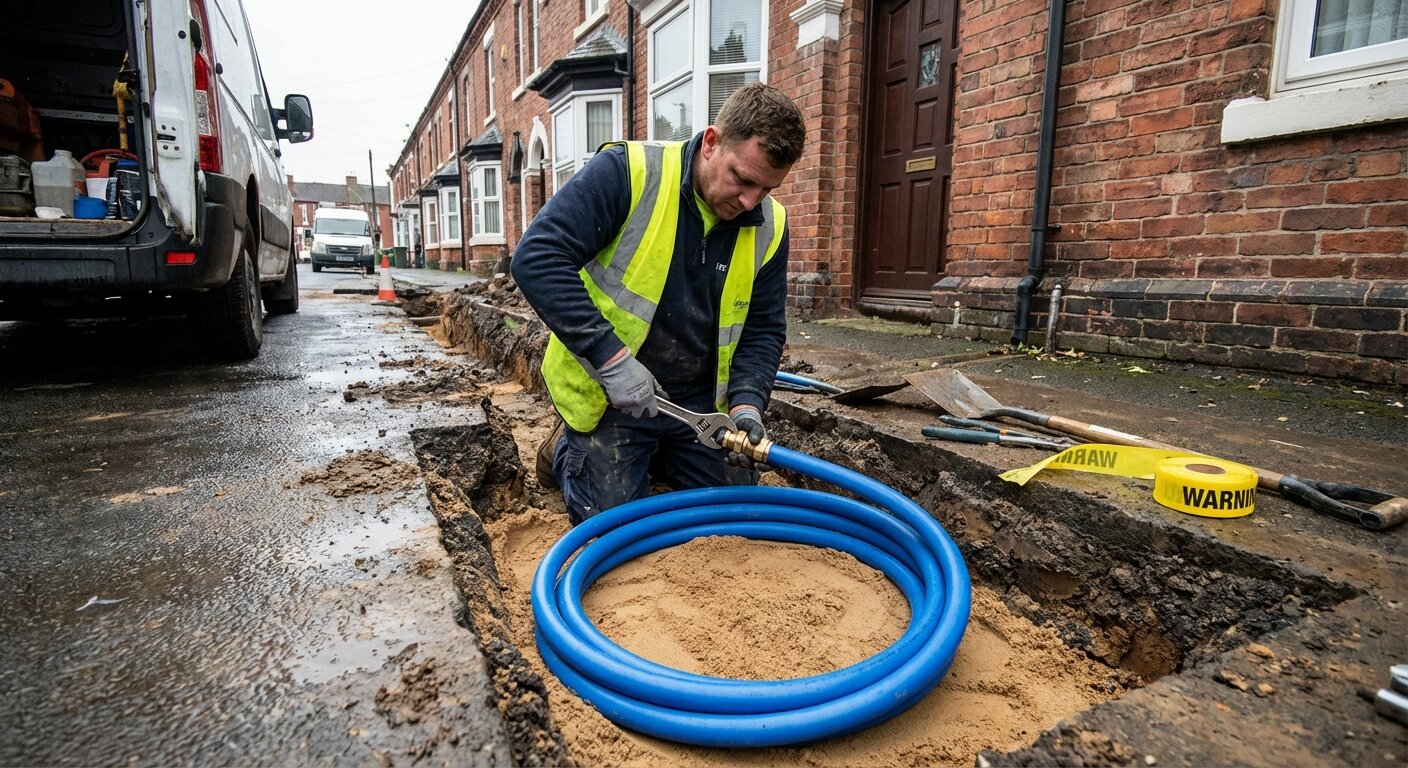
Step 4: Install Your Supply Pipe
While waiting for the water company to complete their side, you can prepare and install your supply pipe. This involves:
- Excavating the trench from the boundary stop tap position to the point of entry into your building
- Laying WRAS-approved blue MDPE pipe at the correct depth (minimum 750mm cover, or 900mm under roads and driveways)
- Installing all necessary fittings — stop taps, drain valves, and any required meters or non-return valves
- Providing appropriate pipe bedding and backfill
- Ducting the pipe where it passes through walls or floor slabs
The supply pipe is typically 25mm blue MDPE for a standard domestic dwelling. Larger properties with higher water demand may require 32mm pipe. Your water company’s connection offer will specify the required pipe diameter.
Step 5: Pressure Test and Inspection
Before the water company makes the final connection at the boundary, your supply pipe installation must be pressure tested to prove it is watertight. The standard test is at 1.5 times the maximum working pressure (typically around 15 bar) sustained for a minimum of one hour.
Some water companies will inspect your supply pipe installation before making the connection. Others will accept a test certificate from your approved contractor. Check with your water company regarding their specific requirements.
Step 6: Connection and Commissioning
The water company makes the final connection at the boundary stop tap and turns on the supply. You should then:
- Check for any leaks at all joints and fittings
- Flush the system thoroughly to remove any debris from the pipe
- Test all taps and outlets for adequate flow and pressure
- Record the meter reading (if a meter is installed)
Choosing the Right Pipe Material
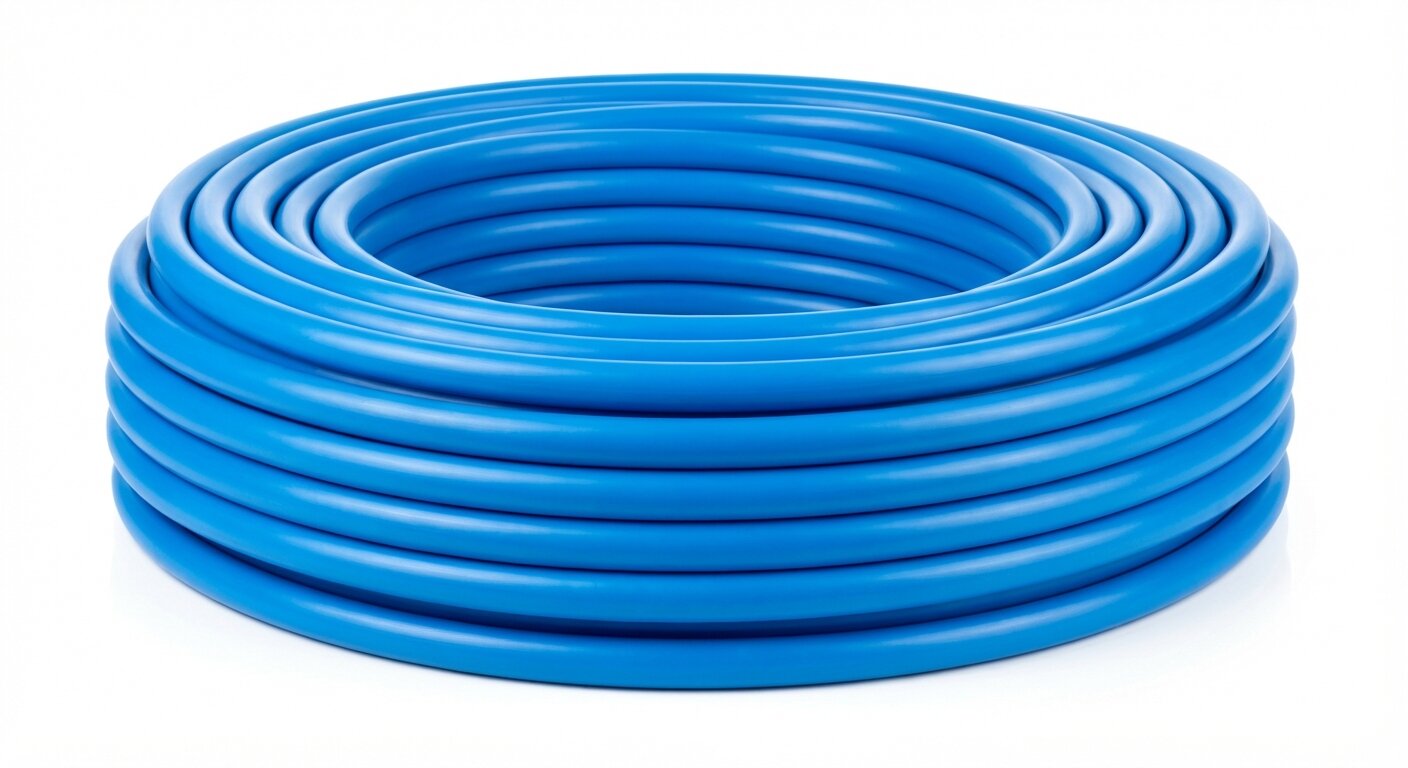
For the supply pipe (your responsibility), blue MDPE pipe manufactured to BS EN 12201 and carrying WRAS approval is the standard choice throughout the UK. MDPE offers several advantages for below-ground water supply:
- Flexibility — Can be laid in gentle curves without fittings, reducing the number of joints and potential leak points
- Corrosion resistance — Unlike copper or iron, MDPE is immune to electrochemical corrosion
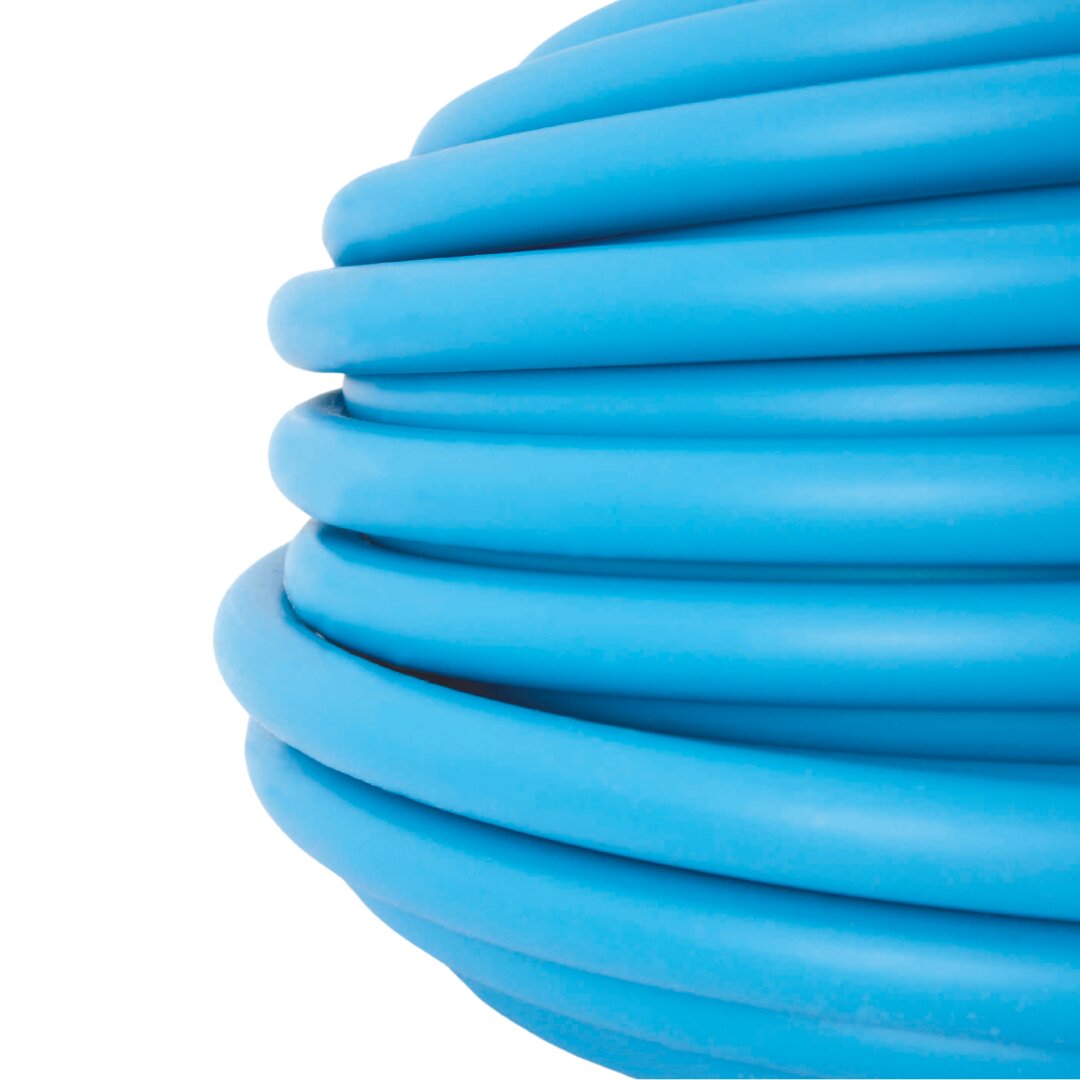
- Lightweight — Easy to handle and lay, even in long lengths from coils
- Long service life — Minimum design life of 50 years
- Availability — Readily available from builders’ merchants and plumbing suppliers in all standard sizes
Pipe Size Selection
| Property Type | Recommended Pipe Size | Reason |
|---|---|---|
| Standard 2–4 bed house | 25mm | Adequate for typical domestic demand |
| Large house (3+ bathrooms) | 32mm | Higher flow demand from multiple outlets |
| House with long service run (>25m) | 32mm | Compensates for friction losses over distance |
| Two flats on shared supply | 32mm | Serves two independent dwellings |
| Small block of flats | 50mm | Higher aggregate demand |
Fittings
All joints and connections on the supply pipe must use WRAS-approved fittings. For MDPE pipe, this means compression fittings manufactured to BS EN ISO 14236. Common fittings required for a typical domestic connection include:
- Straight coupling — For joining two lengths of pipe
- Elbow — For 90-degree changes of direction
- Wall plate elbow — Where the MDPE pipe transitions to internal pipework at the building entry point
- MDPE to copper or push-fit adaptor — For connecting to the internal plumbing system
- Stop tap — An isolating valve at the building entry point (internal stop tap)
Who Can Install the Supply Pipe?
The supply pipe installation does not legally require a certified contractor in the same way that gas work requires a Gas Safe engineer. However, the installation must comply with the Water Supply (Water Fittings) Regulations 1999 and Building Regulations. In practice, most homeowners use:
- A plumbing contractor experienced in below-ground water supply work — They will understand trench depth requirements, pipe bedding, pressure testing, and the correct use of WRAS-approved materials
- An approved contractor registered with the water company — Some water companies maintain lists of approved contractors who have demonstrated competence in supply pipe installation
- A groundworker or civil engineering contractor — For larger jobs involving extensive trenching, road crossings, or connections to multiple properties
The key requirement is that whoever installs the pipe uses WRAS-approved materials, achieves the correct burial depth, pressure tests the installation, and complies with all applicable regulations.
Understanding the Costs
The total cost of a water mains connection comprises several elements:
Water Company Connection Charge
This covers the water company’s work — tapping the main, laying the communication pipe, installing the boundary stop tap, and making the connection. The charge varies by water company and the complexity of the connection. Connections that require road excavation, traffic management, or work on large-diameter mains will cost more than simple verge or footpath connections.
Infrastructure Charge
For new developments (new builds, conversions creating additional dwellings), water companies levy an infrastructure charge to contribute to the reinforcement and upgrade of local water supply and sewerage infrastructure. This charge is regulated by Ofwat and is the same across all water companies in a given charging year.
Supply Pipe Installation
This is your cost — excavation, pipe, fittings, backfill, and labour. The cost depends on the length of the trench, ground conditions, the pipe diameter, and whether any obstacles (walls, driveways, existing services) need to be crossed.
Building Control
If the supply pipe installation is part of a broader building project, it may be inspected as part of the building control process. Building control fees are typically covered by the overall project building regulations application.
Timeline: How Long Does It Take?
A realistic timeline for a standard domestic water connection:
| Stage | Typical Duration |
|---|---|
| Application and processing | 4–8 weeks |
| Connection offer and acceptance | 1–2 weeks |
| Water company installs communication pipe | 2–6 weeks after acceptance |
| Supply pipe installation (your work) | 1–3 days (can be done in parallel) |
| Final connection and commissioning | 1–2 days |
Total: approximately 8–16 weeks from application to flowing water. Complex connections involving road excavation, traffic management orders, or reinforcement of the local main may take significantly longer.
Self-Lay Schemes
For larger developments (typically 2 or more properties), developers may opt for a self-lay scheme rather than having the water company install the communication pipes. Under a self-lay scheme:
- An accredited self-lay organisation (SLO) installs the water mains and communication pipes within the development
- The work is completed to the water company’s specification and inspected by them
- Once approved, the mains and communication pipes are adopted by the water company for ongoing maintenance
- The developer pays connection and infrastructure charges as normal but may achieve cost savings through competitive tendering of the installation work
Self-lay schemes are governed by the Water Industry Act 1991 and the Code for Adoption published by Water UK. They are generally only cost-effective for developments of two or more plots.
Frequently Asked Questions
Do I need planning permission to connect to the water mains?
A water mains connection does not normally require planning permission under the Town and Country Planning Act. However, you will need the water company’s approval and must comply with any conditions they impose regarding pipe routes, depth, and materials. If the connection involves excavation in a public highway, the water company will obtain the necessary street works permits.
Can I install my supply pipe before the water company installs theirs?
Yes, and this is common practice. You can excavate your trench and lay your supply pipe while waiting for the water company to complete the communication pipe and boundary stop tap. However, you cannot fill or use the system until the water company makes the final connection.
What if my neighbour’s supply pipe crosses my land?
Supply pipes that cross third-party land can be a source of dispute. Ideally, supply pipes should be routed within the property they serve or within public highway. If a supply pipe must cross private land, a formal easement or wayleave should be established to protect both parties’ rights.
Is a water meter compulsory for new connections?
Yes. Since April 1999, all new water connections in England and Wales are metered. The water company installs the meter as part of the connection, typically in a boundary chamber or pit at the property boundary.
Can I connect a rainwater harvesting system to the mains supply?
Yes, but there are strict regulatory requirements to prevent backflow and contamination. Any connection between a rainwater harvesting system and the mains water supply must include an air gap (Type AA, AB, or AD) to prevent non-potable rainwater from flowing back into the mains. A simple non-return valve is not sufficient. Consult the Water Fittings Regulations and your local water company for specific requirements.
Related Kalsi Products
- MDPE Pipe Range — Blue MDPE pipe for potable water supply
- MDPE Fittings — Compression fittings, adaptors, and stop tap connections
- Underground Drainage Systems — Below-ground drainage for your wider project
- Installation Guides — Step-by-step guidance for pipe installation
- Technical Resources — Datasheets and specification information