How to Install Square Line Guttering (Step by Step)
Installing square-line guttering follows the same basic process as any PVC-U gutter system: fit fascia brackets at the correct fall, clip in gutter lengths and fittings, connect downpipes, and test with water. A competent DIYer can complete a single elevation of a typical semi-detached house in half a day. The key to a professional result is getting the bracket positions right before you hang any gutter — spend the time on setup and the rest falls into place.
Square-line guttering is one of the most popular profiles in the UK. Its flat-fronted, angular shape gives a clean, modern appearance that suits everything from new-build estates to refurbished period properties. With a flow capacity of around 1.1 litres per second (114 mm profile), it handles the drainage needs of most standard domestic roofs comfortably.
Tools and Materials
Tools You Will Need
| Tool | Purpose |
|---|---|
| Ladder or scaffold tower | Safe access to fascia |
| Spirit level (1200 mm) | Checking fall and alignment |
| String line and pegs | Setting consistent fall across the run |
| Tape measure (5 m+) | Measuring gutter runs and bracket positions |
| Pencil | Marking bracket positions |
| Cordless drill/driver | Fixing brackets to fascia |
| Fine-toothed hacksaw | Cutting gutter lengths and downpipe |
| Half-round file or deburring tool | Smoothing cut edges |
| Tin snips (optional) | Trimming small adjustments |
| Silicone sealant gun | Belt-and-braces sealing at joints |
Materials
- Square-line gutter lengths (standard 2 m or 4 m)
- Fascia brackets (one every 800–1,000 mm)
- Running outlet(s) — connects gutter to downpipe
- Union joints — connects two gutter lengths
- Internal and external angle pieces (if the gutter turns a corner)
- Stop ends (left and right hand, or universal)
- Downpipe lengths
- Downpipe clips/brackets
- Offset bends or swan-neck set (to bring downpipe from gutter line to wall)
- Pipe shoe (bottom outlet, directs water into drain)
- Stainless steel screws (30–40 mm for brackets, 50 mm for downpipe clips)
All components are available in the Kalsi square-line rainwater system.
Step 1 — Plan the Layout
Before touching a ladder, plan the gutter layout on paper:
- Measure each gutter run (length of fascia board on each elevation)
- Decide downpipe positions. Ideally, place downpipes where they can connect easily to an existing drain gully. For runs up to 10 m, one downpipe at one end is sufficient. For longer runs, use two — one at each end with the gutter falling from the centre.
- Count your fittings. For each run, you need:
- One running outlet per downpipe
- Stop ends at each open end
- Union joints where gutter lengths meet
- Angle pieces at corners
- Brackets at 800–1,000 mm centres
- Calculate gutter lengths. Standard lengths are 2 m and 4 m. Work out how many you need to cover each run with minimal waste.
Step 2 — Mark the Fall
This is the most important step. Get it right and everything else is straightforward.
Single Outlet (Downpipe at One End)
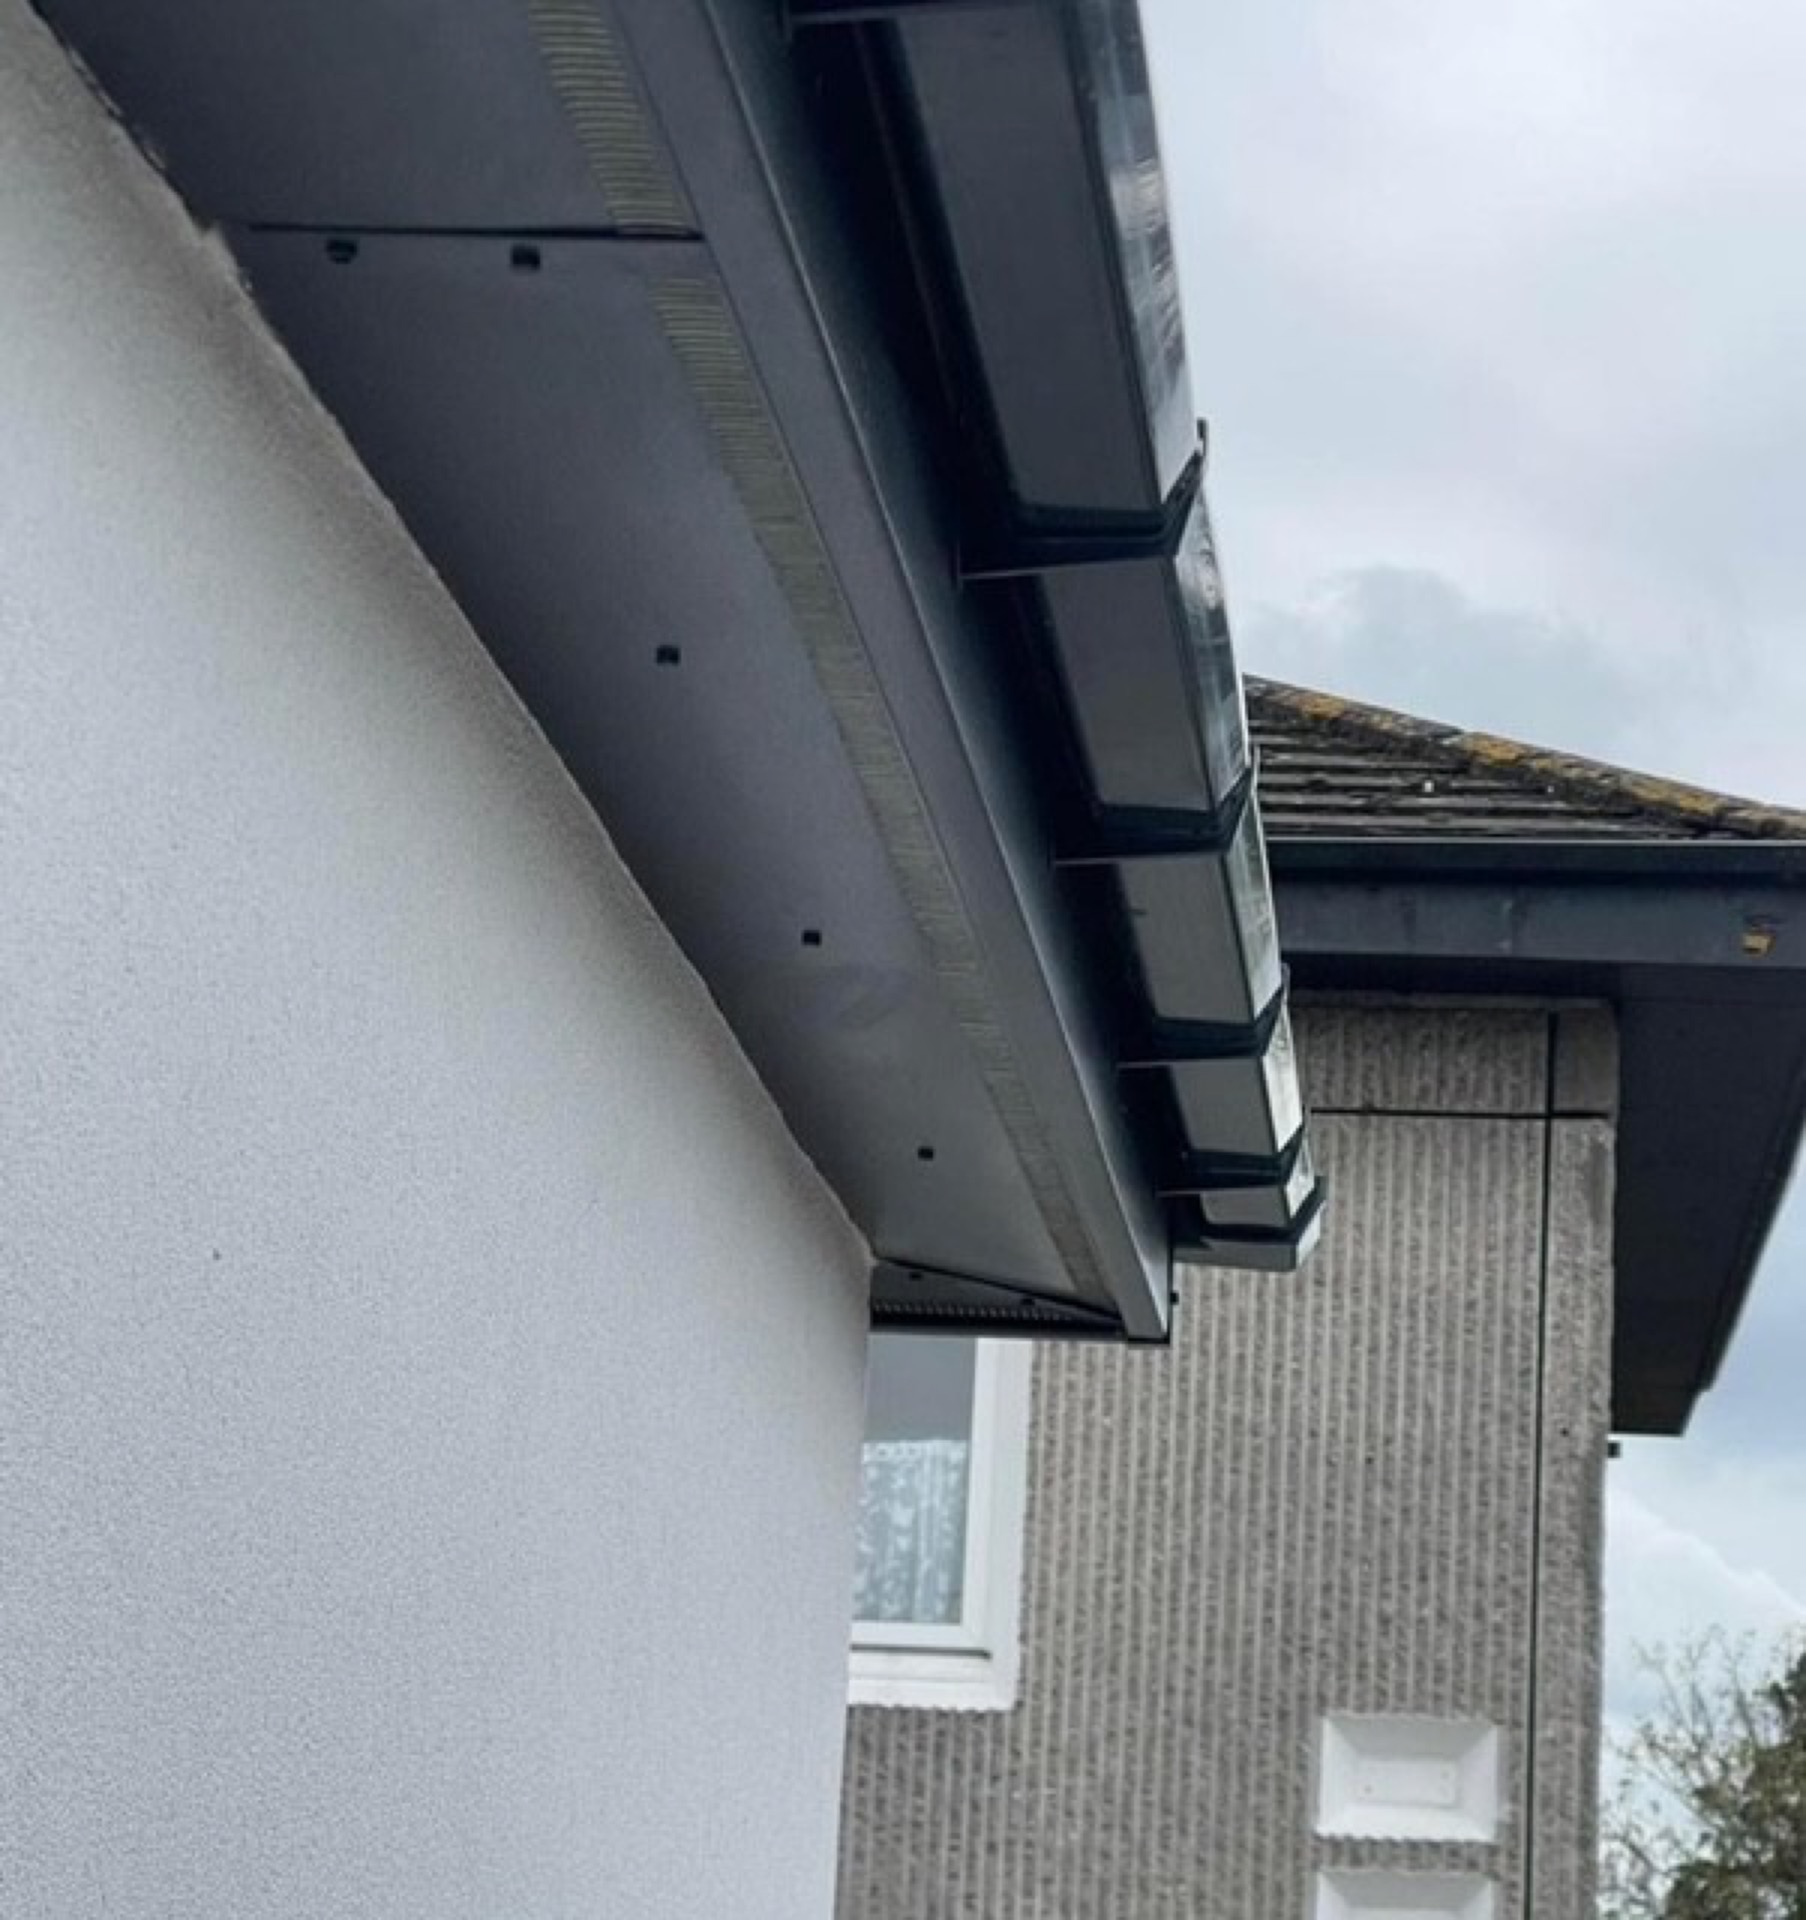
- Mark the highest point on the fascia — this is the end furthest from the downpipe. The top of the bracket should be 25–50 mm below the roofline tiles to ensure water runs into the gutter, not behind it.
- Mark the lowest point at the downpipe position. The fall should be 3 mm per metre of run.
- Example: 8 m run × 3 mm = 24 mm total fall
- Drive a small nail or screw at each mark and run a taut string line between them. This is your reference line for every bracket.
Central High Point (Downpipes at Both Ends)
- Mark the highest point at the centre of the run.
- Mark the lowest points at each end (where the downpipes go).
- Run two string lines — one from centre to each end — ensuring equal fall on both sides.
Pro tip: Use a coloured string line so it is visible against the fascia. Check it has not sagged before fixing brackets — even slight sag in the line translates to pooling water in the finished gutter.
Step 3 — Fix the Brackets
- Start with the bracket at the highest point and the bracket at the lowest point (at the running outlet position).
- Screw each bracket firmly to the fascia using stainless steel screws. The bracket should be tight against the fascia with no wobble.
- Fill in intermediate brackets at 800–1,000 mm centres, using the string line to set each one at the correct height.
- Check periodically with a spirit level — the gutter should have a visible, gentle slope towards the outlet.
Bracket Spacing Guide
| Situation | Recommended Spacing |
|---|---|
| Standard domestic | 800–1,000 mm |
| Exposed locations (wind) | 600–800 mm |
| Heavy-capacity gutter | 600–800 mm |
| Near corners (within 150 mm) | Extra bracket each side of the angle piece |
Step 4 — Fit the Running Outlet
The running outlet is the fitting that connects the gutter to the downpipe. It is usually the first fitting you install because everything else aligns relative to it.
- Position the running outlet at the lowest bracket (downpipe location).
- Mark the downpipe centre on the fascia.
- Fix the running outlet bracket to the fascia — it clips in like a standard bracket but has an integral outlet spigot underneath.
- Ensure it is at the correct height according to your string line.
Step 5 — Cut and Fit Gutter Lengths
- Measure each section from the running outlet to the nearest fitting (union, angle, or stop end). Allow for the overlap inside each fitting (typically 30–40 mm at each end).
- Mark the cut line on the gutter using a pencil and straight edge.
- Cut with a fine-toothed hacksaw. Support the gutter on a stable surface. For square-line, cut straight across — the flat faces make this easier than cutting round profiles.
- Deburr the cut edge with a half-round file. Remove any swarf or rough plastic that could prevent a good seal.
- Clip the gutter into the brackets. Square-line gutter clicks into the front lip of the bracket first, then pushes back until the rear edge locks in. You should hear or feel a definite click.
Expansion Gaps
PVC expands in heat. At every union joint and running outlet, leave the expansion gap specified by the manufacturer — typically 6–10 mm between the ends of adjacent gutter lengths inside the fitting. There will be a witness mark or line inside the fitting showing the maximum insertion depth.
Do not butt gutter lengths tight together. In summer heat, expanding PVC with no gap will push fittings apart and cause leaks.
Step 6 — Fit Unions, Angles, and Stop Ends
Union Joints
- Slide the union over the first gutter end (up to the expansion mark).
- Push the second gutter length into the other side of the union (up to its expansion mark).
- Clip the union to the gutter — it should lock firmly. Some unions have an integral seal; others require a separate rubber gasket.
Angle Pieces
Internal and external angles connect gutter runs that change direction (at corners). Fit them in the same way as unions, ensuring expansion gaps on both sides. Fix an extra bracket within 150 mm of each side of the angle to support the joint.
Stop Ends
Push-fit stop ends seal the open end of the gutter. Press firmly until they click into place. For extra security, apply a bead of silicone sealant inside the stop end before fitting.
Step 7 — Fit the Downpipe
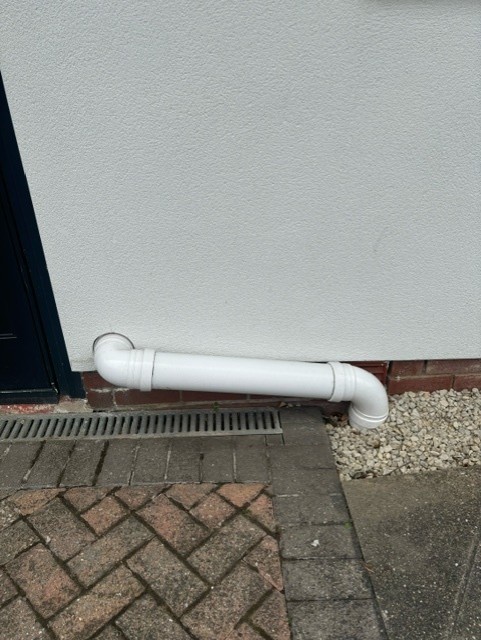
Swan Neck / Offset
The gutter line is usually 40–60 mm forward of the wall face (the depth of the fascia board). The downpipe needs to run down the wall. An offset bend set (swan neck) bridges this gap:
- Fit the first offset bend onto the running outlet spigot.
- Measure the distance from the first bend outlet to the wall.
- Cut a short piece of downpipe to bridge the gap.
- Fit the second offset bend and connect to the main downpipe length.
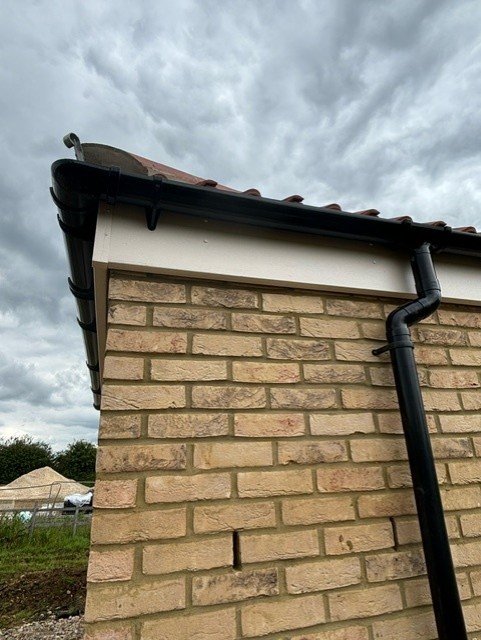
Main Downpipe Run
- Measure from the swan neck to the drain gully or ground connection.
- Cut the downpipe to length (allow for the shoe at the bottom).
- Fix downpipe clips to the wall at 1,800 mm centres (maximum 2,000 mm). Use wall plugs appropriate for your wall type (masonry, brick, render).
- Push-fit the downpipe lengths together, working from top to bottom.
- Fit the shoe (angled bottom piece) to direct water into the drain gully.
Step 8 — Test the System
Before packing up:
- Run a hose into the gutter at the highest point.
- Watch the water flow along the gutter — it should move steadily towards the outlet with no pooling.
- Check every joint for drips.
- Confirm the downpipe runs freely — water should exit the shoe into the drain.
- Check from the ground that the gutter line is visually straight and the fall is not too steep to look uneven.
If you find a leak at a joint, remove the fitting, check the seal, clean the surfaces, and refit. A thin bead of silicone sealant on the inside of any suspect joint is good insurance.
Common Installation Mistakes
1. No Expansion Gap
Fitting gutter lengths tight against each other inside unions is the number-one mistake. In summer, expanding PVC pushes the joints apart, causing leaks.
2. Brackets Too Far Apart
Spacing brackets at 1,200 mm or more causes sagging between supports. Stick to 800–1,000 mm for domestic square-line.
3. Gutter Too Low
If the front edge of the gutter is below the line of the roof tiles, water overshoots and runs behind the gutter. The back edge should tuck under the tile line by at least 25 mm.
4. Wrong Fall Direction
Water flowing away from the downpipe is surprisingly easy to get wrong, especially on long runs. Always double-check your high point and low point before fixing brackets.
5. Downpipe Not Secured
An unsecured downpipe will swing in the wind, work joints loose, and eventually pull away from the gutter. Fix clips at regular centres and ensure the shoe is directing water into the drain, not onto the ground beside it.
Maintenance After Installation
Square-line PVC guttering requires minimal maintenance:
- Clean twice a year — scoop out debris in spring and autumn
- Check joints annually — look for drips or displacement
- Flush downpipes — run a hose through once a year to clear any sediment
- Re-secure any loose brackets — screws can loosen over time in timber fascias
Frequently Asked Questions
How do I install square guttering?
Fix fascia brackets along the gutter run at 800–1,000 mm centres with a fall of 3 mm per metre towards the downpipe outlet. Clip in the gutter lengths, connect them with union joints (leaving expansion gaps), fit stop ends and angles, then attach the downpipe and shoe. Test with water before finishing.
What fall should a gutter have?
A fall of 3 mm per metre is the standard for domestic PVC guttering. This gives enough gradient to keep water moving without being visually obvious. For an 8 m run, that is 24 mm of total drop from the high end to the downpipe outlet.
How far apart should gutter brackets be?
For square-line PVC guttering, space brackets at 800–1,000 mm centres. In exposed locations with high winds, reduce this to 600–800 mm. Always place an additional bracket within 150 mm of any angle, union, or running outlet.
Can I install guttering myself?
Yes, provided you are comfortable working at height from a secure ladder or scaffold tower. Gutter installation is a straightforward DIY task — the main skill required is accurate measurement and marking of the bracket fall line. If your property is more than two storeys, hire scaffolding and consider engaging a professional.
How much expansion gap should I leave in PVC guttering?
Leave 6–10 mm between the ends of gutter lengths inside each union joint. The exact gap is specified by the manufacturer and is usually marked inside the fitting. This gap accommodates thermal expansion in summer — without it, the gutter will push joints apart and leak.