Complete Property Refurbishment: Roofline to Drainage
What Order to Do a Property Refurbishment?
The correct order for a property refurbishment that includes roofline, rainwater, cladding, and drainage work is: work from the top down and from the outside in. Start with the roof structure and roofline (fascia, soffit, bargeboards), then install rainwater goods (gutters and downpipes), followed by external cladding or rendering, then above-ground soil and waste pipework, and finally below-ground drainage. Water supply connections (MDPE pipe) should be installed early in the project when trenches are open, and commissioned once the internal plumbing is ready.
This sequence is not arbitrary — each stage depends on the previous one being complete. Gutters cannot be installed until the fascia is in place. Downpipes need to connect to underground drainage, which needs to be laid before surfaces are reinstated. External cladding should go on after the roofline is complete but before scaffolding comes down. Getting the sequence right avoids rework, double-handling, and costly delays.
Planning Your Refurbishment
Survey and Assessment
Before any work begins, carry out a thorough survey of the property to establish the scope of work required. For the exterior building envelope, this includes:
- Roof structure — Inspect rafter feet, wall plates, and truss connections for rot, structural damage, or insect infestation. Any structural issues must be addressed before new roofline products are installed
- Existing roofline — Assess the condition of fascia boards, soffits, and bargeboards. If the existing timber is sound, PVC-U can be over-clad (fixed on top). If timber is rotten or structurally compromised, it must be replaced
- Rainwater system — Check gutters, downpipes, and connections. Note gutter profile and sizes to determine whether like-for-like replacement or a system upgrade is needed
- External walls — Identify any areas requiring repair, repointing, or damp treatment before cladding is applied
- Drainage — Inspect existing below-ground drainage using CCTV survey if possible. Identify any collapses, blockages, root intrusion, or sections of failed pipe that need replacement
- Water supply — Check the condition and material of the existing service pipe. Lead or old copper service pipes may need replacing with MDPE as part of the refurbishment
Building Regulations
A property refurbishment may trigger Building Regulations requirements depending on the scope of work:
- Approved Document C (Site preparation and resistance to contaminants and moisture) — Applies to external wall treatments, damp-proofing, and cladding
- Approved Document F (Ventilation) — Requires adequate roof space ventilation, which affects soffit specification
- Approved Document G (Sanitation, hot water safety, and water efficiency) — Covers water supply and sanitary installations
- Approved Document H (Drainage and waste disposal) — Covers both above-ground and below-ground drainage
- Approved Document L (Conservation of fuel and power) — May apply if the refurbishment significantly affects the building’s thermal performance
Consult your local building control authority early to determine which regulations apply to your specific project.
Stage 1: Roofline — Fascia, Soffit, and Bargeboards
The roofline is the starting point because everything else — gutters, downpipes, cladding — connects to or depends on the roofline being in place and correct.
Work Sequence
- Erect scaffolding — Safe access to the full eaves and verge is essential. Roofline work cannot be done safely from ladders alone on most properties
- Remove existing roofline — Strip old fascia boards, soffits, bargeboards, and any associated guttering. Inspect the exposed rafter feet and wall plates
- Repair structural timberwork — Replace any rotten rafter feet, wall plates, or truss ends. Treat remaining timber with preservative if appropriate
- Install ventilation — If the existing roof space ventilation is inadequate, this is the ideal time to add continuous soffit ventilation. Specify vented soffit boards or separate ventilation strips to provide the required airflow
- Fit soffit boards — Install soffit boards first (they tuck under the rafter feet or are fixed to support battens), as they partially conceal the fascia fixing
- Fit fascia boards — Fix fascia boards over the rafter feet, ensuring they are level, straight, and allow for thermal expansion at joints. Use stainless steel or plated screws — never nails
- Fit bargeboards — Install bargeboards at the verge (gable end), matching the profile and colour of the fascia
Product Selection
PVC-U roofline products from Kalsi Plastics are available in a range of widths, thicknesses, and colours to suit any property type. Standard white is the most popular choice, but woodgrain finishes (rosewood, golden oak) provide a traditional appearance without the maintenance requirements of timber. Anthracite grey and black options suit contemporary properties and are increasingly popular on new-build developments.
Stage 2: Rainwater System — Gutters and Downpipes
With the fascia in place, the rainwater system can be installed.
Work Sequence
- Calculate gutter sizing — Determine the effective roof area draining to each gutter run and select a gutter profile with adequate flow capacity (refer to BS EN 12056-3 for rainfall intensity data). Use the Kalsi rainwater calculator for quick sizing
- Position gutter brackets — Fix brackets to the fascia board at maximum 800mm centres, with the correct fall (approximately 3mm per metre) towards the outlet
- Install running outlets — Fix running outlets at the downpipe positions, establishing the low point of the gutter fall
- Fit gutter lengths — Clip gutter lengths into the brackets, working from the outlet towards the far end. Observe the manufacturer’s expansion gap markings at each union and fitting
- Install stop ends — Fit stop ends at the ends of each gutter run
- Fit downpipes — Connect downpipes to the running outlets using offset bends (to bring the downpipe back to the wall face), then run vertically down to the drainage connection. Fix with pipe clips at maximum 1.8 metre centres
Connecting to Drainage
Each downpipe needs to connect to either:
- A back inlet gully at the base of the wall (for surface water drainage)
- A rainwater shoe discharging onto a permeable surface (where soakaway or surface drainage is acceptable)
- A direct connection to the underground drainage system via an appropriate fitting
The connection method depends on your local drainage arrangements and Building Regulations requirements. In many areas, surface water and foul water drainage must be kept separate.
Stage 3: External Cladding
If the refurbishment includes external cladding, this should be installed after the roofline is complete but while scaffolding is still in place.
Work Sequence
- Prepare the wall surface — Ensure walls are structurally sound, dry, and free from loose render or damaged brickwork. Repair any defects before cladding
- Install battens — Fix treated timber battens vertically at 400mm centres to create a ventilated cavity behind the cladding. This cavity allows moisture to escape and prevents damp being trapped against the wall
- Fit starter profile — Install a starter strip at the base of the cladded area to support the first row of cladding boards
- Install cladding boards — Work from the bottom up, interlocking each row with the one below. Allow for thermal expansion at end joints — leave gaps as specified by the manufacturer
- Fit accessories — Install external corners, internal corners, window trims, and top edge trims to finish the installation neatly
PVC-U external cladding is available in shiplap, weatherboard, and decorative profiles. The choice depends on the desired aesthetic and the style of the property. All profiles provide excellent weather resistance and require minimal maintenance.
Stage 4: Soil and Waste Pipework
Above-ground soil and waste pipe connects sanitary appliances (WCs, basins, baths, showers, sinks) to the underground drainage system.
Work Sequence
- Determine discharge stack position — The main soil stack should be positioned as close as possible to the WC(s) it serves, and should discharge into the underground drainage system at its base
- Install the stack — Fix 110mm PVC-U soil pipe vertically using pipe brackets at maximum 1.8 metre centres. Include an expansion coupling in each straight run exceeding 1.8 metres (for solvent weld systems) to accommodate thermal movement
- Connect waste pipes — Run 32mm or 40mm waste pipes from basins, baths, and showers to the stack, using boss connectors or branch fittings. Ensure each connection has an appropriate trap to prevent sewer gas entering the building
- Terminate at roof level — The soil stack must terminate above the roof level as an open vent (or use an air admittance valve in approved locations). The open vent prevents negative pressure in the drainage system and allows air circulation
- Connect at base — The soil stack connects to the underground drainage system via a rest bend at its base, transitioning from 110mm above-ground pipe to 110mm below-ground pipe
Push-Fit vs Solvent Weld
For above-ground soil and waste, push-fit (ring seal) joints are increasingly preferred because they accommodate thermal movement without expansion couplings and allow easier disassembly for maintenance. Solvent weld provides a permanent, slimmer joint that is preferred for concealed installations and where aesthetics are important.
Stage 5: Below-Ground Drainage
Underground drainage should be installed early in the project timeline — ideally before driveways, paths, and landscaping are reinstated — but it connects with the above-ground systems that come later.
Work Sequence
- Plan the drainage layout — Design the pipe runs, gradient, and connection points in accordance with Building Regulations Approved Document H. Ensure adequate access (inspection chambers or rodding points) at all changes of direction and at regular intervals on straight runs
- Excavate trenches — Dig trenches to the required depth, allowing for the pipe diameter, bedding material, and minimum cover (typically 300mm minimum for garden installations, 600mm minimum under driveways)
- Lay bedding — Place a 100mm bed of granular material (pea gravel or sharp sand) in the trench bottom and level to the required gradient
- Lay pipe — Install 110mm PVC-U underground drainage pipe on the bedding, using ring seal joints. Maintain the specified gradient throughout — typically 1:40 to 1:80 for 110mm pipe
- Install inspection chambers — Position inspection chambers at changes of direction, junctions, and at intervals not exceeding 45 metres on straight runs. Kalsi Plastics supplies complete inspection chamber systems to suit depths from 300mm to 1200mm
- Connect to existing drainage — Link the new installation to the existing drainage system or the public sewer via an approved connection (require a Section 106 agreement from the sewerage undertaker for connections to the public sewer)
- Test the system — Perform an air or water test before backfilling to verify all joints are watertight
- Backfill — Surround the pipe with granular material to 100mm above the crown, then backfill with excavated material free from large stones
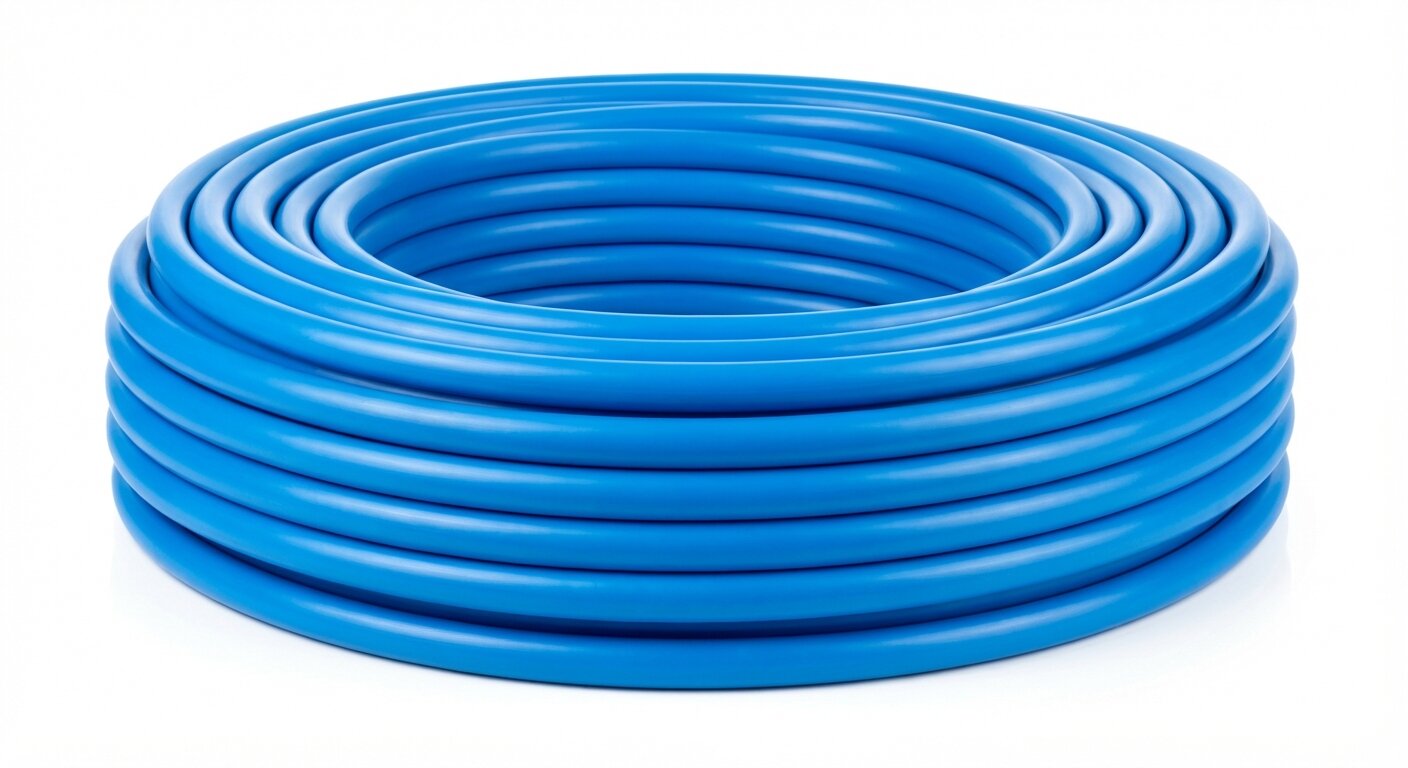
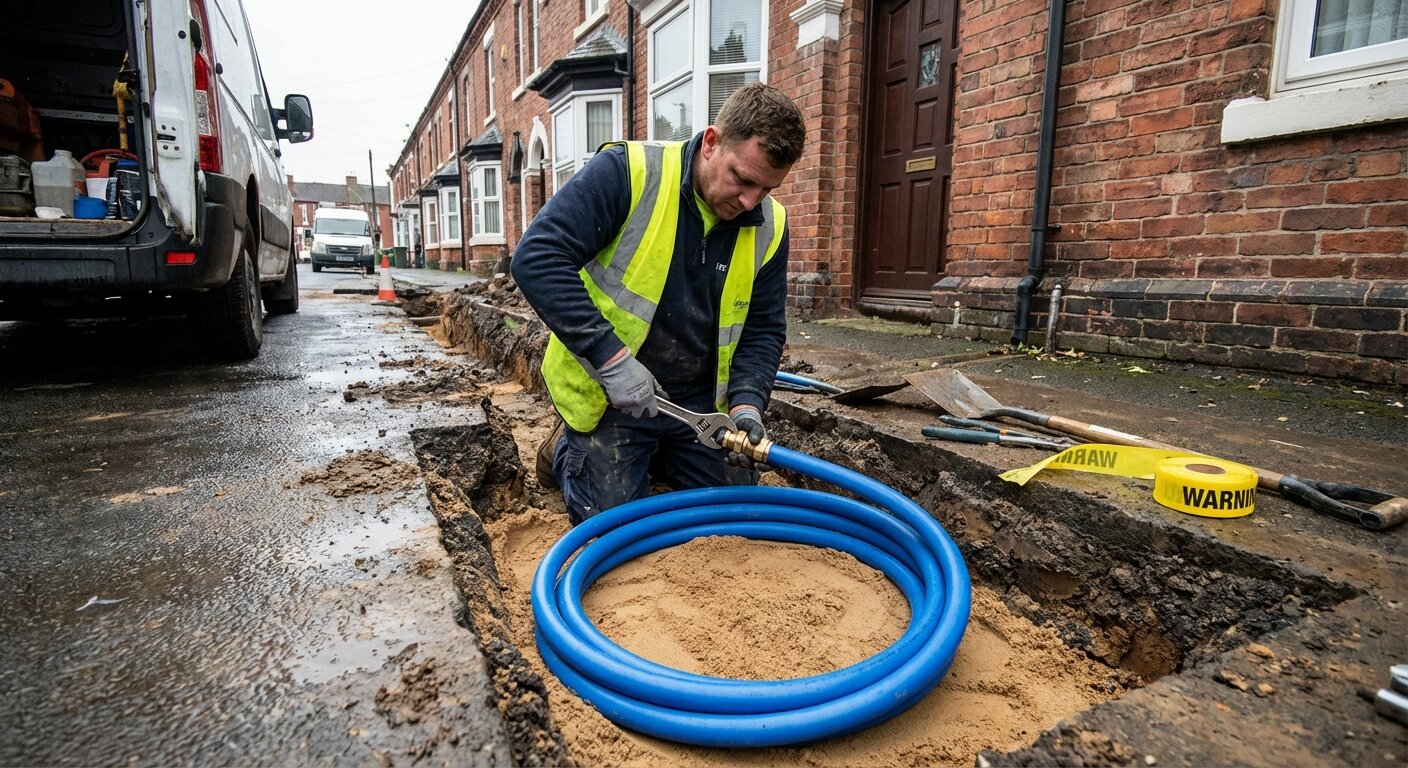
Stage 6: Water Supply (MDPE Pipe)
If the refurbishment includes replacing or installing a water supply pipe, this work should be coordinated with the drainage installation — both require trenching, and combining the excavation work is more efficient.
Key Requirements
- Use WRAS-approved blue MDPE pipe manufactured to BS EN 12201
- Minimum burial depth of 750mm in gardens and footpaths, 900mm under roads and driveways
- All joints using WRAS-approved compression fittings
- Pressure test at 1.5 times maximum working pressure before backfilling
The service pipe typically connects to the boundary stop tap (installed by the water company) and runs to the internal stop tap at the building entry point. Refer to the MDPE pipe sizing guide for guidance on selecting the correct pipe diameter.
Putting It All Together: Refurbishment Sequence Summary
| Stage | Work | Products | Key Standard |
|---|---|---|---|
| 1 | Roofline (fascia, soffit, bargeboards) | PVC-U roofline profiles | — |
| 2 | Rainwater system (gutters, downpipes) | PVC-U rainwater goods | BS EN 12056-3 |
| 3 | External cladding | PVC-U cladding profiles | Approved Document C |
| 4 | Soil and waste pipework | PVC-U soil and waste pipe | BS EN 12056-2 |
| 5 | Below-ground drainage | PVC-U underground drainage | BS EN 1401 / Approved Document H |
| 6 | Water supply | Blue MDPE pipe and fittings | BS EN 12201 / Approved Document G |
Common Mistakes in Refurbishment Sequencing
Installing Gutters Before Fascia
Attempting to install gutters before the fascia board is properly fixed results in brackets that are not securely anchored. If the fascia later needs adjustment, the guttering must be removed and refitted — doubling the labour.
Laying Drainage After Landscaping
Installing underground drainage after driveways, paths, and gardens have been completed means digging up newly laid surfaces. Plan drainage runs early and install pipe before hard landscaping is completed.
Forgetting Scaffold Requirements
Roofline, guttering, and cladding all require safe working access at eaves level. Erecting and striking scaffolding multiple times is expensive. Plan the work sequence so that all elevated external work is completed during a single scaffolding erection.
Not Testing Drainage Before Backfilling
Once trenches are backfilled, finding and repairing a leaking joint requires re-excavation. Always pressure or air test the complete drainage installation before covering it up.
Frequently Asked Questions
Can I do the refurbishment in a different order?
The recommended order (top-down, outside-in) is best practice, but some flexibility exists depending on project constraints. However, roofline must always precede guttering, and below-ground drainage should always be installed before surface finishes are laid.
How long does a complete external refurbishment take?
For a standard 3-bedroom semi-detached house, allow approximately 2–3 weeks for a complete external refurbishment covering roofline, rainwater, cladding, soil pipe, and drainage. Larger properties or more complex projects will take longer.
Do I need building control sign-off?
Drainage work and alterations to water supply almost always require building control notification under Approved Documents G and H. Roofline and cladding work may also require notification if it affects ventilation (Approved Document F) or thermal performance (Approved Document L). Consult your local building control authority.
Can I use different manufacturers for different product categories?
Yes — it is common to use one manufacturer for roofline, another for rainwater, and another for drainage. However, within each product system, use a single manufacturer to ensure compatibility. Mixing guttering from one brand with fittings from another invites problems.
Is scaffolding always required?
For most two-storey properties, scaffolding is required for roofline, guttering, and cladding work above ground-floor level. Working from ladders at height is unsafe and does not comply with the Work at Height Regulations 2005 for most installation activities. Budget for scaffolding as a project cost from the outset.
Related Kalsi Products
- Roofline Products — Fascia, soffit, bargeboard, and accessories
- Rainwater Systems — Full range of gutter profiles and downpipe systems
- External Cladding — Shiplap, weatherboard, and decorative profiles
- Underground Drainage — 110mm and 160mm pipe systems
- Soil and Waste — Solvent weld and push-fit systems
- MDPE Pipe and Fittings — Water supply pipe and compression fittings
- Roofline Calculator — Calculate materials for your roofline project
- Drainage Calculator — Size your drainage system correctly