The Cladding Ventilation Gap: Why 25 mm Matters
You need a gap behind cladding because external cladding systems are designed as rainscreens, not sealed barriers. No cladding system is completely watertight — wind-driven rain, capillary action, and condensation mean that some moisture will always reach the back face of the boards. The ventilated cavity behind the cladding allows this moisture to drain downward and evaporate through natural air circulation, preventing it from reaching the building’s structural wall where it would cause rot, mould, and decay. British Standards and Building Regulations recommend a minimum cavity depth of 25 mm to provide sufficient airflow for effective moisture management.
Omitting this gap — or blocking it during installation — is one of the most common and most damaging mistakes in external cladding work. This guide explains how the ventilated cavity works, why 25 mm is the minimum, and how to detail it correctly.
How a Ventilated Cladding Cavity Works
A properly constructed ventilated cladding system consists of four functional layers, working from outside to inside:
Layer 1: The Cladding (Outer Skin)
The cladding boards — whether PVC-U shiplap, weatherboard, or decorative panels — form the primary weather barrier. They shed the majority of rainfall from the building’s surface and protect the layers behind from direct UV exposure, wind, and impact damage.
However, cladding is not an impermeable seal. Water can enter through:
- Board joints — wind pressure can force water through overlap joints, particularly during severe driving rain
- Cut ends — where boards are trimmed to fit around windows, doors, and corners
- Fixings — nail and screw penetrations create potential water pathways
- Capillary action — water can be drawn into narrow gaps between boards by surface tension
Layer 2: The Ventilated Cavity (The 25 mm Gap)
This is the critical layer. The cavity performs three essential functions:
Drainage: Any liquid water that passes through the cladding runs down the back face of the boards and the front face of the battens, draining out at the base of the cavity. Without the cavity, this water would sit against the wall structure, causing damage over time.
Ventilation: Air enters the cavity at the base and exits at the top, driven by two forces:
- Stack effect (buoyancy) — warm air rises naturally, drawing cooler air in at the bottom and pushing warmer, moisture-laden air out at the top
- Wind pressure — wind passing across the building’s surface creates positive and negative pressure zones that drive air through the cavity
This continuous airflow evaporates any residual moisture from the cavity surfaces, keeping them dry.
Pressure equalisation: The cavity helps equalise air pressure across the cladding, reducing the pressure differential that drives rain through the joints. In a well-detailed cavity, the air pressure behind the cladding approaches the external wind pressure, significantly reducing the driving force for water penetration.
Layer 3: The Breather Membrane (On Timber Frames)
On timber-frame construction, a breather membrane is fixed to the sheathing board behind the battens. This membrane is:
- Vapour-permeable — it allows water vapour generated inside the building to pass outward through the wall and into the cavity, where it is carried away by ventilation
- Water-resistant — it prevents any liquid water that reaches the membrane from penetrating the timber frame
On solid masonry walls, the masonry itself serves this function, and a breather membrane is not normally required.
Layer 4: The Structural Wall
The structural wall — whether timber frame, masonry, or SIPs (structural insulated panels) — is the component that must be kept dry. The entire rainscreen system exists to protect this layer from moisture damage.
Why Specifically 25 mm?
The 25 mm minimum cavity depth is based on practical research and established standards:
Building Standards and Guidance
- BS 8104 (Code of practice for assessing exposure of walls to wind-driven rain) — provides the framework for assessing rain penetration risk and recommends ventilated cavities as a protective measure
- BS EN 13859-2 (Underlays for walls) — specifies performance requirements for breather membranes, which work in conjunction with the ventilated cavity
- Approved Document C (Site preparation and resistance to contaminants and moisture) — references the need for effective moisture management in external wall construction
- NHBC Standards (Chapter 6.9) — specifies a minimum 25 mm ventilated cavity for timber-frame construction behind external cladding
The Physics Behind 25 mm
Research into cavity ventilation shows that:
- Below 15 mm, airflow is significantly restricted by friction between the cavity surfaces. Moisture removal is slow, and the cavity may remain damp for extended periods.
- At 20 mm, airflow is adequate in sheltered locations but may be insufficient in exposed positions where higher volumes of water enter the cavity.
- At 25 mm, airflow is sufficient for effective moisture removal in the vast majority of UK exposure conditions, including moderately exposed coastal and upland sites.
- Above 25 mm (e.g., 38 mm or 50 mm), airflow increases further, providing enhanced performance in severely exposed locations. There is no practical disadvantage to a wider cavity, except the additional projection from the wall.
The 25 mm figure represents the minimum that provides reliable performance across a wide range of UK conditions. In severely exposed locations (Categories 3 and 4 under BS 8104), a wider cavity of 38–50 mm may be advisable.
What Happens When the Gap Is Missing or Blocked?
The consequences of omitting or compromising the ventilation cavity can be severe and expensive to rectify:
Timber Rot
On timber-frame buildings, moisture trapped against the sheathing board or structural timbers causes wet rot and, in severe cases, dry rot (Serpula lacrymans). Wet rot weakens the affected timber locally, while dry rot can spread through the structure, potentially requiring extensive and costly remediation.
Mould and Fungal Growth
Persistent dampness behind cladding creates ideal conditions for mould and fungal colonisation. Mould spores can migrate into the building’s interior, causing respiratory health problems for occupants and triggering insurance and liability issues.
Insulation Degradation
If insulation within the wall becomes wet due to failed moisture management, its thermal performance degrades dramatically. Wet mineral wool insulation, for example, can lose 50–75% of its insulating capacity, increasing energy bills and making the building uncomfortable.
Efflorescence and Staining on Masonry
On masonry walls, trapped moisture dissolves salts within the brickwork or blockwork. As this moisture eventually migrates and evaporates, it deposits salt crystals (efflorescence) on the wall surface, causing unsightly white staining that is difficult to remove permanently.
Frost Damage
In winter, trapped moisture can freeze within the wall structure. The expansion of ice crystals causes physical damage to bricks (spalling), mortar joints, timber, and insulation. Repeated freeze-thaw cycles progressively worsen this damage.
Cladding Failure
Without the cavity acting as a pressure equalisation chamber, wind-driven rain penetrates the cladding more aggressively. This accelerates deterioration of the cladding itself, any timber battens, and the fixings. Boards may warp, fixings may corrode, and the entire system may need premature replacement.
How to Create and Maintain the Ventilation Gap
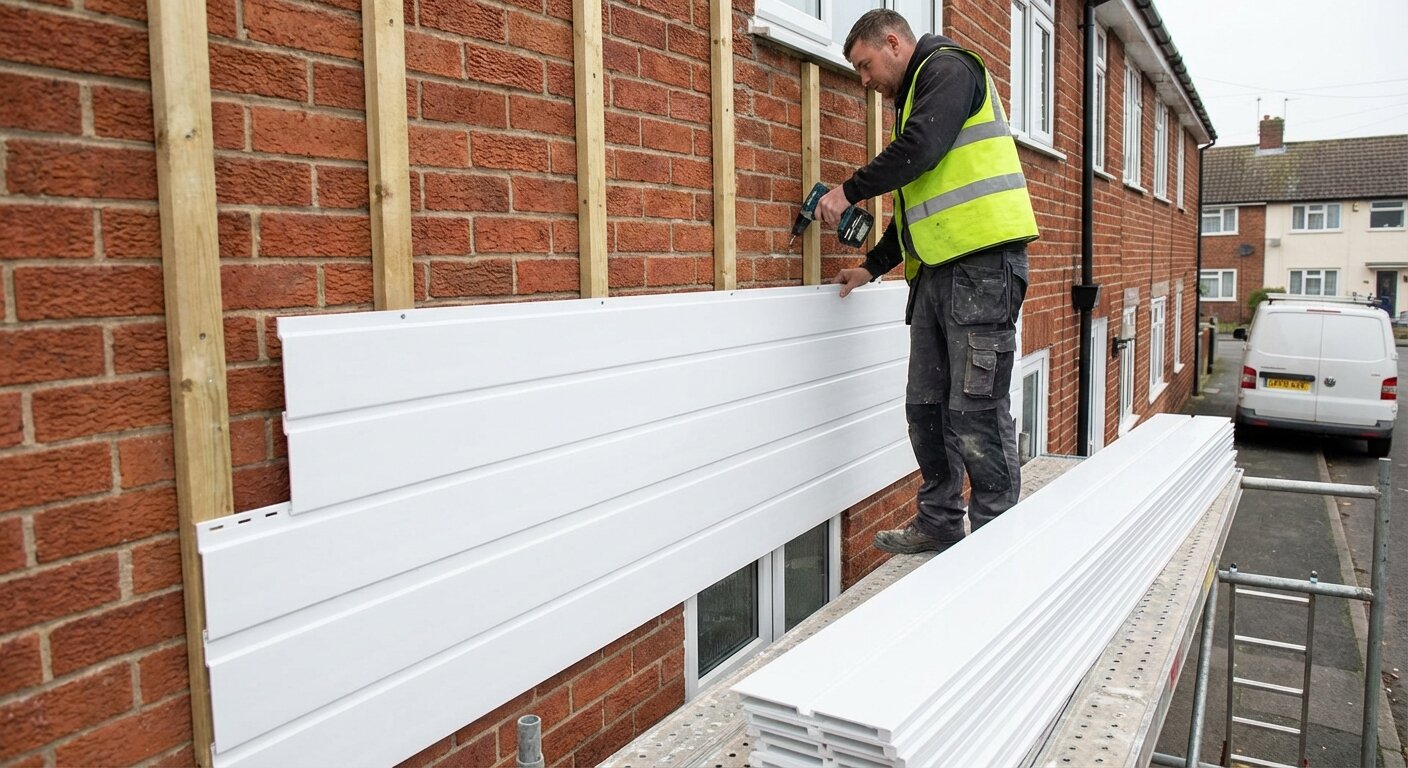
Battens
The ventilation gap is created by fixing vertical battens to the wall surface, with the cladding boards fixed to the outer face of the battens. The batten depth determines the cavity depth:
- 25 mm × 50 mm battens — provides the minimum 25 mm cavity
- 38 mm × 50 mm battens — provides a wider cavity for exposed locations
- Counter-battened systems — horizontal battens fixed first, then vertical battens on top, creating an even wider cavity with improved drainage (used in severe exposure conditions)
Battens must be pressure-treated softwood to resist decay. Untreated battens in a damp cavity will rot, causing the cladding system to fail.
Bottom Ventilation
The base of the cavity must be open to allow air intake and water drainage. Options include:
- Open base — the simplest approach; the cladding stops above the bottom batten, leaving the cavity open. An insect mesh (stainless steel or plastic, 3 mm maximum aperture) prevents pest entry.
- Ventilated starter strip — a purpose-made PVC-U profile that sits at the base of the cladding, providing both ventilation slots and a neat finished appearance.
- Ventilated flashing — a metal or PVC-U flashing with punched ventilation holes, directing water away from the wall while allowing airflow.
Top Ventilation
The top of the cavity must also be ventilated to allow warm, moist air to exit. This is typically achieved by:
- Leaving a gap at the soffit junction — the cavity opens into the eaves space, which is itself ventilated
- Using a ventilated top trim — a purpose-made trim profile with ventilation slots
- Connecting to a ventilated soffit — where soffit boards with ventilation holes or continuous soffit vents allow the cavity air to exhaust into the eaves void
What Not to Do
| Mistake | Why It Is a Problem |
|---|---|
| Filling the cavity with insulation | Blocks airflow and traps moisture — insulation belongs within the wall, not in the cavity |
| Sealing the base of the cavity | Prevents drainage and air intake; moisture accumulates |
| Sealing the top of the cavity | Prevents air exhaust; the stack effect cannot function |
| Using foam sealant around openings | Foam expands to fill the cavity, blocking airflow locally |
| Omitting battens and fixing cladding directly to the wall | Eliminates the cavity entirely; moisture is trapped against the wall |
| Using untreated softwood battens | Battens rot in the damp cavity, causing cladding failure |
Special Considerations
Counter-Battening for Severe Exposure
In exposure Categories 3 and 4 (western Scotland, coastal Wales, upland areas, and other severely exposed sites), a counter-battened system provides enhanced drainage and ventilation:
- Fix horizontal battens (25 mm × 38 mm) at 600 mm vertical centres
- Fix vertical battens (25 mm × 50 mm) over the horizontal battens at 400–600 mm centres
- Fix the cladding boards to the vertical battens
This creates both a horizontal drainage channel and a vertical ventilation channel, with a total cavity depth of approximately 50 mm.
Around Openings
Window and door openings interrupt the cavity. Care must be taken to:
- Maintain ventilation continuity around the opening using cavity trays and ventilated flashings
- Install cavity barriers where required by Approved Document B (fire safety)
- Ensure that head flashings direct any water within the cavity outward onto the cladding face below the opening, not behind it
Integrating with Rainwater Systems
The bottom of the cladding cavity must be detailed to work with the building’s rainwater system. Water draining from the cavity base should be directed away from the building, not onto paths or paving where it could create slip hazards or staining.
Frequently Asked Questions
Can I use a gap smaller than 25 mm?
It is not recommended. Cavities narrower than 25 mm do not provide reliable airflow in typical UK exposure conditions. If space is genuinely constrained (for example, at a boundary where every millimetre matters), consult a building surveyor or structural engineer for project-specific advice.
Does the cavity need to be ventilated behind every type of cladding?
Yes. All external cladding systems — PVC-U, timber, composite, and metal — benefit from a ventilated cavity. The cladding material does not change the need for moisture management behind it.
Can I retrofit a ventilation gap to existing cladding?
Retrofitting is possible but disruptive — it typically requires removing the existing cladding, fixing battens to the wall, and refitting the cladding. If the existing cladding is showing signs of moisture problems (mould, rot, efflorescence), this may be the only effective remedy.
What about horizontal battens instead of vertical?
Vertical battens are standard because they allow water to drain freely down the cavity. Horizontal battens can trap water at each batten, creating localised damp pockets. If horizontal battens are used (for vertical cladding, for example), they must be notched or spaced to allow drainage, or a counter-batten system should be used.
How do I check if my existing cladding has a ventilation gap?
Remove a small section of cladding at the base of the wall. You should be able to see or feel the cavity between the back of the cladding board and the wall surface. If the board is fixed directly to the wall with no gap, the cavity is missing.