Cladding a Garage or Outbuilding: Budget-Friendly Upgrade
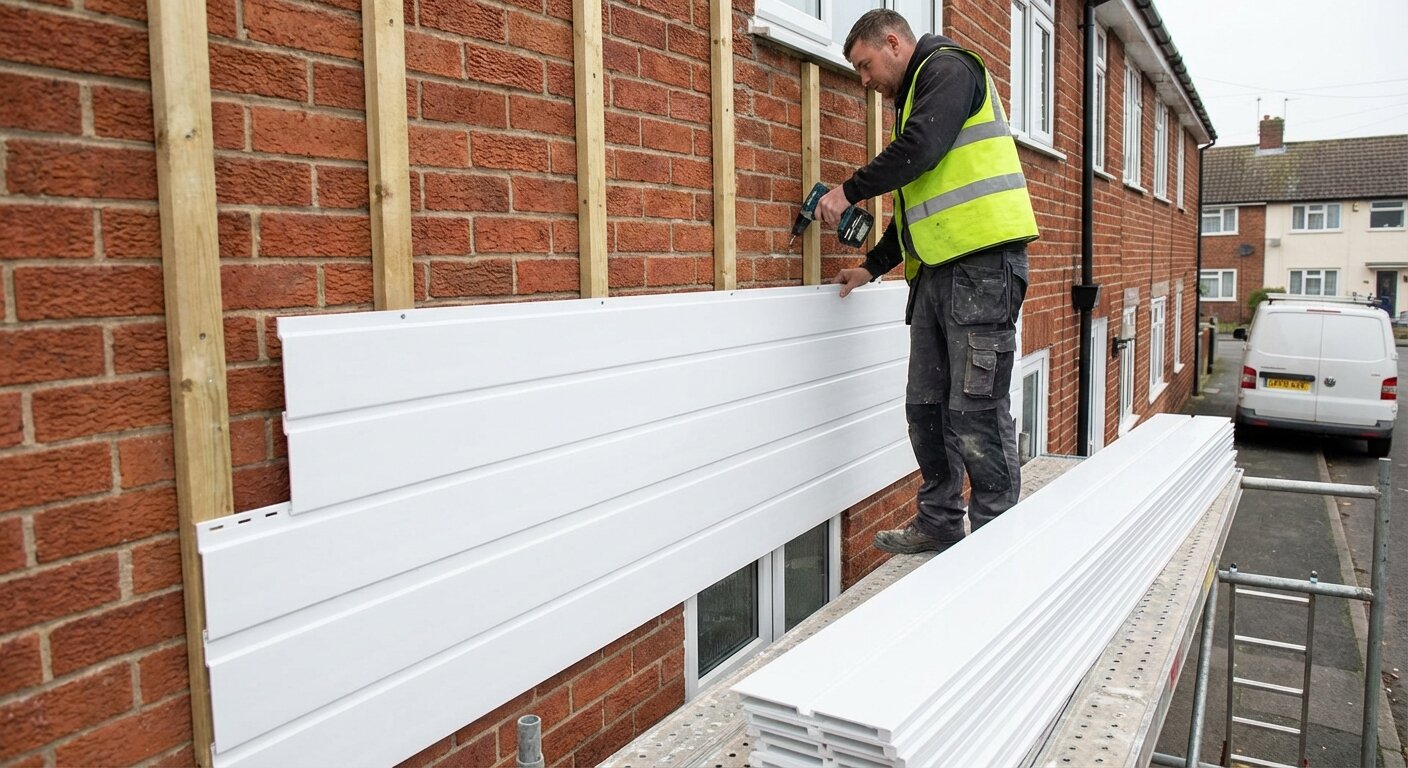
To clad a garage, fix treated timber battens vertically to the existing walls at 400–600 mm centres, creating a minimum 25 mm ventilated cavity, then install PVC-U cladding boards from the bottom up using stainless steel fixings and purpose-made trims at corners, edges, and around any openings. A standard single garage (approximately 15–20 m² of wall area excluding the door opening) can typically be clad in a weekend by a competent DIYer, and PVC-U cladding is the most budget-friendly material that delivers a genuinely transformative result.
Garage and outbuilding cladding is one of the best-value home improvement projects available. A tired, stained concrete block garage or a weathered timber shed can be transformed into an attractive, colour-coordinated structure that enhances your property’s kerb appeal — all without major structural work or planning headaches.
Why Clad a Garage or Outbuilding?
Kerb Appeal
The most common reason for cladding a garage is purely visual. Many UK garages were built from fair-faced blockwork, rough render, or corrugated sheeting — functional but unattractive. Over time, these surfaces accumulate dirt, algae, and staining that makes them look worse with each passing year.
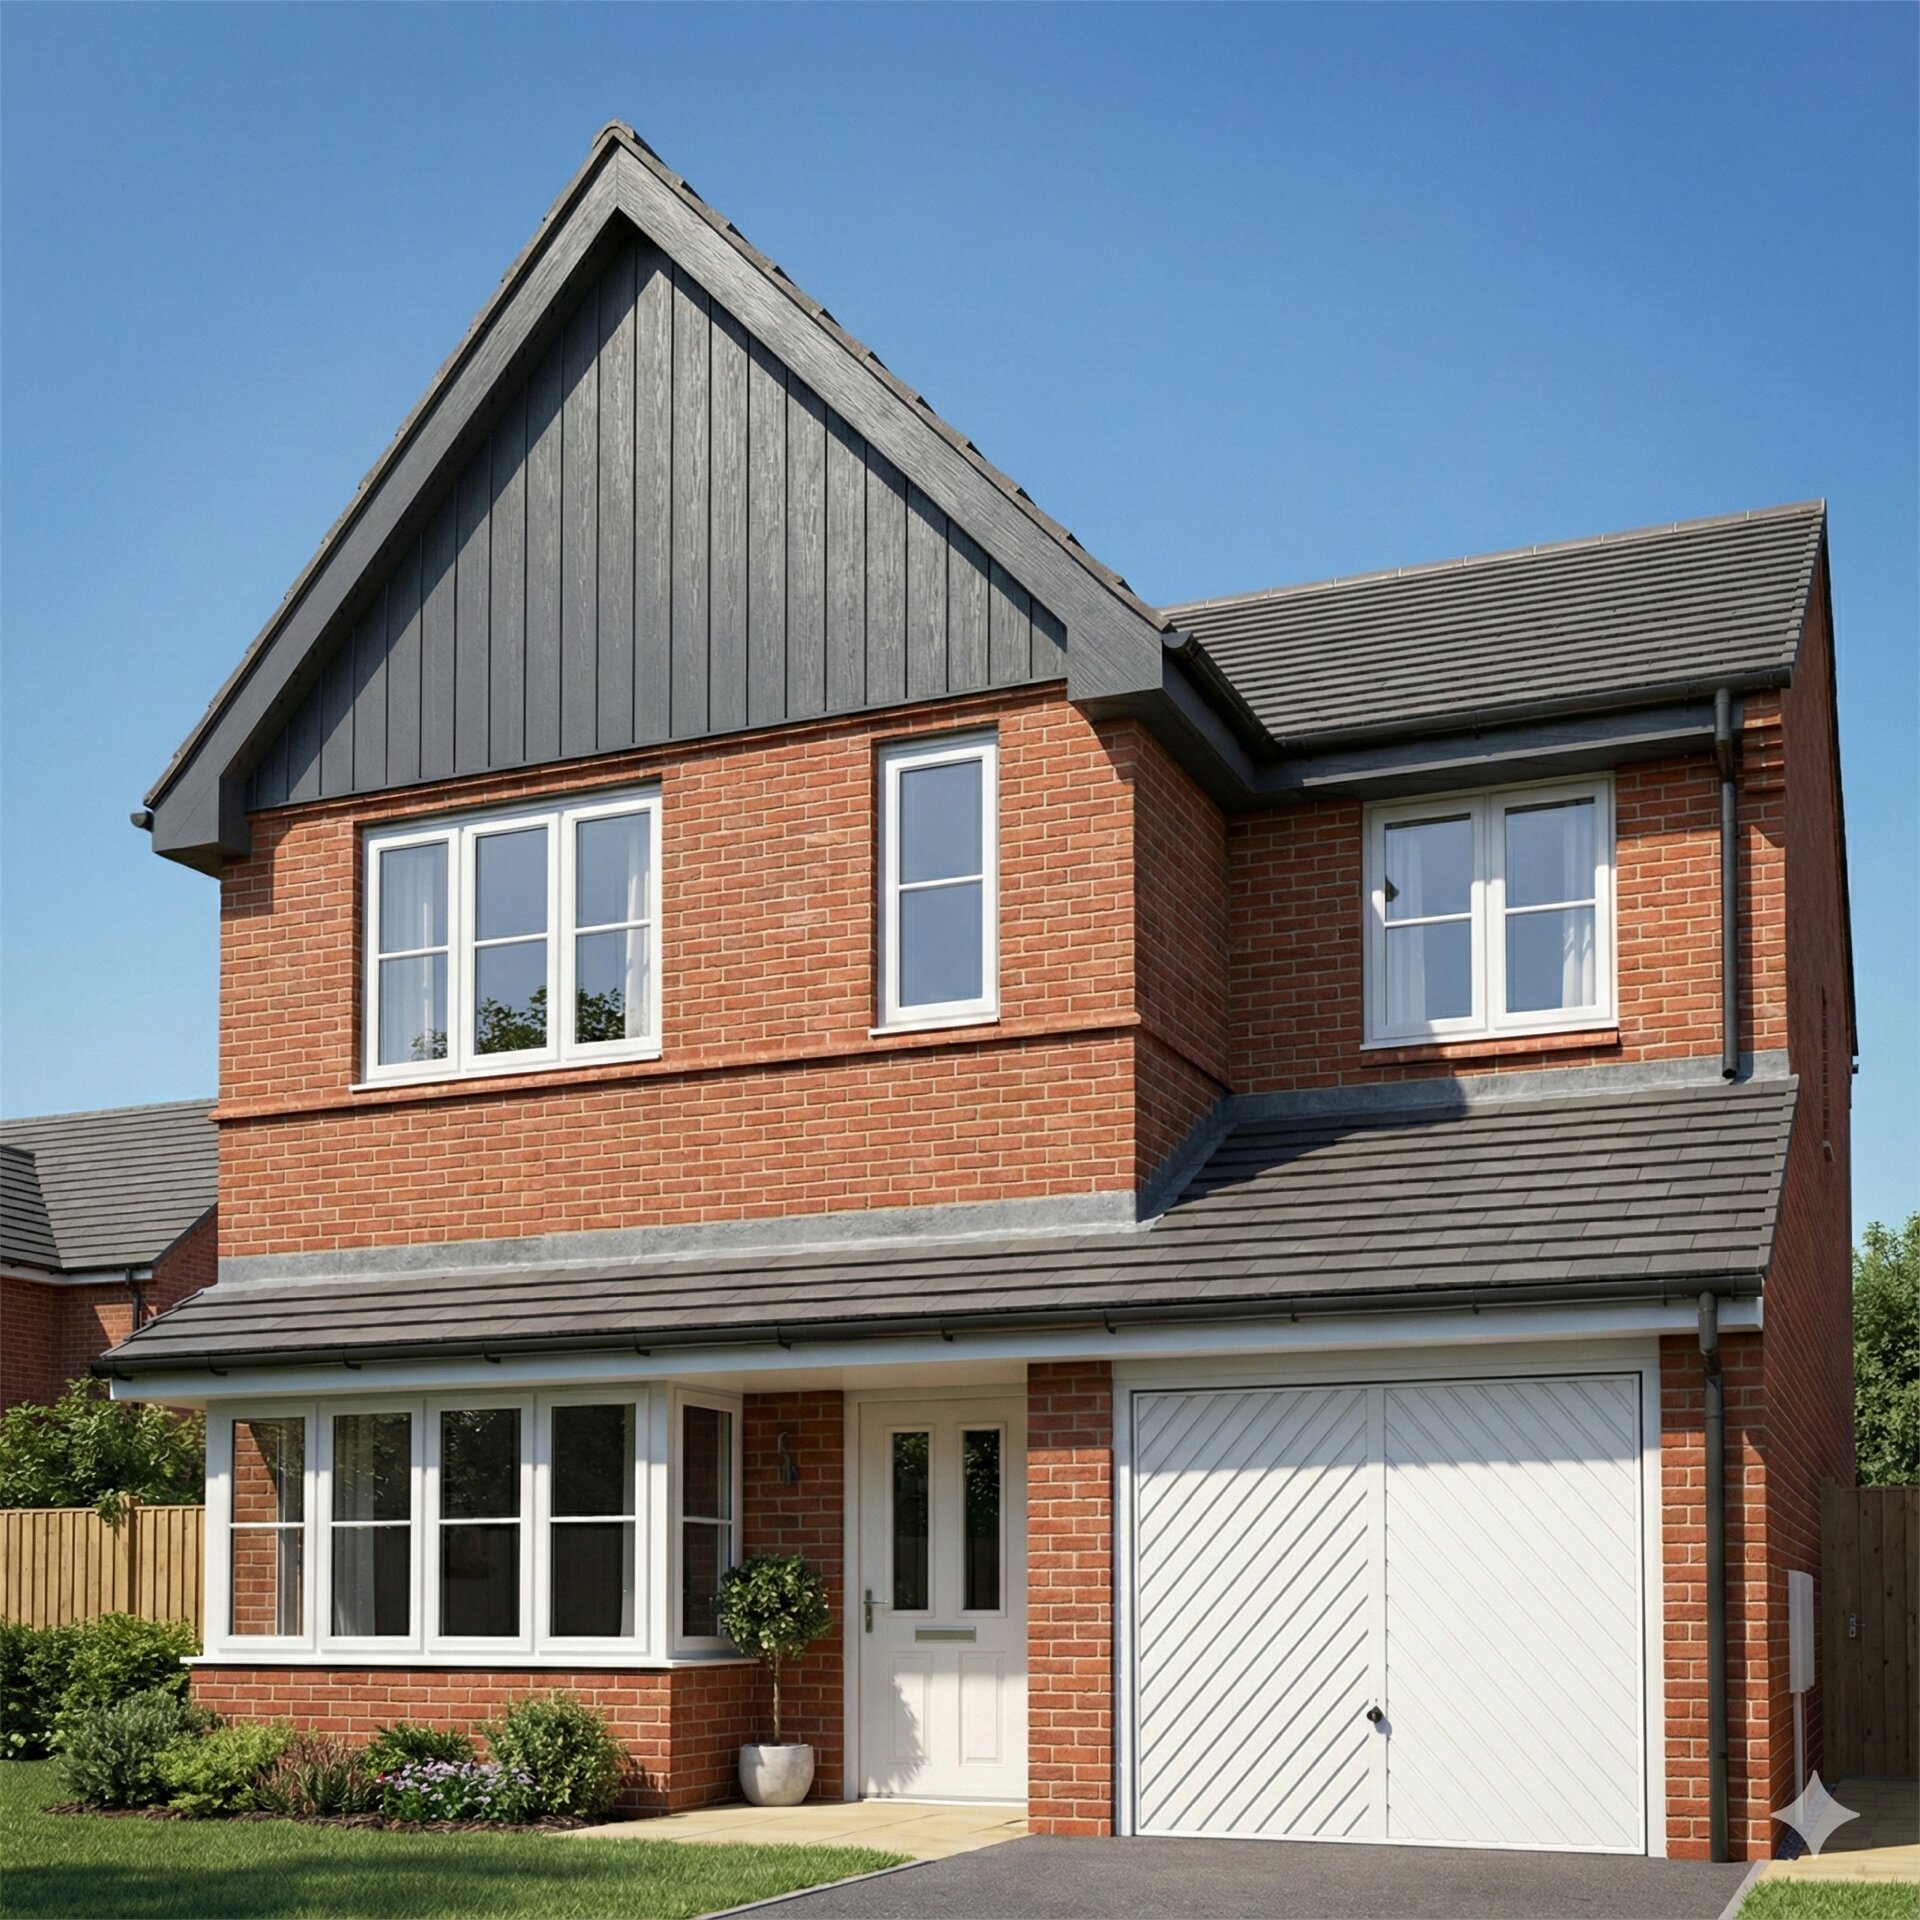
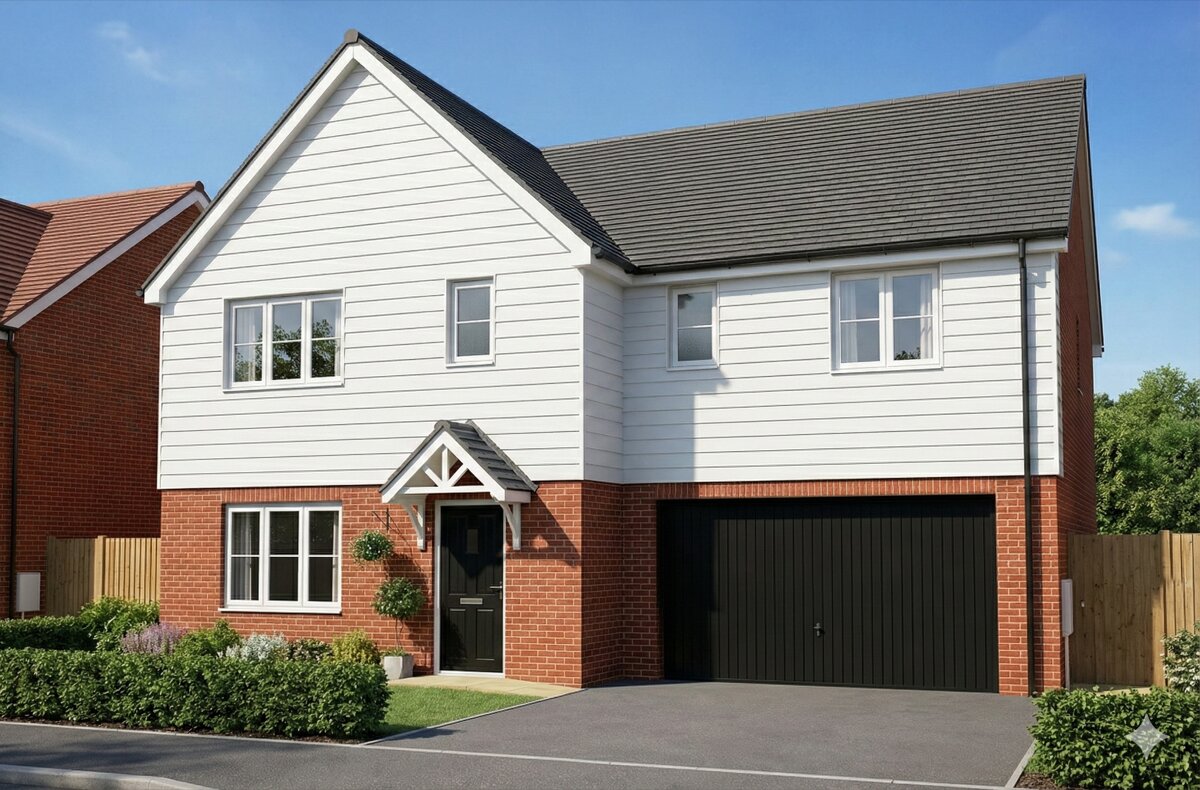
PVC-U cladding in a colour that coordinates with the house — anthracite grey to match modern windows, cream to complement a rendered house, or woodgrain to echo a timber-framed property — transforms the structure from an eyesore into an asset.
Weather Protection
Cladding adds a layer of weather protection to the existing structure. On garages with deteriorating render or crumbling mortar joints, cladding prevents further water ingress and slows the deterioration of the underlying construction. It is not a substitute for structural repairs — cracks and failures should be addressed before cladding over them — but it provides effective ongoing protection.
Thermal Performance
While a single skin of PVC-U cladding has negligible insulating value, the ventilated cavity behind it creates an air buffer that slightly reduces heat loss. If you are converting a garage into a usable space — a workshop, home gym, or storage area — you can add insulation within the wall structure before cladding, significantly improving thermal performance.
Increased Property Value
Estate agents report that well-maintained outbuildings positively influence property valuations. A clad garage that matches the house creates an impression of a well-cared-for property, which can translate into faster sales and higher offers.
Which Material Is Best for Garage Cladding?
For most garage and outbuilding projects, PVC-U cladding is the clear winner on cost, ease of installation, and maintenance. Here is how it compares to the alternatives:
| Factor | PVC-U | Timber | Composite | Metal |
|---|---|---|---|---|
| Material cost (relative) | Low | Medium | High | Medium–High |
| Installation ease | Easy — DIY-friendly | Moderate | Moderate | Specialist |
| Maintenance | Wash only | Repaint every 3–5 years | Wash + occasional treatment | Wash only |
| Lifespan | 25–40 years | 15–25 years (with maintenance) | 25–30 years | 30–50 years |
| Weight | Light | Medium–Heavy | Heavy | Light–Medium |
| DIY-suitable | Yes | Yes | Yes (with care) | No |
| Best for | Budget projects, colour matching | Natural aesthetic | Premium look | Industrial/modern |
PVC-U shiplap cladding is the most popular profile for garage cladding because its clean, flat-faced appearance suits the simple geometry of most garages, and its interlocking joints make it easy to install quickly.
Planning Permission and Building Regulations
Planning Permission
Cladding an existing garage or outbuilding does not normally require planning permission, as it is considered a minor alteration that does not change the building’s use, size, or footprint. However, you should check with your local planning authority if:
- The garage is in a conservation area, National Park, or Area of Outstanding Natural Beauty
- The property is listed
- The garage fronts a highway (some authorities have views on visual changes to highway-facing elevations)
- An Article 4 direction restricts permitted development rights
Building Regulations
Cladding a non-habitable outbuilding (a garage used solely for parking or storage) does not normally trigger Building Regulations requirements. However, if you are:
- Converting the garage to a habitable use (home office, gym, studio) — the conversion itself requires Building Regulations approval, and the cladding will be assessed as part of the overall external envelope
- Adding insulation behind the cladding — this may trigger Part L (energy performance) requirements
- Using the garage as sleeping accommodation — full Building Regulations compliance is required, including fire safety
How to Clad a Garage: Step-by-Step
Step 1: Assess and Prepare the Existing Walls
Before fixing any battens, inspect the garage walls:
- Structural cracks — hairline cracks in render or mortar are cosmetic and can be left. Cracks wider than 3 mm, or stepped cracks following mortar joints, may indicate structural movement and should be assessed by a structural engineer before cladding.
- Loose render — remove any areas of loose or hollow render. The battens need to be fixed into solid substrate (the blockwork or brickwork beneath), so loose render does not affect the installation.
- Dampness — check for rising damp or penetrating damp. While cladding will protect against further rain penetration, it will not cure existing damp problems caused by rising groundwater or faulty guttering.
- Vegetation — remove any ivy, moss, or climbing plants. Cut roots back and treat with a plant killer to prevent regrowth behind the cladding.
- Guttering — if the garage has existing guttering, decide whether to remove and refit it after cladding, or to work around it. Refitting provides a cleaner result.
Step 2: Fix the Battens
Fix treated softwood battens (25 mm × 50 mm minimum) vertically at 400–600 mm centres using masonry screws or frame fixings with a minimum of 50 mm penetration into the masonry.
Key points:
- Check each batten is plumb with a spirit level
- Pack behind battens with offcuts where the wall surface is uneven, to create a flat fixing plane
- Fix additional battens tight to each corner and around any openings (windows, personnel doors, meter boxes)
- The battens create a minimum 25 mm ventilated cavity behind the cladding
Step 3: Install Trims
Before fixing any cladding boards, install all perimeter trims:
- Starter strip at the base — supports the bottom edge of the first board and ensures it sits at the correct angle
- External corner trims at each external corner — receives board ends from both sides
- Internal corner trims where the garage meets the house wall or another structure
- J-channel or stop trim around any openings (windows, personnel doors)
- Top trim where the cladding meets the eaves or fascia
Fix trims to battens using stainless steel screws at approximately 300 mm centres.
Step 4: Fix the Cladding Boards
Starting from the bottom:
- Measure the horizontal run between trims, deduct 5–8 mm from each end for expansion
- Cut the first board using a fine-tooth mitre saw or circular saw
- Slot the bottom edge into the starter strip and the ends into corner trims
- Check level with a spirit level
- Fix through the face at each batten crossing using stainless steel nails or screws
- Engage the next board’s rebate over the top of the first board
- Continue upward, checking level every 4–5 courses
Step 5: Detail Around the Garage Door
The garage door opening is the most visible element. Options include:
- Stop the cladding at the door frame — use a J-channel or stop trim to create a clean edge against the frame. This is the simplest approach and works well when the existing frame is in good condition.
- Clad above the door — the lintel area above the garage door can be clad to match the walls, creating a unified appearance.
- Add a fascia board — if the garage has an exposed lintel or concrete beam above the door, adding a PVC-U fascia board over it provides a clean, finished appearance.
Step 6: Finish the Top Edge
At the eaves:
- If the garage has a fascia board, run the cladding up to the underside of the fascia and finish with a top trim
- If the garage has exposed rafter feet or no fascia, consider adding PVC-U fascia and soffit boards to complete the transformation
- Ensure the top of the ventilation cavity is open or ventilated to allow air exhaust
Making a Small Budget Go Further
Garage cladding is already one of the most affordable exterior upgrades, but there are ways to reduce costs further:
Prioritise the Visible Elevations
If budget is tight, clad only the elevations visible from the house or the street — typically the front and one side. Leave the rear and the wall facing a boundary fence uncladded. This halves the material cost while delivering most of the visual impact.
Match the House Colour
Choosing the same cladding colour as the house’s existing PVC-U elements (fascia, soffit, window frames) creates a coordinated look without needing to change anything on the house itself.
Combine with Roofline Upgrade
If the garage fascia and soffit are also looking tired, tackle them at the same time as the cladding. You only need to hire scaffolding once, and the combined project creates a much more dramatic transformation than cladding alone.
Use Offcuts Wisely
PVC-U cladding cuts easily and produces clean offcuts. On a garage project, offcuts from long runs can often be used on shorter runs (above doors, between windows). Plan your cutting layout to minimise waste.
Real-World Project: Typical Single Garage
To give a sense of scale, here is what a typical single garage cladding project involves:
Building: Single garage, 6 m × 3 m, blockwork construction, 2.4 m wall height, one up-and-over door, one personnel door, no windows
Materials:
- Approximately 18–20 m² of cladding (three walls, deducting for doors)
- 30–35 linear metres of battens
- External corner trims × 4
- Starter strip, top trim, J-channels around personnel door
- Stainless steel fixings
- Optional: fascia and soffit boards for eaves upgrade
Time: One to two days for a competent DIYer; half a day for a professional installer
Waste: With careful planning, waste should be under 10%
Frequently Asked Questions
Can I clad over a rendered garage wall?
Yes, provided the render is not loose or crumbling. Fix the battens through the render into the masonry behind using long fixings (minimum 50 mm into the blockwork). If the render is hollow or failing, remove the loose sections first — the battens only need to be fixed to solid substrate.
Do I need to remove the existing garage door to clad around it?
No. The cladding stops at the door frame, with a trim profile creating a clean junction. The door can remain in place throughout the installation.
Can I clad an asbestos-cement garage?
If your garage is constructed with asbestos-cement panels (common on prefab garages from the 1950s–1980s), do not drill, cut, or disturb the panels. Asbestos must be handled by licensed contractors. Cladding over asbestos panels is possible in some cases (by fixing battens using adhesive systems rather than mechanical fixings), but specialist advice is essential. The Health and Safety Executive (HSE) provides guidance on working with asbestos-containing materials.
Will cladding make my garage warmer?
The cladding itself provides minimal insulation, but the ventilated cavity creates an air buffer. For meaningful thermal improvement, add insulation (mineral wool or rigid foam board) within the wall structure before fitting the battens and cladding. If the garage is being converted to a habitable use, insulation to Part L standards will be required.
How do I handle the junction between the garage and the house wall?
Where the garage wall meets the house wall, use an internal corner trim fixed to a batten on the garage side. This creates a neat, weathertight junction without needing to fix anything to the house wall. If there is a gap between the two walls, fill it with a backer rod and external-grade silicone sealant before installing the cladding.