How to Install Underground Drainage: A Step-by-Step Guide
Meta description: Complete guide to installing underground drainage - covers planning, excavation, pipe laying, inspection chambers, and testing for compliance.
Suggested URL: /blog/how-to-install-underground-drainage
Introduction
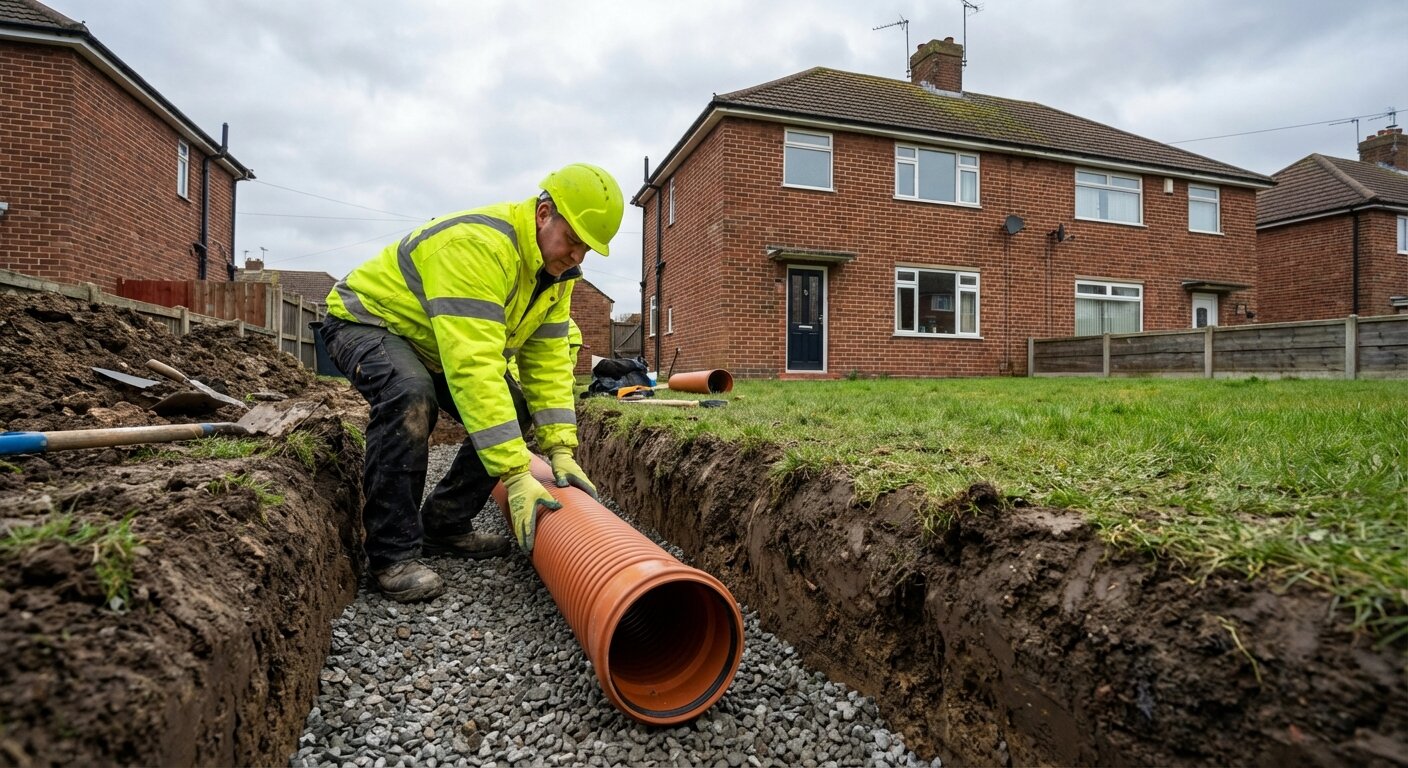
Installing underground drainage correctly isn’t complicated, but it requires careful planning and methodical execution. Mistakes buried underground are expensive to fix, and failed inspections mean digging everything up again.
This guide walks through the complete process from initial survey to final testing. Whether you’re a builder installing drainage for an extension or a specialist contractor, following these steps ensures compliant, long-lasting installations that pass Building Control inspection first time.
Before You Start: Planning and Preparation
Survey Existing Services
Before any excavation, establish what’s already underground:
- Request utility plans from electricity, gas, water, and telecoms companies
- Use CAT scanner and signal generator to locate cables and pipes
- Identify existing drainage routes (manholes indicate direction)
- Check for private services (oil tanks, septic systems, soakaways)
Critical: Damaging services during excavation causes delays, costs, and potentially serious safety hazards.
Design the System
Plan your drainage layout considering:
- Connection point – where does the new drainage join the existing system?
- Fall required – typically 1:40 for 110mm pipes (minimum 1:80)
- Depth at connection – this determines excavation depth throughout
- Inspection chamber locations – at junctions, direction changes, and maximum 45m intervals
- Pipe routing – shortest practical route avoiding obstacles
Calculate invert levels at each point working back from the connection. Allow for pipe diameter plus bedding material.
Obtain Permissions
Ensure you have:
- Building Regulations application submitted (full plans or building notice)
- Sewerage company approval for connection to public sewer
- Build-over agreement if near existing public sewers
- Party wall agreements if excavating near boundaries
Materials Checklist
Gather materials before starting excavation:
- Underground drainage pipe (110mm PVC-U typically)
- Fittings – bends, junctions, reducers as per design
- Inspection chamber base and risers
- Chamber covers and frames (appropriate for location)
- Pea gravel for bedding and surround (10-20mm)
- Marker tape
- Concrete and granular backfill material
Step 1: Set Out the Route
Mark the drainage route on the ground surface:
- Establish connection point location and invert level
- Drive wooden pegs at chamber positions
- Mark trench line with spray paint between pegs
- Set up profile boards at each end showing invert level
Profile boards: Create simple frames with a horizontal crosspiece at a fixed height above invert level. String a line between profiles to guide excavation depth.
Step 2: Excavate the Trench
Dimensions
Minimum trench width:
- 110mm pipe: 450mm wide
- 160mm pipe: 500mm wide
- Allows working space for jointing
Depth varies with gradient but typically:
- Minimum 600mm cover under gardens
- Minimum 900mm under driveways
- Greater depth may be required to achieve falls
Excavation Technique
- Remove topsoil separately for reuse
- Excavate subsoil, storing away from trench edge
- Keep trench sides vertical where possible
- Shore trench sides if deeper than 1.2m or in unstable ground
- Form bell holes at joint positions (extra depth for socket)
- Check depth against string line regularly
Safety Considerations
- Never enter unsupported deep trenches
- Keep excavated material at least 1m from trench edge
- Provide safe access (ladder) for trenches over 1m deep
- Watch for groundwater ingress – pump if necessary
Step 3: Prepare the Bed
A good pipe bed ensures even support and prevents settlement.
Granular Bed
- Spread 100mm of pea gravel along trench bottom
- Level and compact lightly
- Check level against profile line (allowing for pipe diameter)
- Form socket holes where joints fall – prevent pipes bridging on sockets
Alternative: Concrete Bed
Required where:
- Cover is insufficient for loads
- Ground is unstable
- Pipe passes through made ground
Pour 100mm concrete bed, allow to cure, then lay pipes on granular material above.
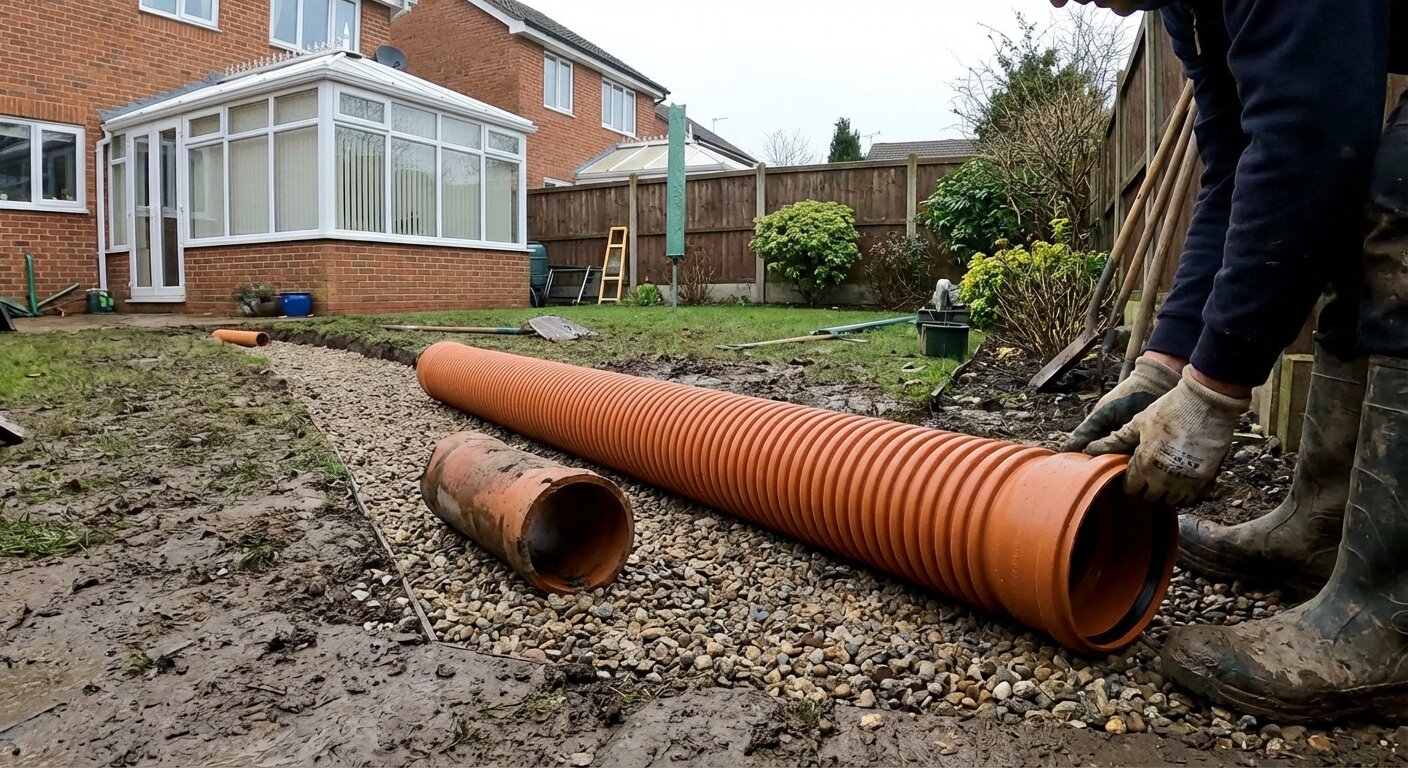
Step 4: Lay the Pipes
Inspection and Preparation
- Check pipes for damage before installation
- Remove any debris from inside
- Clean socket and spigot ends
- Have lubricant ready for ring seal joints
Laying Sequence
- Start at the lowest point (connection end)
- Lay pipes uphill so sockets face the flow direction
- Insert spigot into socket with push-and-twist motion
- Ensure ring seal isn’t displaced (mark insertion depth)
- Check alignment with string line after each pipe
- Verify gradient with spirit level or laser
Making Joints
For ring seal pipes:
- Lubricate seal and spigot with silicone lubricant
- Push home firmly – you’ll feel resistance from the seal
- Ensure insertion mark aligns with socket edge
Cutting Pipes
When cutting is necessary:
- Mark cut line accurately
- Cut square with fine-tooth saw or pipe cutter
- Deburr inside and outside edges
- Chamfer the leading edge (essential for ring seal joints)
Step 5: Install Inspection Chambers
Chambers are required at:
- All junctions and direction changes
- Changes in pipe size or gradient
- Maximum 45m intervals on straight runs
Chamber Installation
- Excavate chamber position to required depth
- Place 150mm concrete base, level and allow to firm up
- Position chamber base on concrete, checking inlet/outlet alignment
- Build up risers to finished level
- Install rubber sealing adaptors where pipes enter
- Connect pipes to chamber – ensure proper fall maintained
- Fit cover and frame at correct finished level
Cover Selection
Choose appropriate covers for location:
- Class A15: Pedestrian areas only (gardens, paths)
- Class B125: Car traffic, driveways
- Class D400: Heavy vehicles, commercial areas
Step 6: Surround and Backfill
Pipe Surround
After pipes are laid and checked:
- Hand-fill pea gravel around pipes
- Ensure full support under pipe haunches
- Build up to 100mm above pipe crown
- Never drop large stones or debris onto pipes
Backfill
- Place warning tape 300mm above pipe level
- Backfill in 300mm layers
- Compact each layer (plate compactor or punner)
- Continue to finished level
- Replace topsoil last
Under Driveways
Where pipes pass under driveways:
- Maintain minimum cover depths
- Consider concrete protection slab if cover is marginal
- Compact backfill thoroughly to prevent settlement
Step 7: Testing
Building Control requires drainage testing before sign-off.
Air Test (Preferred Method)
- Plug all outlets except test inlet
- Connect manometer and pump
- Inflate to 100mm water gauge pressure
- Stabilise for 5 minutes
- Test for further 5 minutes – pressure drop must not exceed 25mm
Pass criteria: Maximum 12mm drop over 5 minutes for new installations
Water Test
Alternative where air test isn’t practical:
- Plug lowest outlet
- Fill system with water to top chamber
- Allow to stand for 2 hours to saturate pipes
- Top up to test level
- Monitor water level for 30 minutes
Pass criteria: Less than 0.05 litres per metre per hour loss
Document Results
Record test results with photographs showing:
- Test equipment in use
- Manometer readings
- Pipe runs before backfilling
- Chamber connections
Provide copies to Building Control.
Common Problems and Solutions
Problem: Can’t achieve required gradient Solution: Start planning from the connection point. If impossible, consider a pumped system.
Problem: Groundwater flooding trench Solution: Pump continuously during work. Consider land drainage or concrete surround.
Problem: Test failure Solution: Check all joints systematically. Look for displaced seals or debris in pipes.
Problem: Misaligned chamber connection Solution: Use adjustable bend or short extension to correct alignment. Never force pipes.
Conclusion
Underground drainage installation follows a logical sequence: plan carefully, dig accurately, bed properly, lay methodically, and test thoroughly. Rushing any stage risks problems that are expensive to fix.
Building Control expects to see work at excavation stage – call for inspection before backfilling. This protects you as much as the client; if problems are spotted early, they’re still easy to correct.
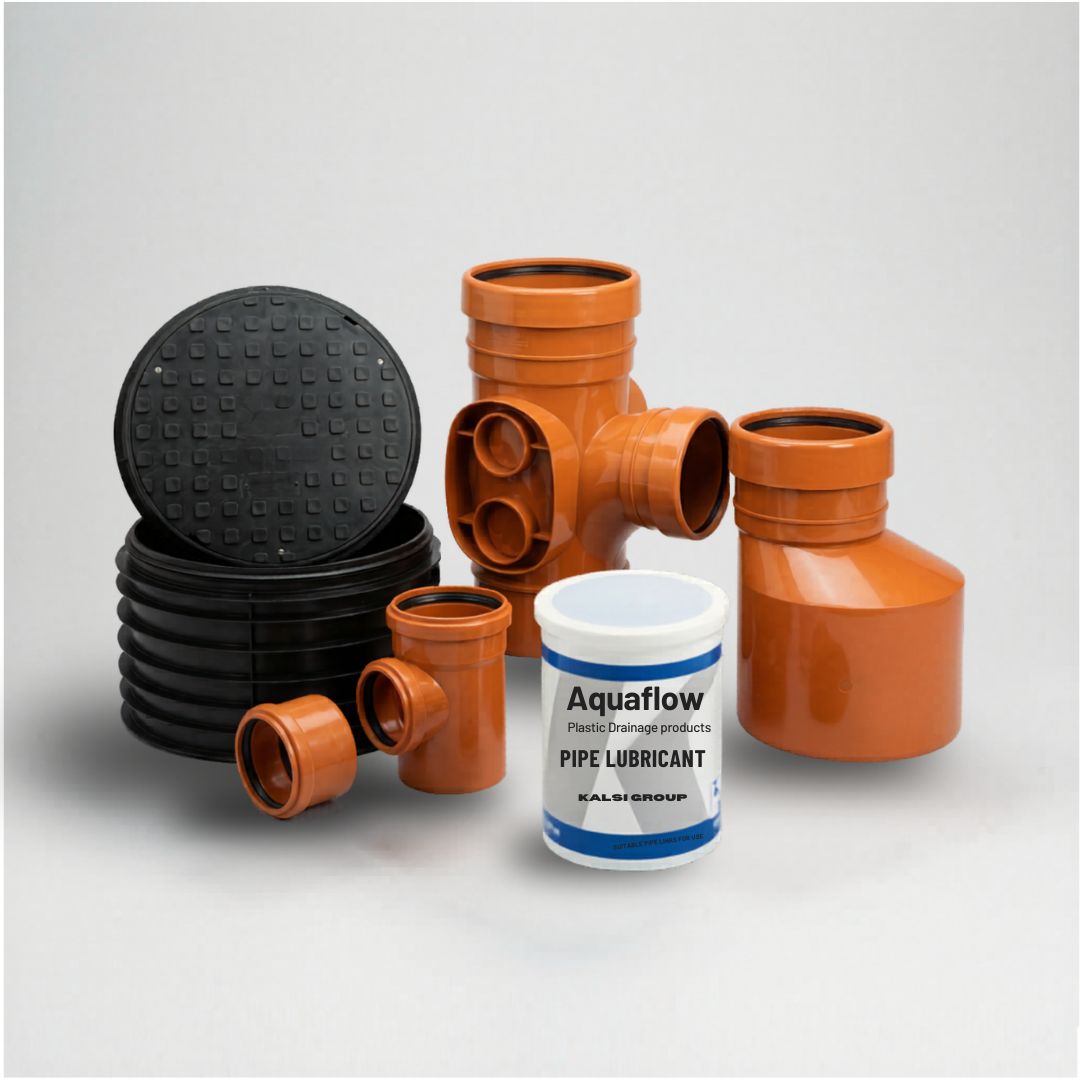
Stock up on quality underground drainage materials before your next job. From pipes and fittings to chambers and accessories, we supply everything needed for compliant drainage installations.
Internal links:
- Underground drainage pipes (110mm, 160mm)
- Underground drainage fittings
- Inspection chambers and accessories
- Chamber covers and frames
- Drainage bedding and surround materials
Word count: 1,289 words