PVC Wall Panelling in Bathrooms: Installation Guide
Meta description: Complete guide to installing PVC wall panelling in bathrooms - covers preparation, fitting techniques, and moisture considerations for lasting results.
Suggested URL: /blog/pvc-wall-panelling-bathroom-installation
Introduction
PVC wall panelling has transformed bathroom renovations. Where ceramic tiles demand skilled tiling, special adhesives, and careful grouting, PVC panels go up in hours and deliver a waterproof, hygienic finish that homeowners love.
For builders, plumbers, and renovators, adding wall panelling to your services opens new revenue streams with minimal additional skills. This guide covers everything you need to know about installing bathroom wall panels correctly, from surface preparation to final finishing.
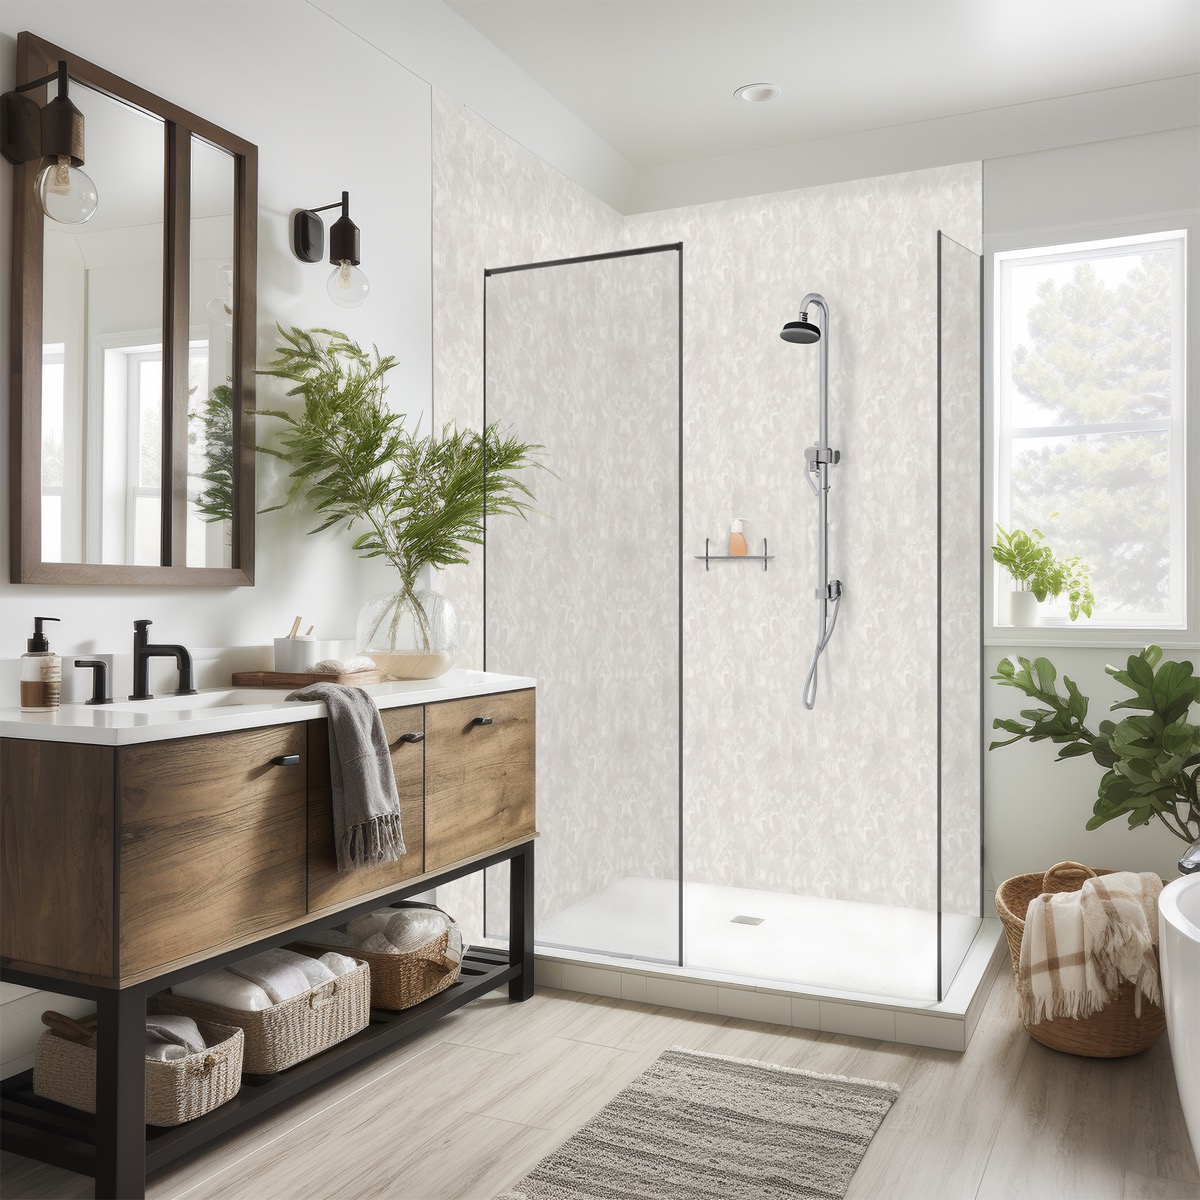
Why PVC Wall Panelling?
Advantages Over Tiles
Speed: A complete bathroom can be panelled in 4-6 hours versus 2-3 days for tiling.
Cost-effective: Lower material costs and dramatically reduced labour time.
Waterproof: No grout joints to fail, leak, or discolour.
Hygienic: Smooth, non-porous surface doesn’t harbour mould or bacteria.
DIY-friendly: Homeowners can assist with straightforward fitting.
Maintenance: Wipe clean with standard bathroom cleaners.
Design Options
Modern PVC panels offer extensive design choices:
- Solid colours (white, grey, black, pastels)
- Stone effects (marble, slate, travertine)
- Wood effects (oak, driftwood, grey wood)
- Tile effects (subway, metro, mosaic)
- Metallic and high-gloss finishes
Panel widths typically range from 250mm to 1000mm, with depths from 8mm to 10mm.
Pre-Installation Assessment
Checking the Substrate
Panels need a sound, flat surface. Assess:
Painted plaster: Generally fine if well-adhered. Scrape any flaking areas.
Tiles: Can panel directly over clean tiles. Check for loose tiles and re-fix or remove.
Wallpaper: Remove completely. Adhesive won’t bond reliably over paper.
Artex/textured finishes: Heavy texture may need skimming or mechanical keying.
Bare plaster: Prime with PVA solution or appropriate primer.
Damp: Must be addressed before panelling. Panels hide but don’t solve damp problems.
Measuring and Planning
Measure each wall carefully:
- Height from floor/skirting to ceiling
- Width including any obstacles
- Note window reveals, door architraves, fixtures
Calculate panel quantities:
- Divide wall width by panel width
- Round up (part panels still need full panels to cut)
- Add 10% for cutting waste
- Count internal corners, external corners, edges, and joints needed
Plan panel layout to minimise visible cut edges and optimise aesthetics around focal points.
Materials and Tools
Materials Checklist
- Wall panels (quantity as calculated)
- Internal corner trims
- External corner trims
- Edge/end trims (J-section or similar)
- Ceiling trim/coving (if applicable)
- Adhesive (grab adhesive suitable for PVC)
- Silicone sealant (colour-matched)
- Mechanical fixings (for battening method)
Tools Required
- Spirit level and laser level
- Tape measure and straight edge
- Fine-tooth saw or panel saw blade
- Jigsaw (for curves and cutouts)
- Mitre box or mitre saw (for trim angles)
- Caulking gun
- Clean cloths
- Drill/driver (for battening)
Installation Methods
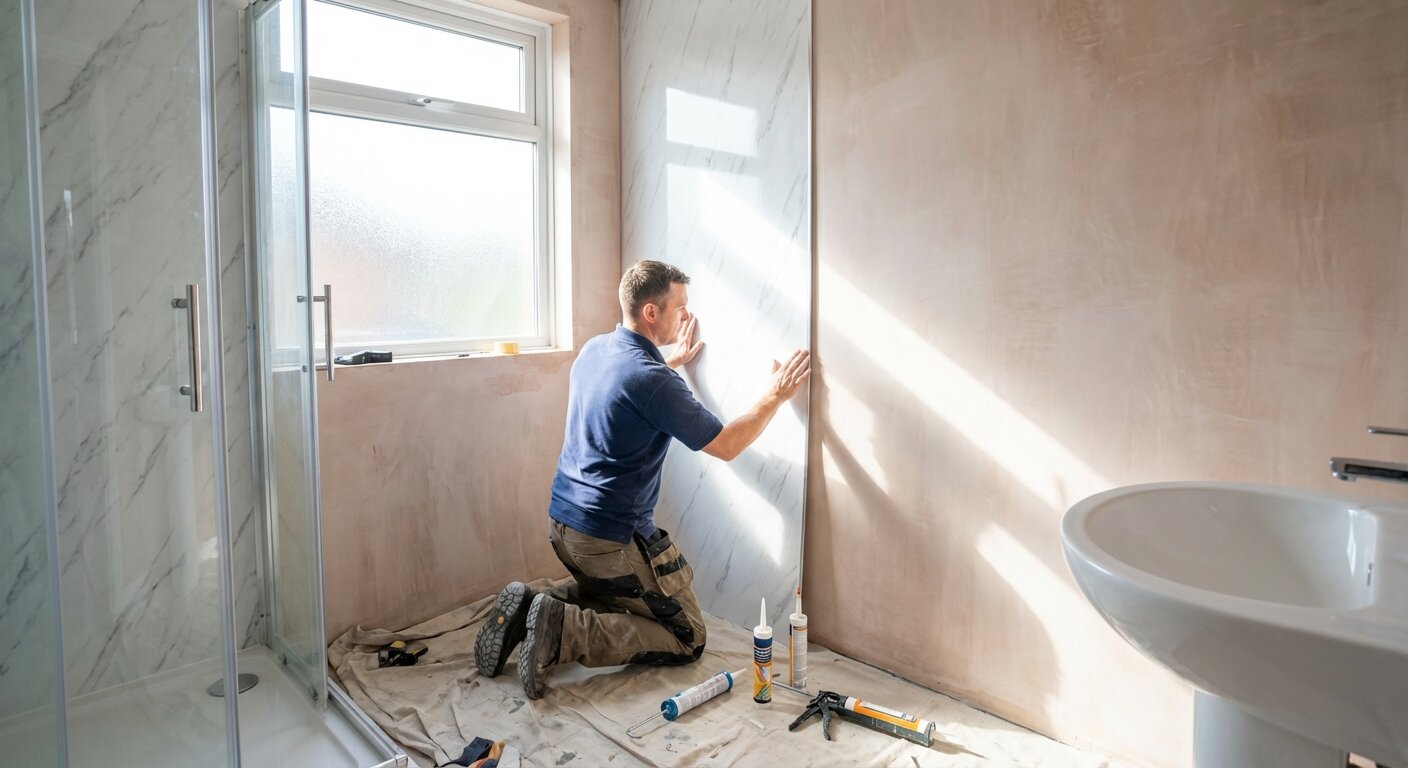
Direct Adhesive Method
Best for: flat, sound surfaces
Procedure:
- Clean wall surface thoroughly, remove dust and grease
- If over tiles, lightly sand gloss surfaces for key
- Fix corner and edge trims first using adhesive
- Apply grab adhesive to panel back in vertical strips 300mm apart
- Press panel firmly to wall, slide into corner trim
- Check level and adjust immediately
- Continue with subsequent panels, engaging tongue-and-groove joints
- Support with tape if panels want to slide
Pros: Fast, no framework required Cons: Requires flat surface, harder to remove later
Battening Method
Best for: uneven walls, damp areas (with treatment), suspended ceilings
Procedure:
- Fix treated timber battens horizontally at 300-400mm centres
- Pack battens to create flat plane (check with straight edge)
- Add vertical battens at panel edges and midpoints
- Fit trim pieces to battens
- Screw or staple panels to battens through tongue edge
- Subsequent panels hide fixings
Pros: Accommodates uneven walls, provides ventilation gap, easy to remove Cons: Slightly reduces room dimensions, more work
Shower Area Considerations
Areas with direct water contact need extra care:
Waterproof membrane: Consider tanking membrane behind panels in shower enclosures.
Sealed joints: Apply silicone behind panel joints, not just surface silicone.
No gaps: Ensure trims and panels meet tightly with no water ingress paths.
Mechanical fixing backup: In wet areas, supplement adhesive with screws through tongues.
Step-by-Step Installation
Step 1: Prepare the Surface
- Remove old wallpaper, loose paint, and debris
- Fill significant holes and cracks
- Clean surface with sugar soap solution
- Allow to dry completely
Step 2: Install Trims First
Start with corner and edge trims:
- Measure trim lengths allowing for mitre cuts where needed
- Cut accurately with fine-tooth saw
- Apply adhesive to trim back
- Press firmly into position
- Check level/plumb and adjust
- Allow adhesive to grab before fitting panels
Step 3: Fit the First Panel
The first panel sets the line for the entire wall:
- Measure wall height
- Cut panel 5mm shorter than height (expansion gap hidden by trims)
- Dry-fit to check – panel should slide into corner trim with tongue exposed
- Apply adhesive in vertical strips
- Position panel and slide into corner trim
- Check plumb with spirit level
- Press firmly to bond adhesive
- Support with tape if needed while adhesive cures
Step 4: Continue Fitting Panels
- Measure and cut subsequent panels
- Apply adhesive to back
- Engage tongue into previous panel’s groove
- Press home firmly – joint should be barely visible
- Check alignment with level regularly
- Continue to end of wall
Step 5: Cutting and Finishing
End panels: Measure gap, cut panel to width, finish raw edge with edge trim or silicone.
Outlets and fixtures: Mark positions accurately, cut with jigsaw. Leave 3-5mm clearance around fittings, seal with silicone.
Around windows: Use corner trims at reveals, cut panels accurately to fit.
Step 6: Final Sealing
-
Apply silicone sealant to:
- Junction with bath/shower tray
- Around sanitary fittings
- Base of panels at floor level
- Any exposed edges
-
Tool silicone for neat finish before skinning
Common Mistakes and How to Avoid Them
Mistake 1: Poor Surface Preparation
Problem: Adhesive fails, panels fall off. Solution: Clean thoroughly, remove dust, key glossy surfaces. Never panel over damp.
Mistake 2: Incorrect First Panel
Problem: Whole wall becomes increasingly out of plumb. Solution: Spend time getting first panel perfectly vertical. Check repeatedly.
Mistake 3: Forgetting Expansion Gaps
Problem: Panels buckle in warm conditions. Solution: Leave 3-5mm gaps at top, bottom, and ends. Trims hide gaps while allowing movement.
Mistake 4: Cutting Face-Up
Problem: Saw chipping visible on panel face. Solution: Cut panels face-down with fine-tooth blade. Chip-out occurs on exit side.
Mistake 5: Insufficient Sealing in Wet Areas
Problem: Water penetrates behind panels. Solution: Silicone behind joints in wet areas, not just surface silicone. Consider tanking.
Maintenance Advice for Customers
Provide customers with care instructions:
Cleaning: Wipe with damp cloth and mild bathroom cleaner. Avoid abrasives.
Avoid: Solvent-based cleaners, bleach (may affect colours), scouring pads.
Check seals: Inspect silicone seals annually, re-seal if cracked.
Repairs: Minor scratches may buff out. Damaged panels can be individually replaced.
Conclusion
PVC wall panelling offers installers an efficient, profitable service and delivers customers an attractive, practical bathroom finish. The installation process is straightforward, and with attention to preparation and detail, results rival more expensive alternatives.
Key success factors: sound surfaces, accurate measuring, plumb first panels, proper sealing in wet areas, and quality materials. Get these right and you’ll have satisfied customers and repeat business.
Explore our wall panelling range featuring the latest designs and all matching trims and accessories for professional bathroom installations.
Internal links:
- Bathroom wall panels
- Wall panel trims and accessories
- PVC adhesive and sealants
- Wall panel samples
- Installation accessories
Word count: 1,268 words