Fascia Board Replacement: A Complete Guide for Installers
Meta description: Complete guide to fascia board replacement for installers - covers assessment, removal, fitting techniques, and common mistakes to avoid.
Suggested URL: /blog/fascia-board-replacement-guide
Introduction
Fascia board replacement is bread-and-butter work for roofline installers. Done well, it transforms a property’s appearance and provides decades of maintenance-free performance. Done poorly, it leads to callbacks, water damage, and reputation problems.
This guide covers the complete fascia replacement process from initial assessment to final inspection. Whether you’re an experienced installer refining your technique or a builder expanding into roofline work, these best practices ensure quality results every time.
When to Replace Fascia Boards
Signs Timber Fascias Need Replacing
Visible rot: Soft, spongy areas, particularly around gutter bracket fixings and at board ends. Rot typically starts where water collects.
Paint failure: Peeling, flaking, or blistering paint indicates moisture penetration. Repainting over compromised timber is false economy.
Sagging or bowing: Boards pulling away from rafter feet suggest rot has weakened the structural fixing points.
Insect damage: Woodworm holes or evidence of wasp/bee nesting within the timber.
Gutter bracket failure: If brackets are pulling out, the underlying fascia may be too deteriorated to hold fixings.
Replacing Old uPVC Fascias
Early uPVC fascias (1970s-1990s) may need replacement due to:
- Yellowing or discolouration
- Brittleness and cracking from UV degradation
- Storm damage
- Incorrect original installation
- Colour updating (white to anthracite, for example)
Modern cellular PVC fascias outperform earlier foam-core products significantly.
Assessment and Quotation
What to Check
Before quoting, inspect thoroughly:
- Rafter feet condition – are they sound enough to fix to?
- Roof felt termination – is felt present and how does it meet the fascia?
- Soffit condition – usually replace at the same time
- Bargeboard and dry verge – include if accessible from same scaffolding
- Gutter system – replace or refit existing?
- Access requirements – scaffolding type and height
Measuring Up
Measure linear metres of:
- Fascia (running length including returns)
- Soffit (width and length – note any variations)
- Gutter (usually matches fascia length)
- External corners, internal corners, joints
Record fascia depth – common sizes are 150mm, 175mm, 200mm, 225mm, and 250mm. Match existing where possible or adjust as appropriate.
Preparation and Setup
Scaffolding
For most two-storey properties, tower scaffolding or independent scaffold is essential. Safe working at height isn’t negotiable.
Ensure scaffold:
- Provides access along entire roofline
- Has adequate platform width for materials and movement
- Is positioned to allow comfortable working height
- Includes toe boards and guard rails
Weather Considerations
Avoid fascia replacement during:
- Heavy rain (unsafe working, water ingress risk)
- Strong winds (boards become sails)
- Extreme cold (sealants and adhesives won’t cure)
Light rain may be manageable with protection, but postpone if significant exposure is likely.
Protecting the Property
Before starting:
- Move vehicles away from work area
- Cover plants and garden features
- Lay dust sheets on paths and patios
- Identify and protect CCTV, aerials, and alarm sensors
Removing Old Fascia Boards
Guttering First
- Support gutters on stays or remove sections systematically
- Keep brackets organised for reuse or measure for replacement
- Protect gutters if reinstalling – scratched PVC looks poor
Timber Fascia Removal
- Check for concealed cables or pipework
- Remove any cladding or flashing overlapping the fascia
- Pry boards away from rafter feet using wrecking bar
- Work carefully near sound rafters – avoid damage
- Remove all old fixings from rafter feet
- Bag debris as you work – don’t let it accumulate on scaffold
Old uPVC Removal
- Release edge trims and joints
- Unscrew or pry fixing points
- Boards may break during removal (expected if brittle)
- Remove carrier strips if over-fascia system was used
- Recycle where facilities exist
Preparing Rafter Feet
This stage is critical. New fascias need sound fixing points.
Assessing Rafter Condition
- Sound timber: Minor surface degradation acceptable, structural core intact
- Soft rot: Probe with screwdriver. If penetrates easily, repair or extend
- Missing section: Sister new timber alongside or replace rafter end
Rafter Foot Repairs
For deteriorated rafter feet:
- Cut back to sound timber
- Screw-fix new treated timber alongside (45mm minimum thickness)
- Extend to full fascia depth requirement
- Ensure new timber is flush with original rafter face
Levelling
Check rafter feet are aligned:
- String line along fascia run reveals irregularities
- Pack low spots with shims
- Plane high spots if minimal adjustment needed
- Ensure level surface for new fascia
Installing New Fascia Boards
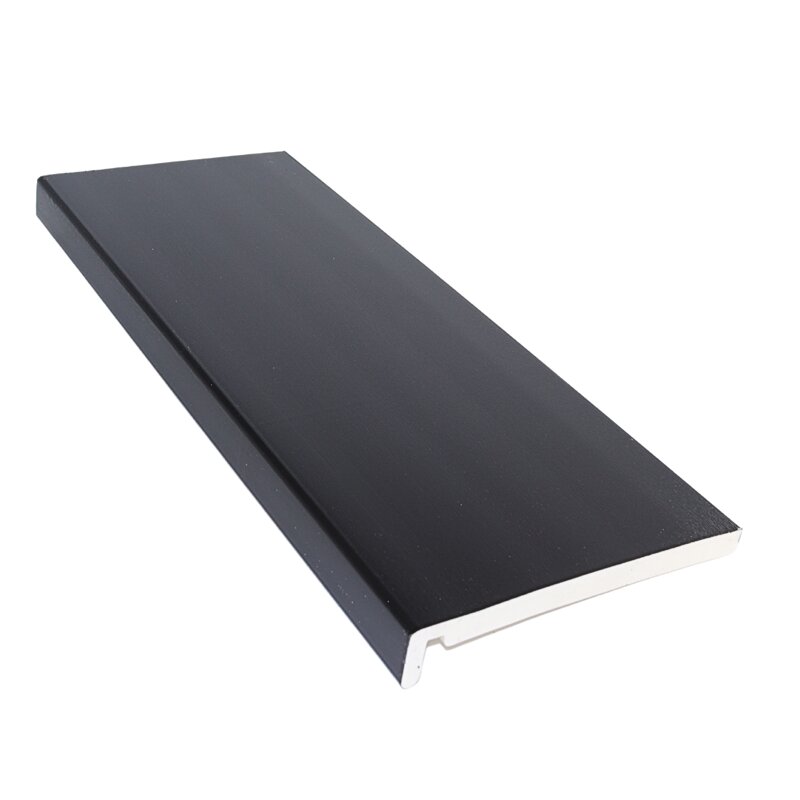
Choosing Material
Standard 18mm fascia: Most residential applications 16mm fascia: Lighter weight, cost-effective Replacement fascia (9mm): Over-cladding only – not direct-to-rafter fitting
Colour options include white, black, brown, grey, and anthracite. Woodgrain finishes available.
Cutting and Fitting
Cutting:
- Use fine-tooth circular saw blade or hand saw
- Support boards when cutting to prevent chipping
- Cut mitres for external corners (45° each board)
- Cut scribes for internal corners as needed
Fitting sequence:
- Start at an external corner where possible
- Fix first board plumb and level
- Use 65mm stainless steel ring-shank nails (2 per rafter)
- Or 4.5mm × 65mm screws for superior holding
- Position fixings 25mm from board edges
- Joint boards over rafter feet, not mid-span
- Leave 2-3mm expansion gap at joints (cover with joint trim)
Key Technique Points
External corners: Cut matching 45° mitres on adjacent boards. Fix with corner trim for neat finish and expansion accommodation.
Internal corners: Scribe one board to fit against the other, or use internal corner trim.
Joining lengths: Use H-section jointing strip. Never butt boards tightly – they’ll buckle when expanding.
Roof felt: Tuck felt behind fascia top edge, or dress over onto fascia face with felt support tray.
Common Mistakes to Avoid
Mistake 1: Inadequate Fixings
Problem: Using short nails or too few fixings leads to boards loosening or blowing off.
Solution: 65mm minimum length, two fixings per rafter foot, stainless steel in coastal areas.
Mistake 2: No Expansion Allowance
Problem: Tight-butted joints cause buckling in summer heat.
Solution: 2-3mm gap at all joints, covered with jointing trim that allows movement.
Mistake 3: Poor Mitre Joints
Problem: Gaps appear at corners, letting water behind.
Solution: Measure angles accurately (not all buildings are square). Use external corner trim for guaranteed weathering.
Mistake 4: Ignoring Rafter Condition
Problem: New fascias fixed to rotten rafter feet soon fail.
Solution: Always check and repair rafter feet before fixing new boards.
Mistake 5: Insufficient Ventilation
Problem: Blocking roof ventilation causes condensation in loft space.
Solution: Use ventilated soffits and ensure airflow path is clear.
Finishing Touches
Reinstalling Gutters
With fascias complete:
- Install new or cleaned gutter brackets
- Set correct fall (1:350 to 1:600)
- Clip gutter sections into place
- Check alignment and adjust as needed
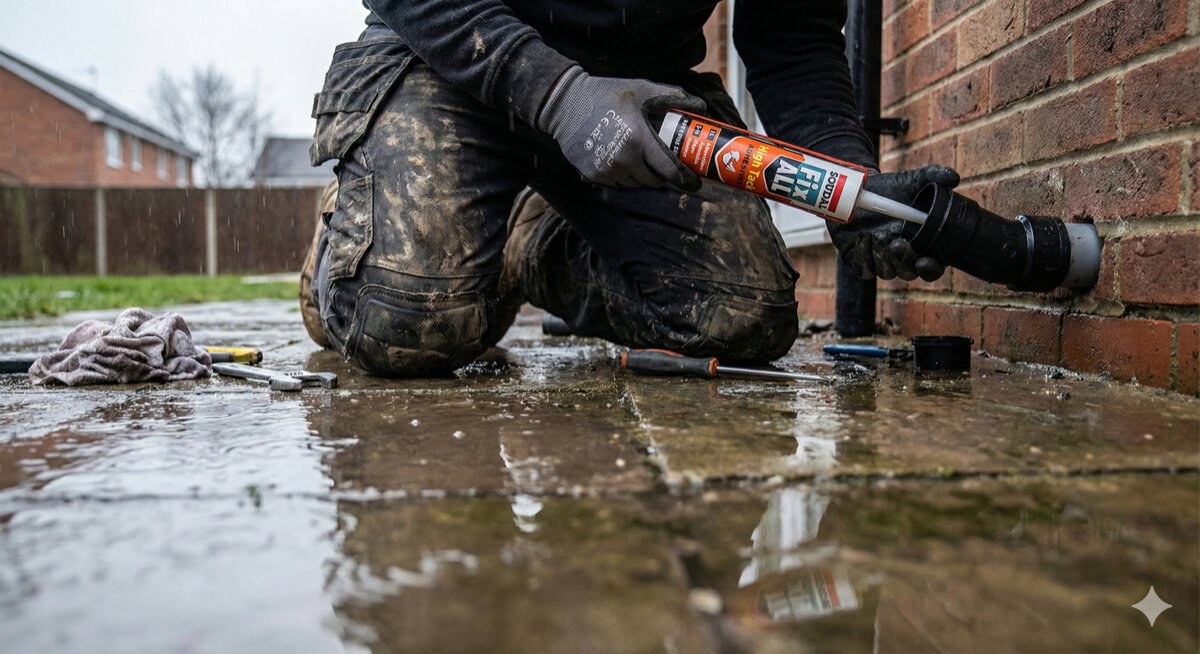
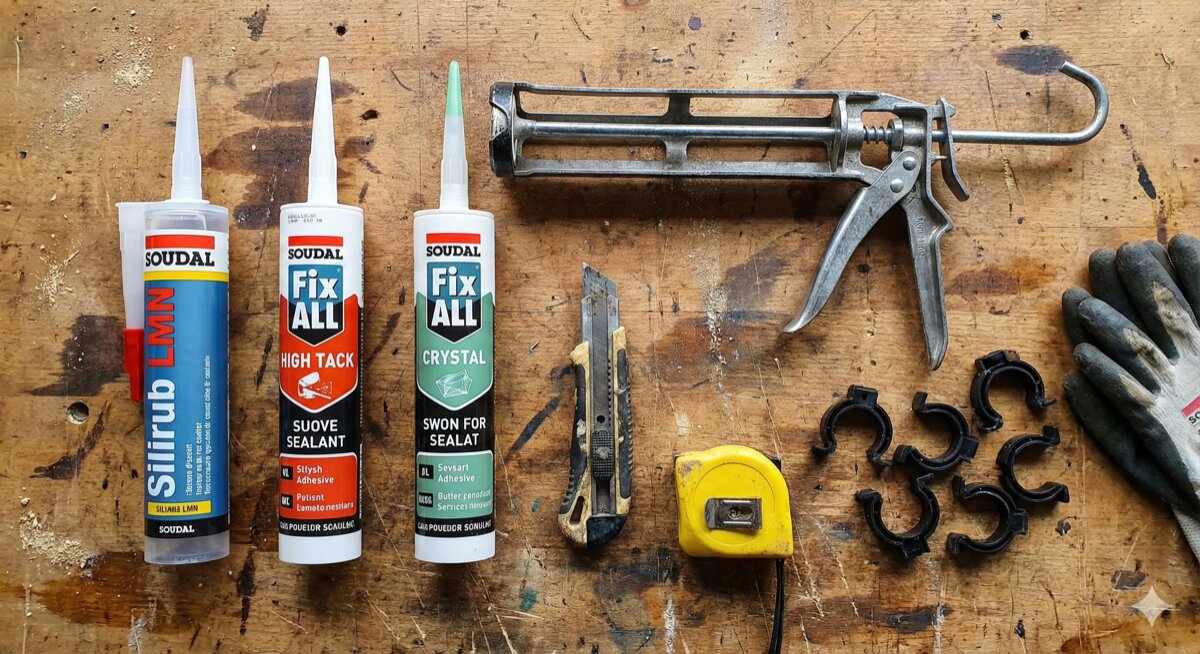
Sealant Application
Seal:
- Behind external corner trims
- Around any penetrations (cables, soil vents)
- At window and door frame junctions
Use colour-matched silicone or PU sealant.
Final Inspection
Before leaving site:
- Check all joints and corners
- Verify fixings are set correctly (not over-driven)
- Clean any marks or debris from boards
- Test gutter flow with water
Conclusion
Quality fascia replacement combines thorough preparation, sound technique, and attention to detail. The work visible from ground level defines how professional the job appears – but it’s the hidden work (rafter repairs, ventilation, fixings) that determines how long it lasts.
Take time to prep properly, use quality materials, and don’t rush the fitting. A fascia installation done right provides 25+ years of trouble-free service and generates referral work from satisfied customers.
For your next roofline project, explore our comprehensive fascia, soffit, and trim range available in all standard colours with next-day delivery.
Internal links:
- Fascia boards (all colours and sizes)
- Soffit boards (solid and ventilated)
- Fascia corners and joint trims
- Roofline accessories and fixings
- Guttering systems
Word count: 1,298 words